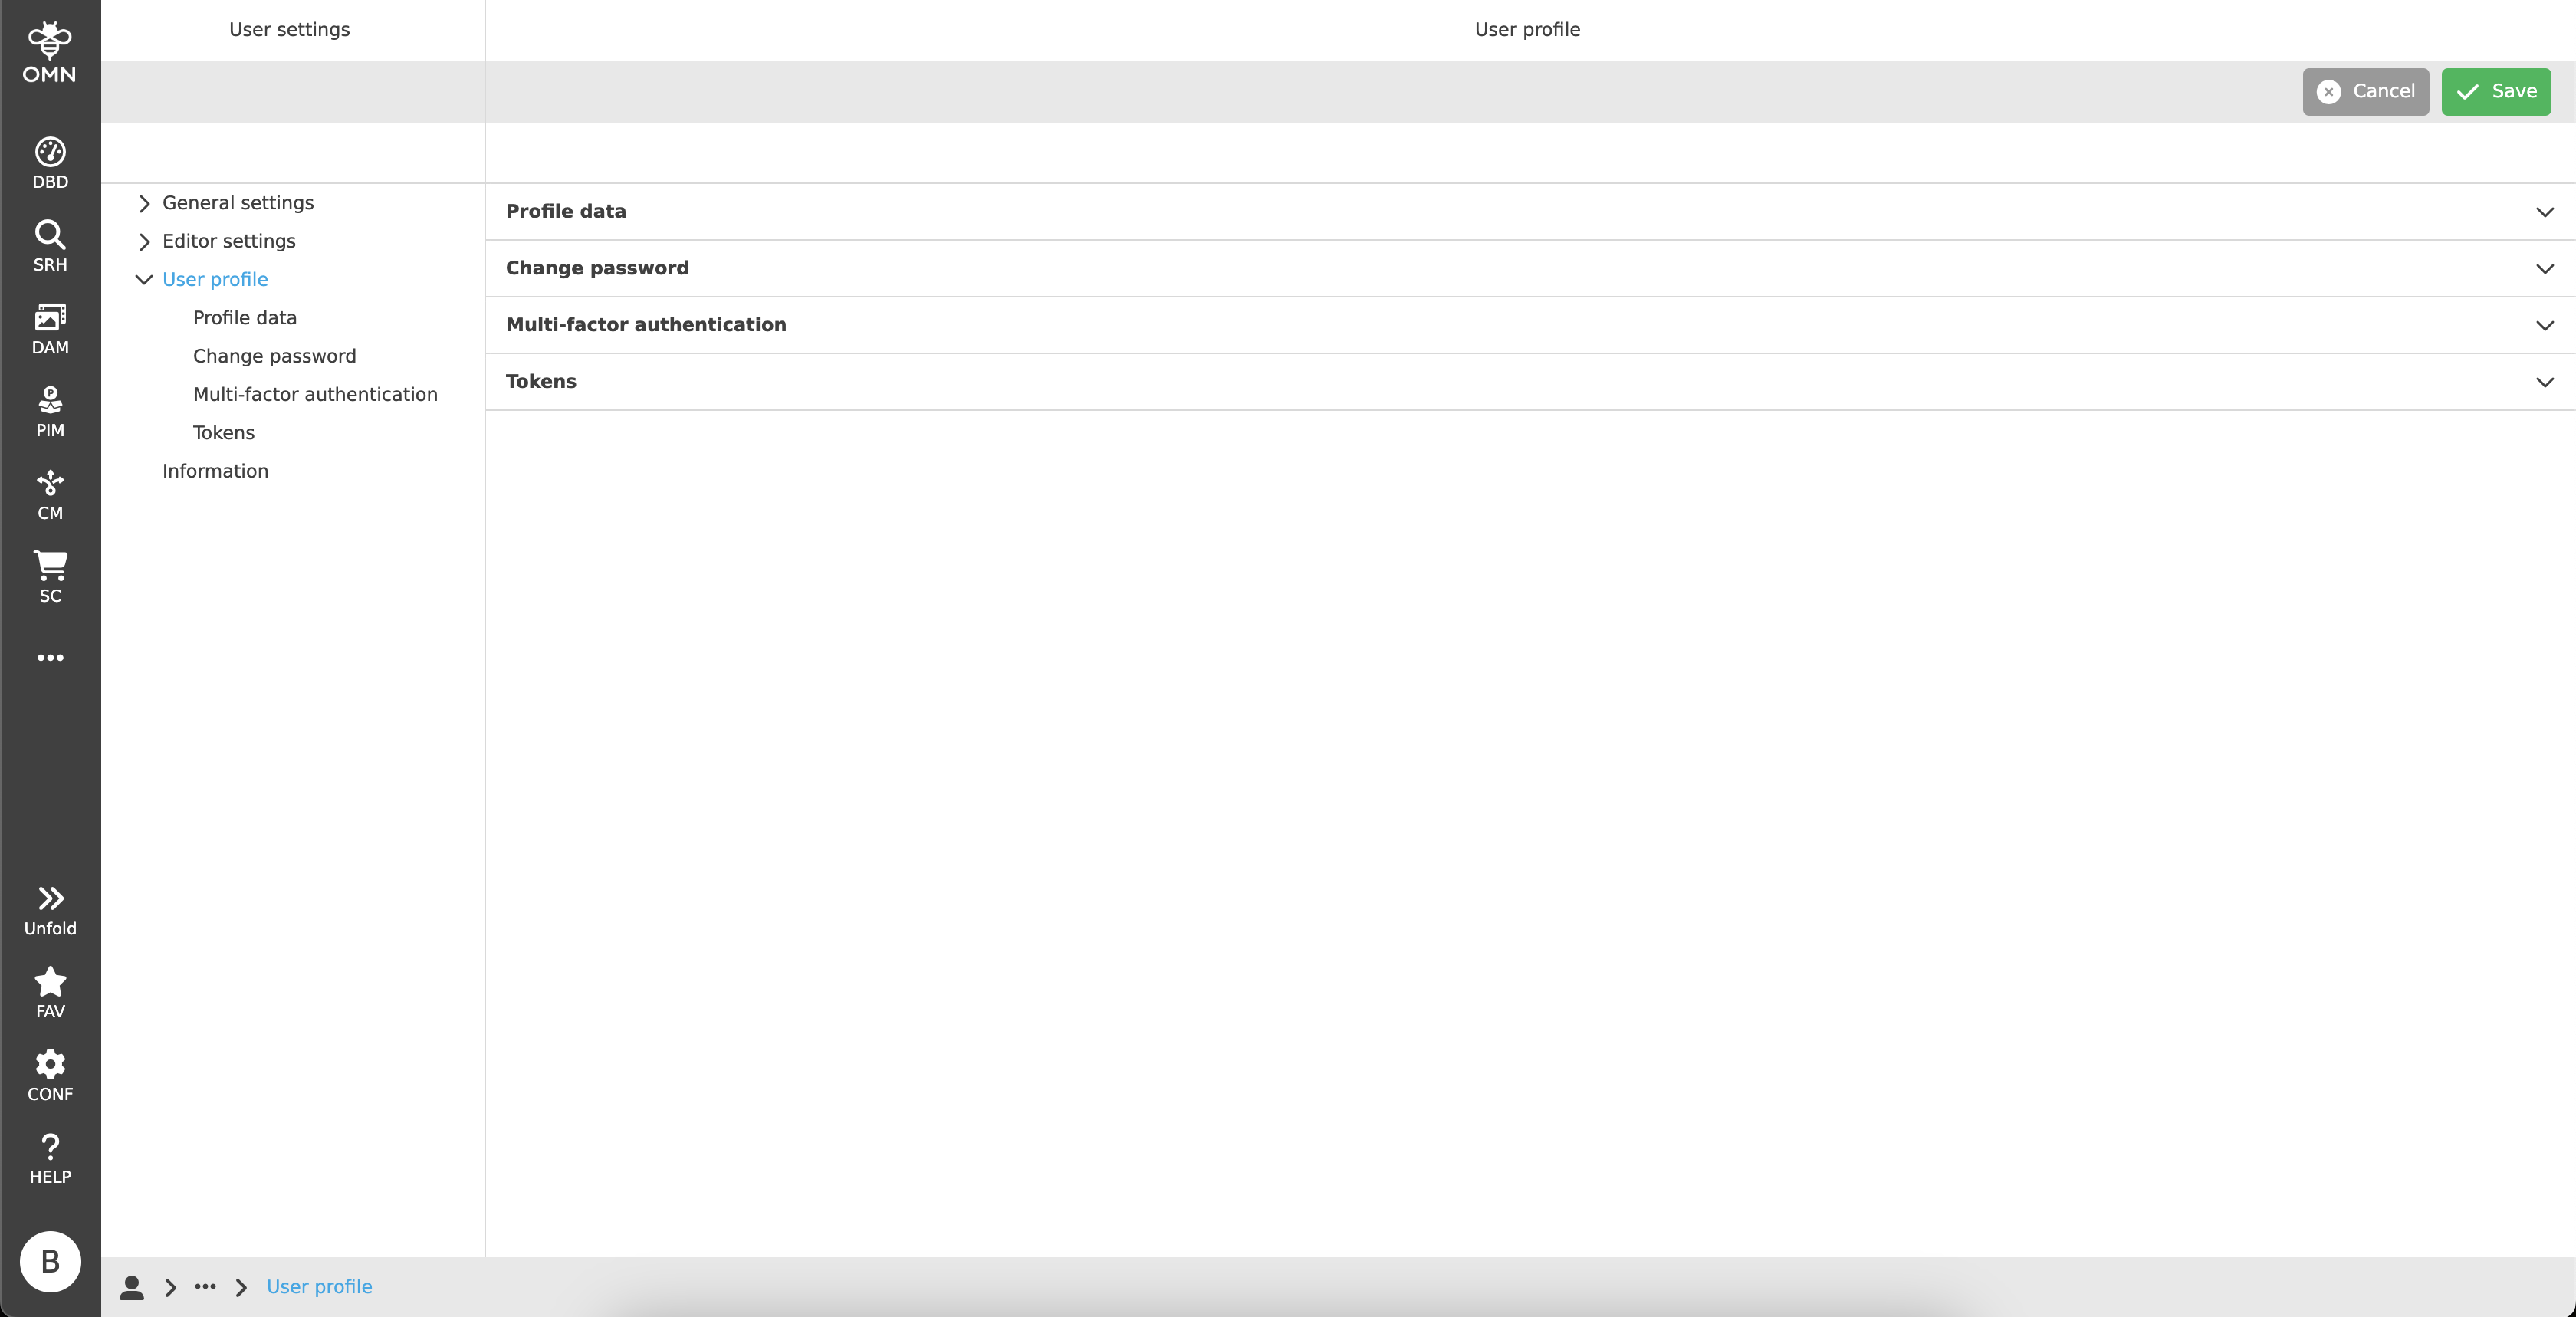
User profile
In the user profile, users can edit their personal user data (profile image, personal data) or change their password.
Profile data
Within the profile data, users can view and manage their personal data.
For this purpose, there are some fields (for example, the name, e-mail address, etc.) that can be edited.
Afterwards, all changes can be saved by clicking on the "Save" button in the toolbar.
The login name is fixed and therefore cannot be changed.
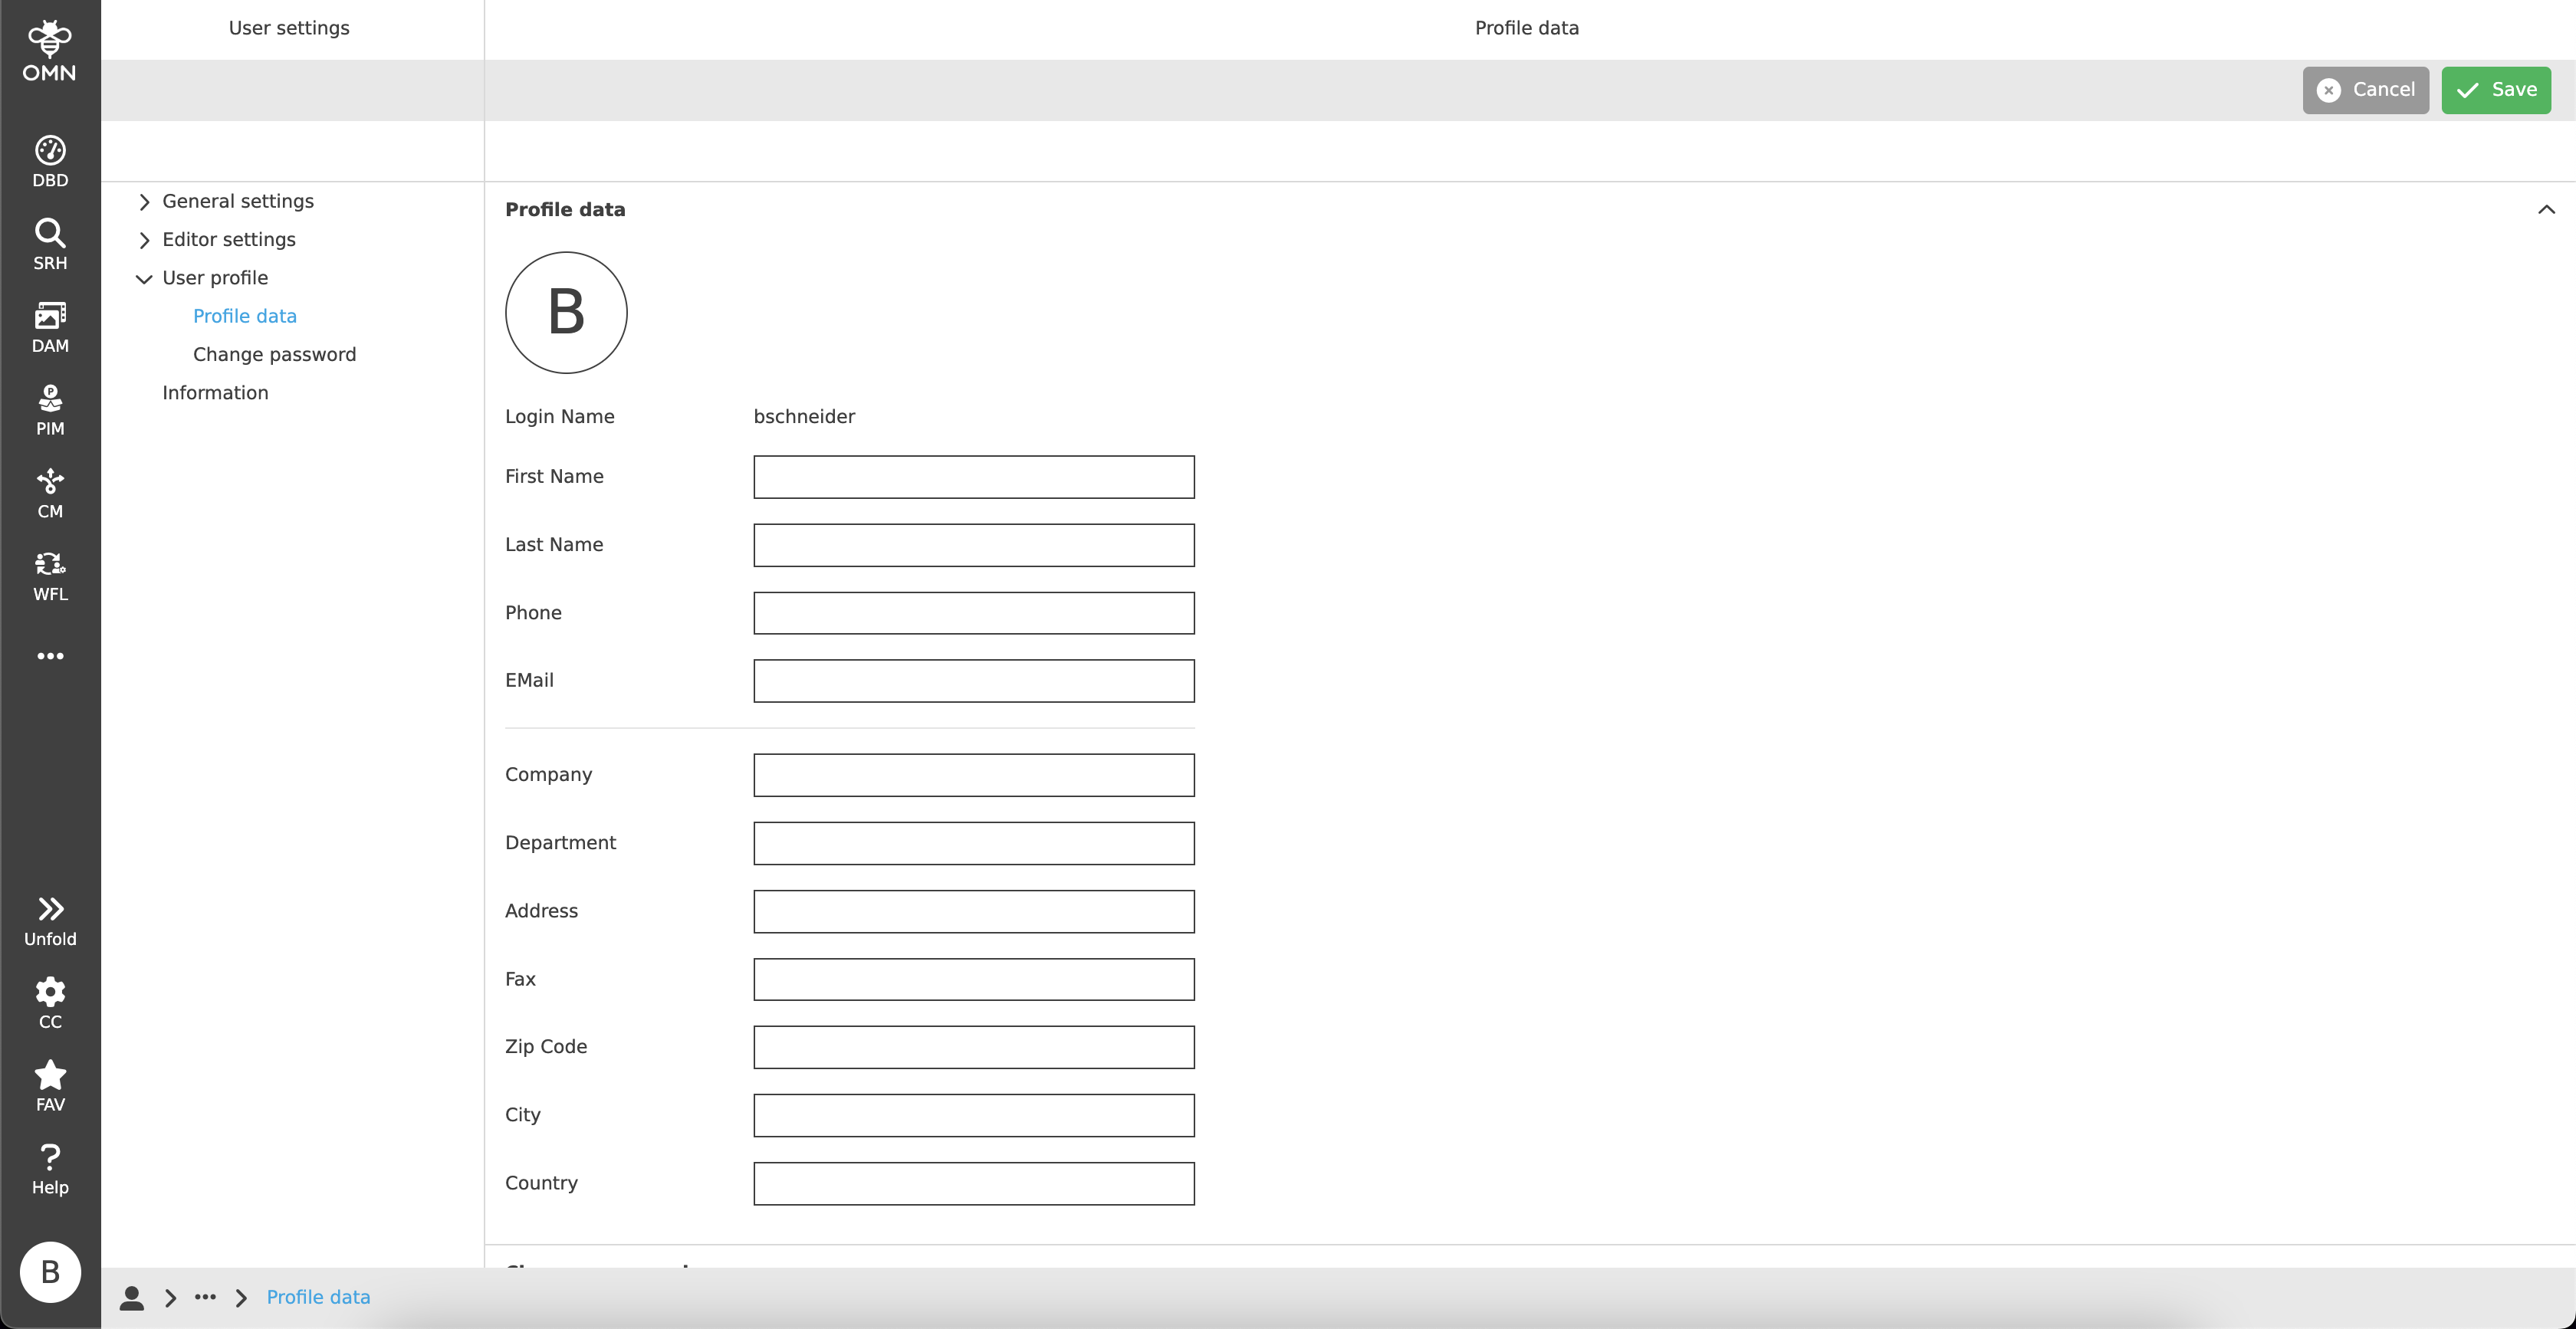
Additionally, each user has a predefined profile picture.
By default, this consists of the user’s initials and can be exchanged for their own profile picture if desired.
To do this, users must click on the circle with the initials. This opens an upload window where the desired picture can be uploaded and inserted.

To edit or delete the assigned profile picture afterwards, the user has to hover over the profile picture. If he does so, he can upload another profile picture with the help of a pencil icon and delete the profile picture with the trash can icon.
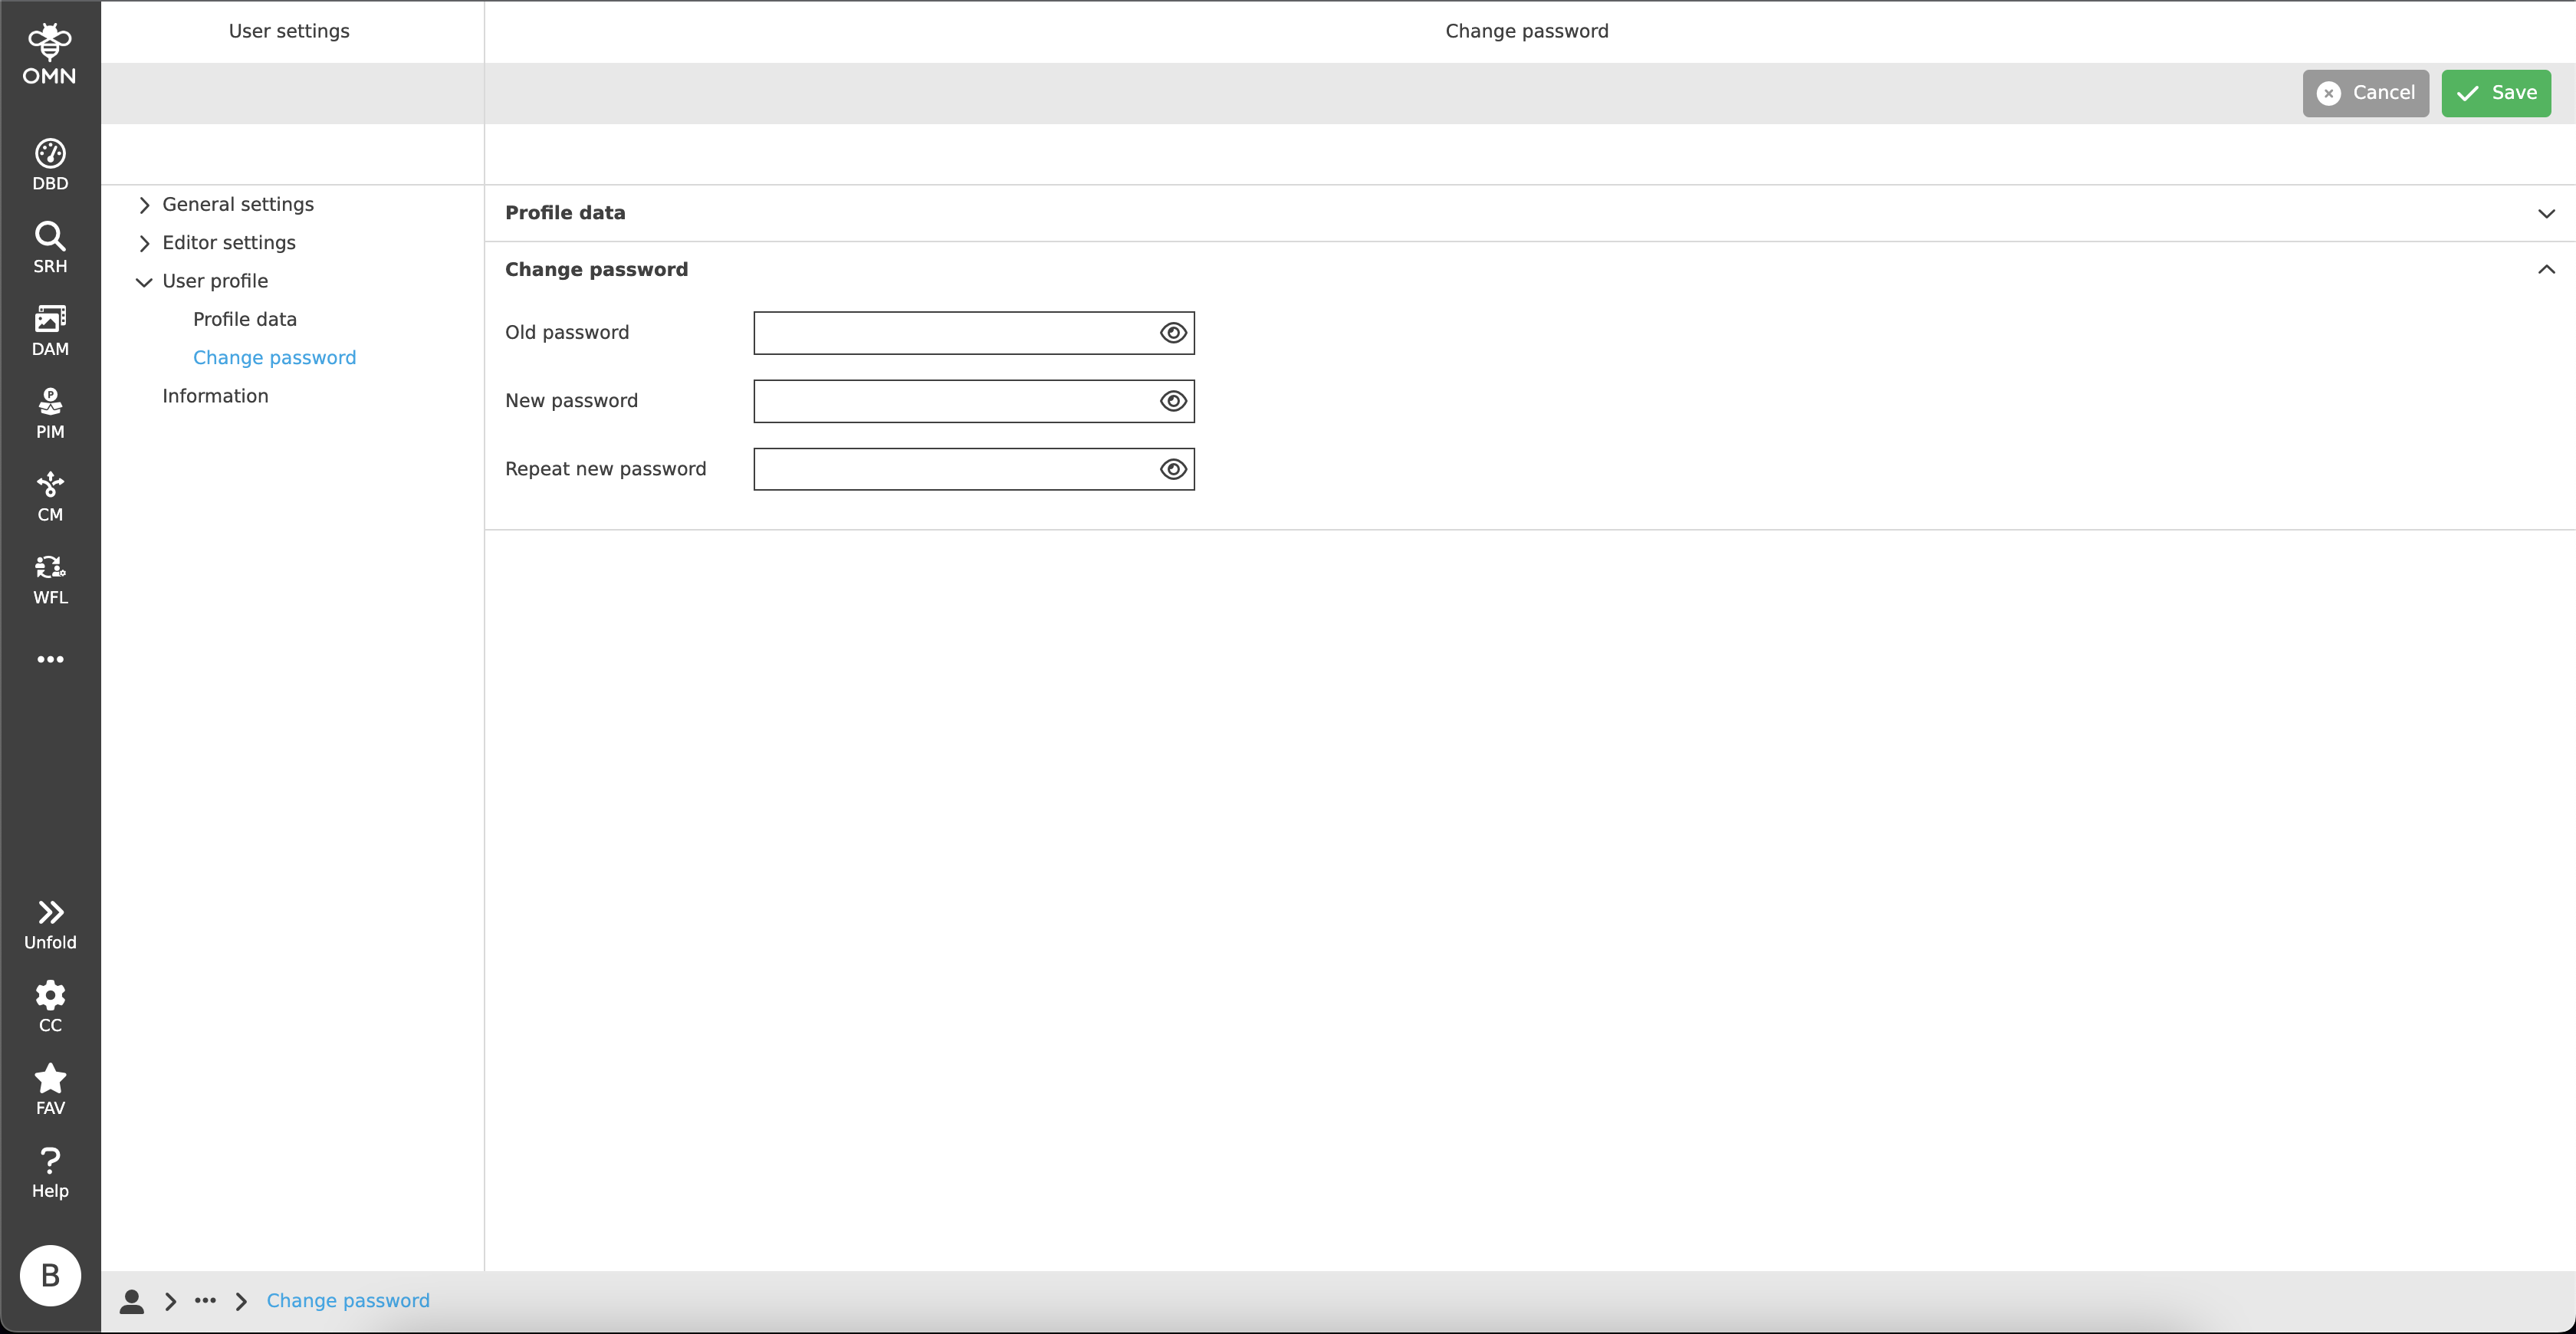
Change password
In the "Change password" area, the user can create a new password.
To do this, the old password must first be entered and the new password entered twice below it.
With the help of the "eye" icon, the respective fields can be made visible.
For security reasons, this setting is deactivated by default.
Then the user must click on "Save" in the toolbar to save the changes.
Multi-factor authentication (MFA)
If the users OMN has enabled the Keycloak login, the user can use a two-factor authentication (2FA) to secure the login.
Due to that an additional security step will be available for verification after logging in with the password.
General structure
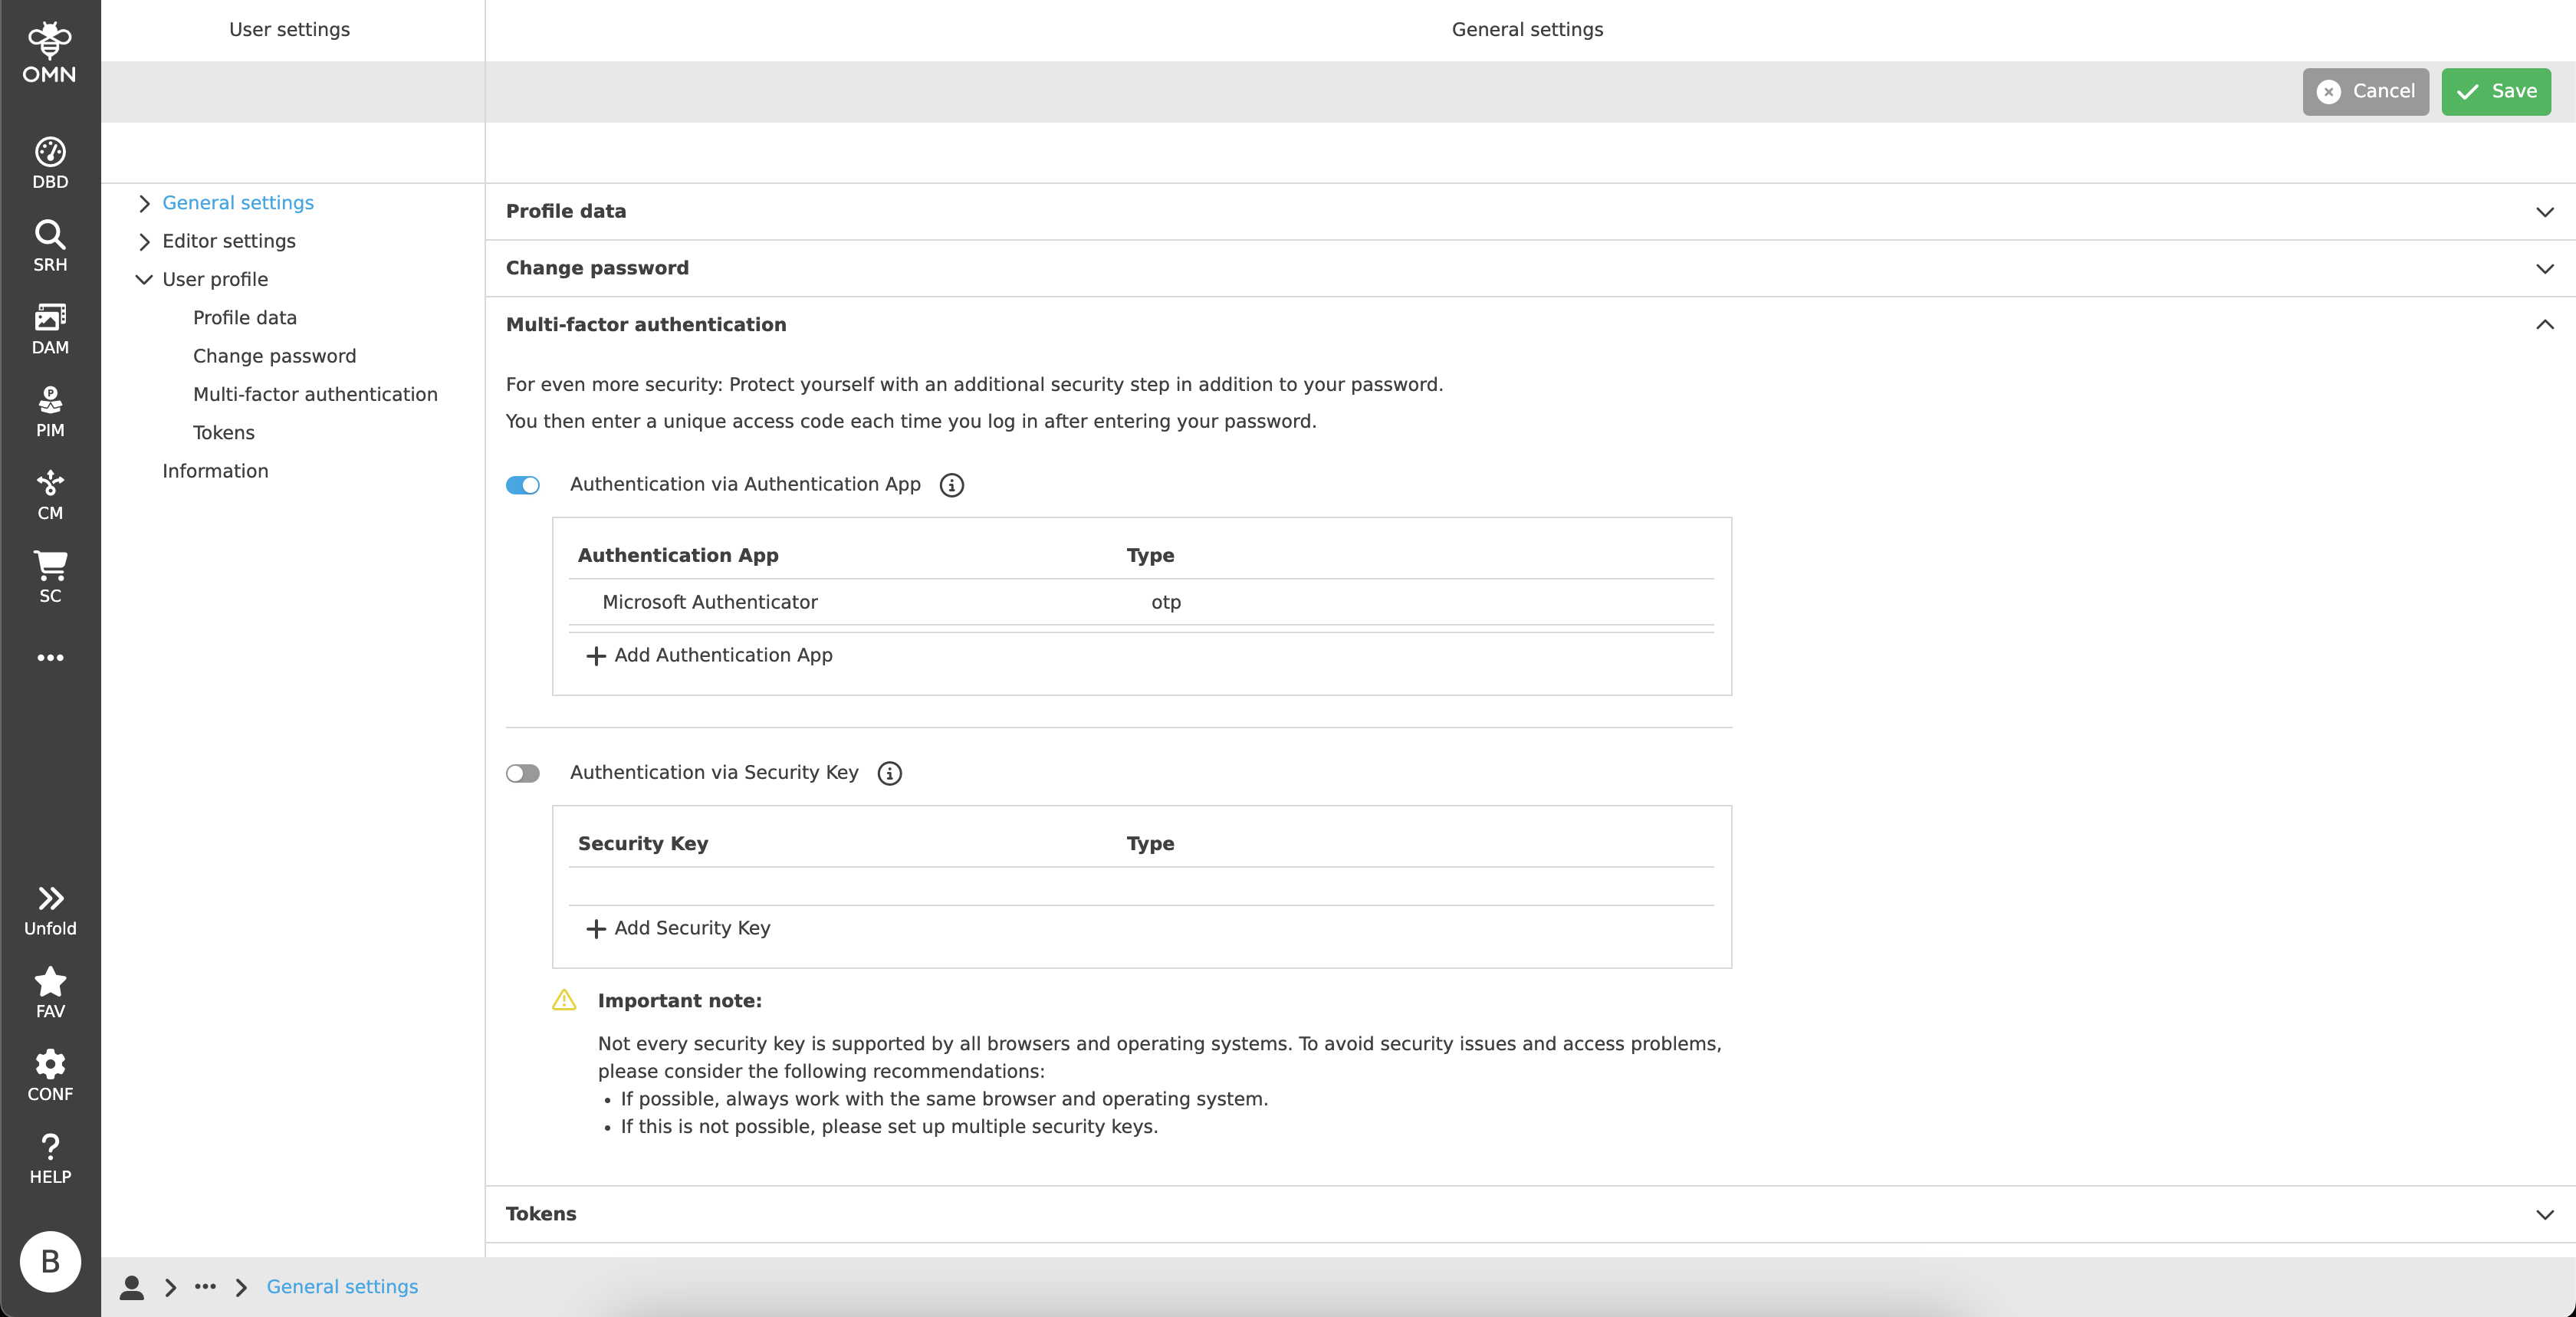
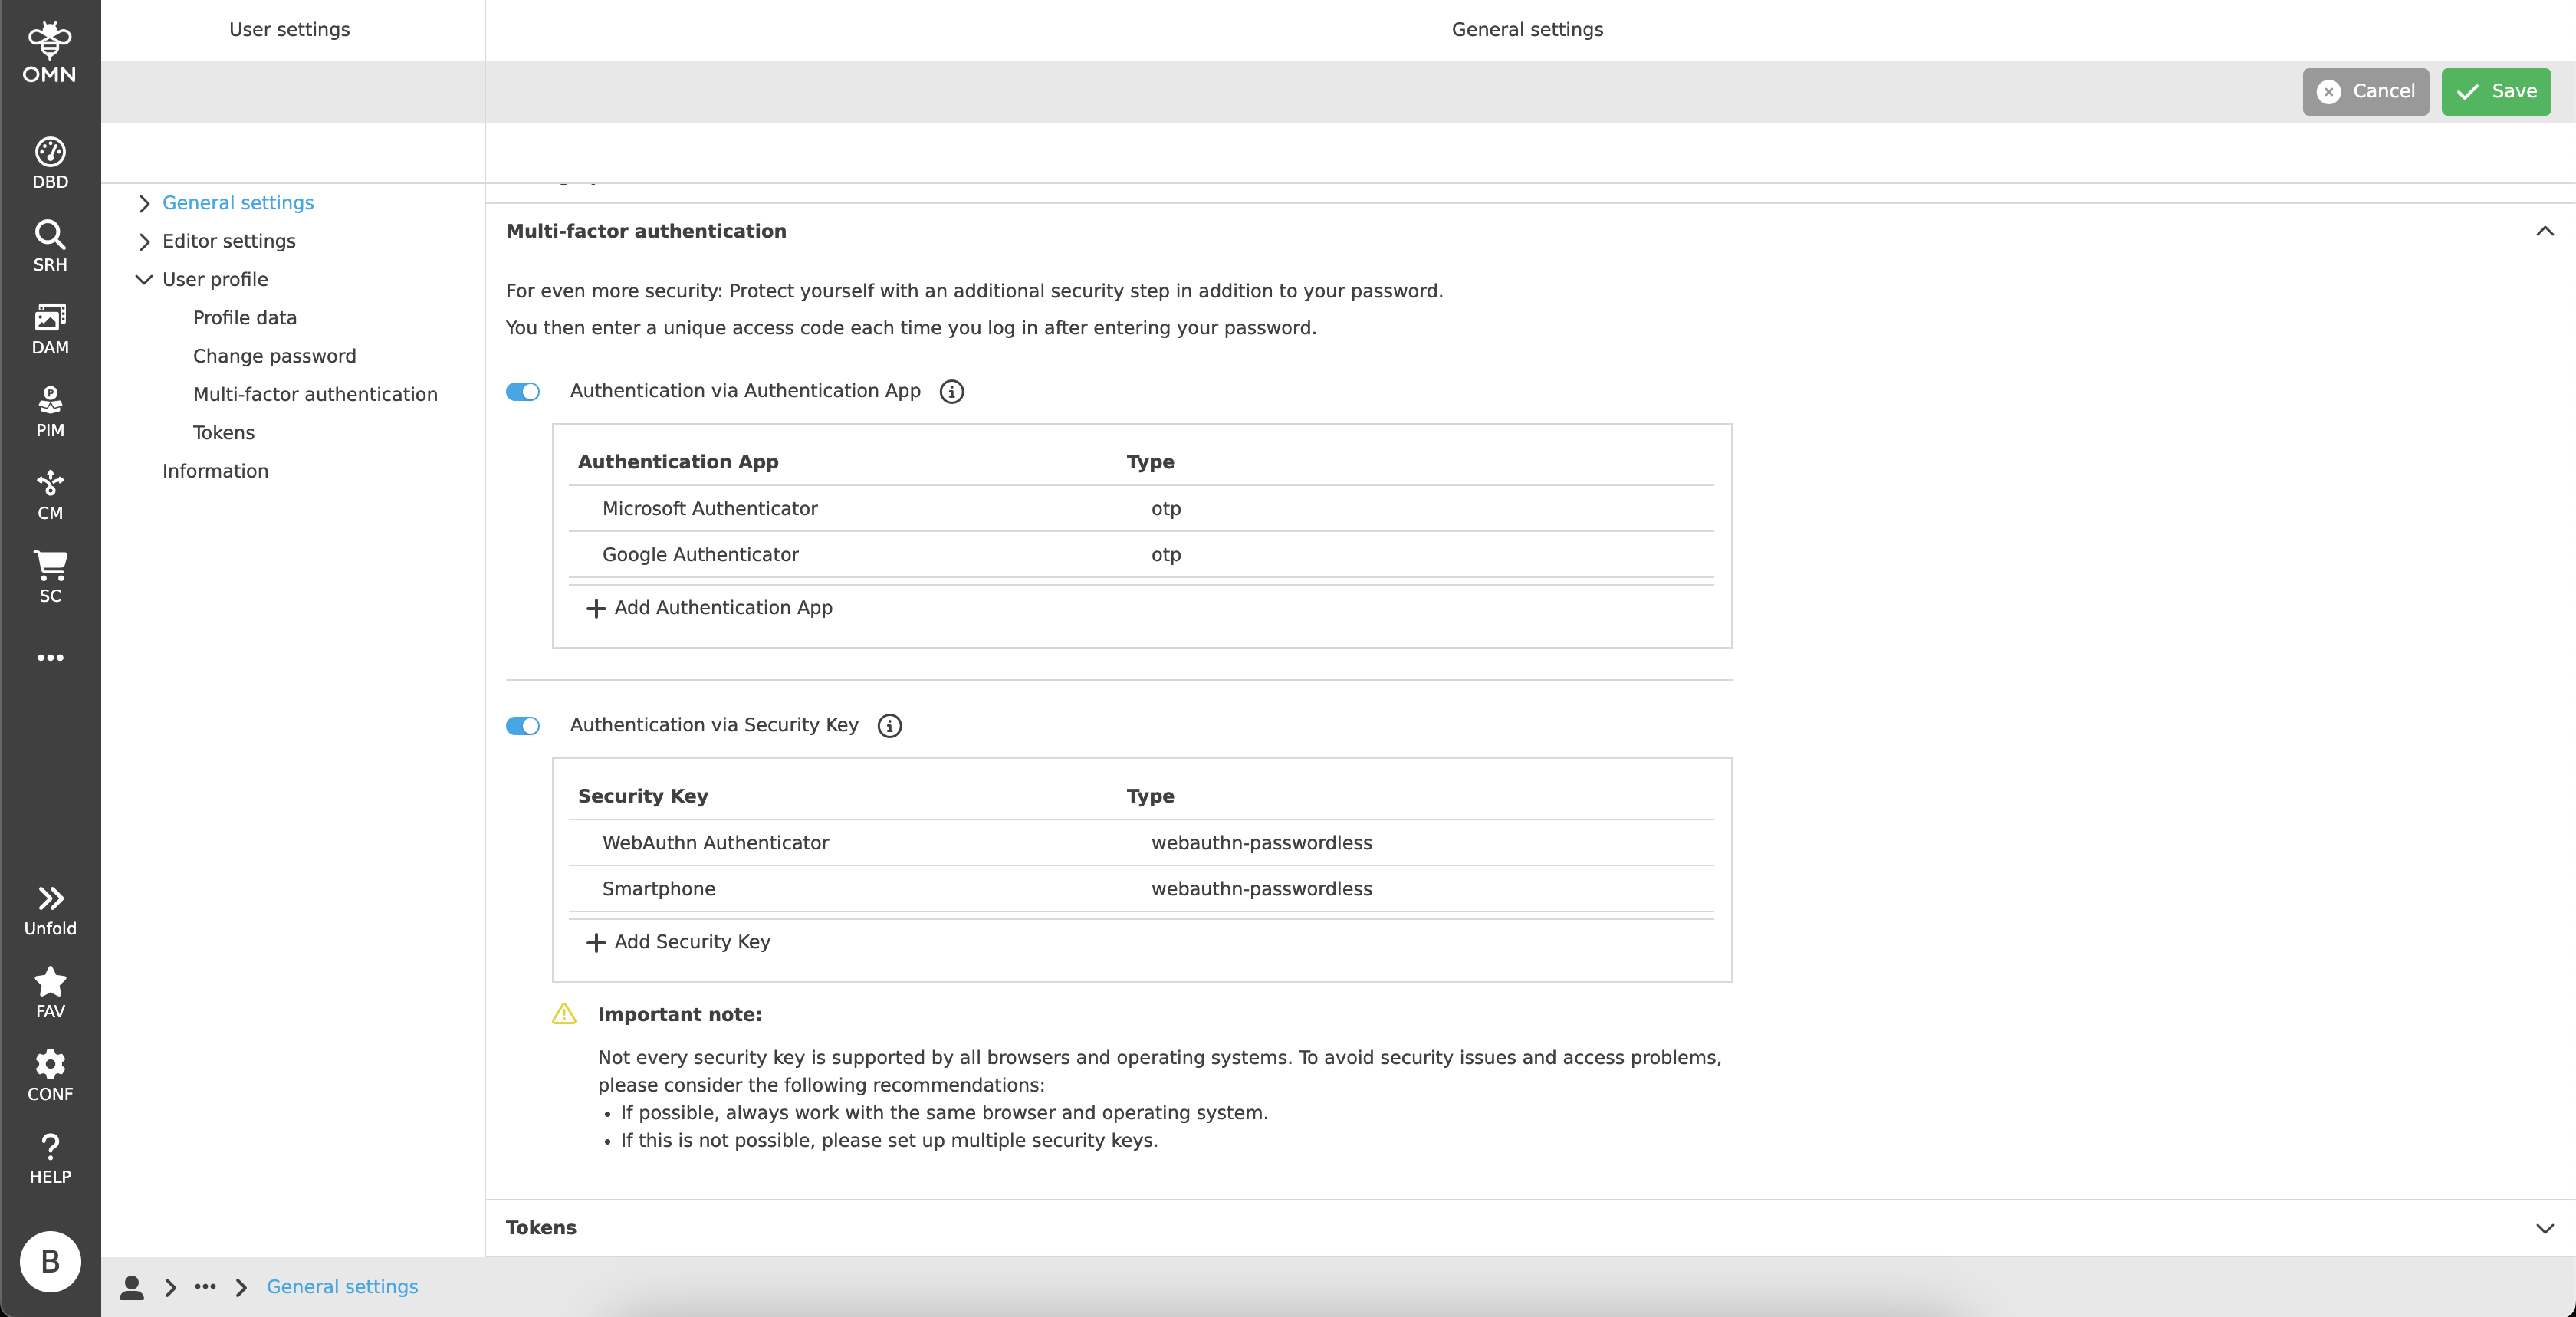
To activate 2FA, there is the multi-factor authentication section, where two different types of authentication are available to set:
| IDP users cannot see this section within the user settings, since this user type is managed outside OMN. It is only available for OMN users. |
Each method has its own area with a table, which displays all set apps and keys.
The user can set the desired authentication method there and activate or deactivate it by toggle button.

| The user don’t need to click on "Save" for changes in this section, because there is a direct communication with the Keycloak server behind. |
Authentication via Authentication App
Two-factor authentication via authentication app is using one-time passwords (OTP) to verify the user.
Therefore, the user needs a device, such as a smartphone, on which an authentication app is installed.
The following apps are officially supported:
-
Google Authenticator
-
Microsoft Authenticator
-
FreeOTP
|
There are a couple of other apps that would generally also be able to do the job. But there is no guarantee for this. The apps mentioned above are recommended for use. |
To set up an app, the user must click on the “Add Authentication App” button in the table.
After that, the "Authentication App Setup" will be shown to the user.
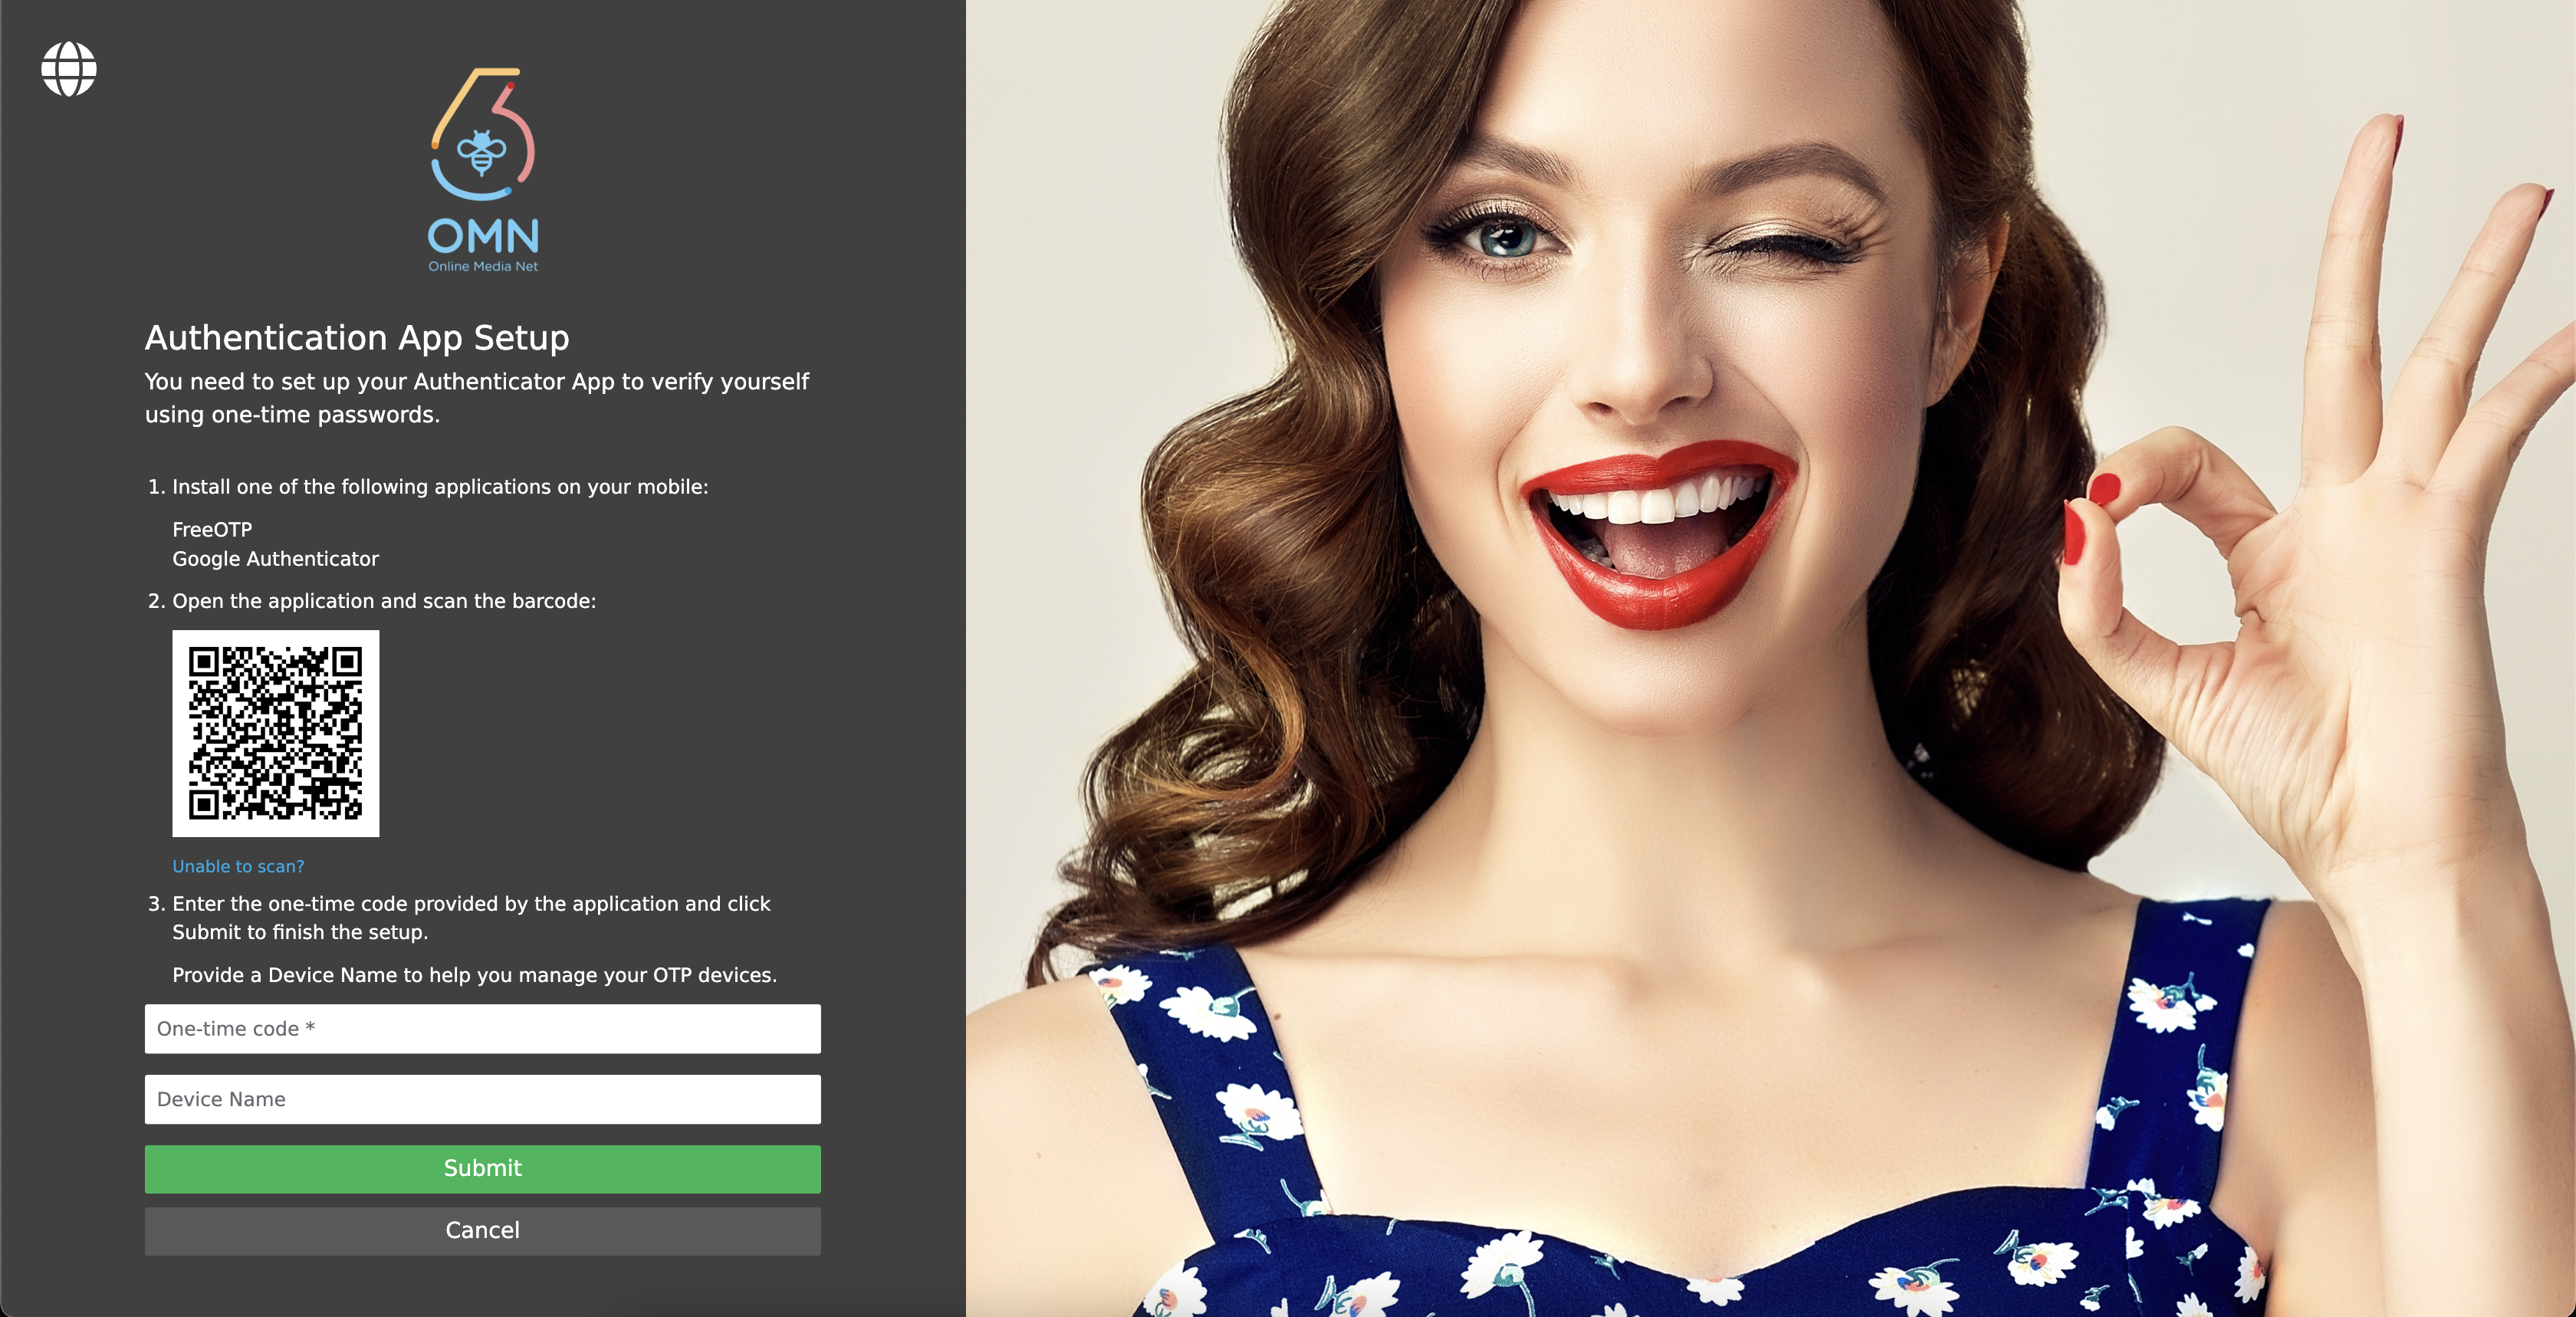
As the login page, the setup page is structured in two main parts, a registration area on the left side and a custom area on the right side.
The setup area has a language switcher in the top left corner.
In the center of that area, there is the OMN logo, a welcome message and instructions to install the authentication app:
-
Installing the authentication app.
-
Scanning the barcode with the app.
Alternatively a key can be entered by click on the "Unable to scan?" link. -
A one-time code will be generated and must be added to the input field.
It is possible to enter a device name to better recognize the registered app later in the table in the user settings.
-
Clicking on the "Submit" button to register the app.
Clicking on the "Cancel" button to return to the user settings and discard all inputs.
| It is possible to set up multiple authentication apps. |
If the setup was successful, the user will be redirected to the user settings page again and find the registered authenticator app in the table.
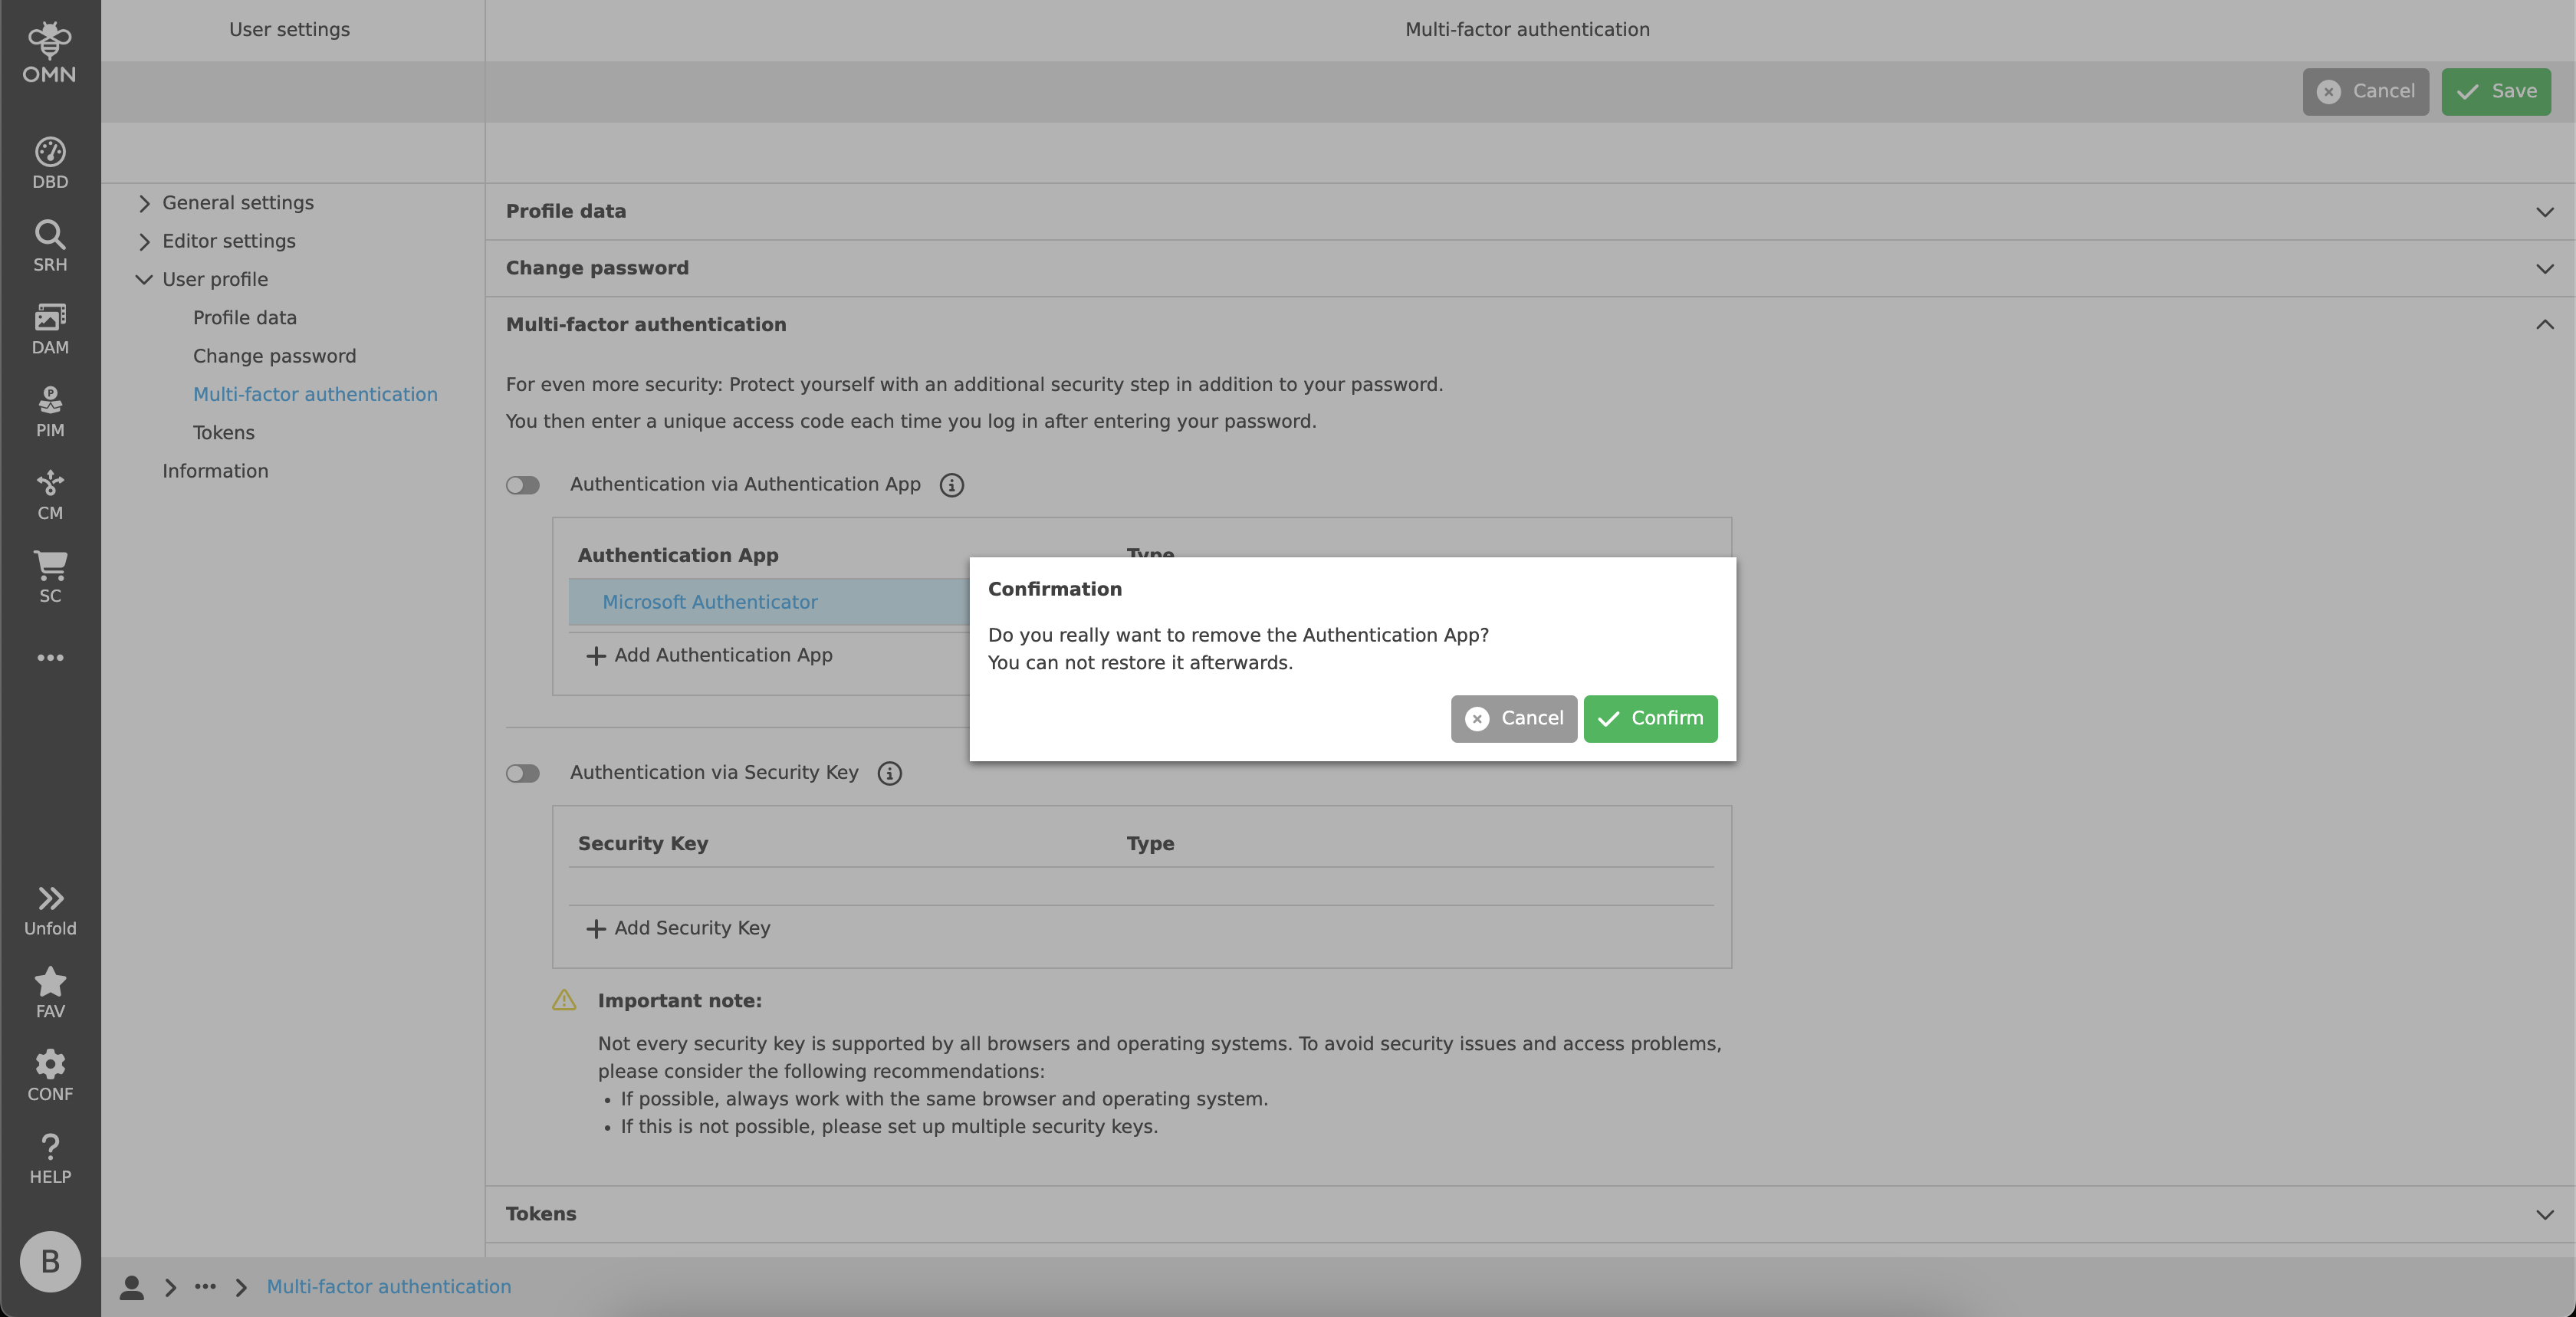
The table offers the possibility to delete a registered authenticator app. To do that, the user needs to hover over the table row and a delete icon appears. By clicking on this icon, the app will be removed.
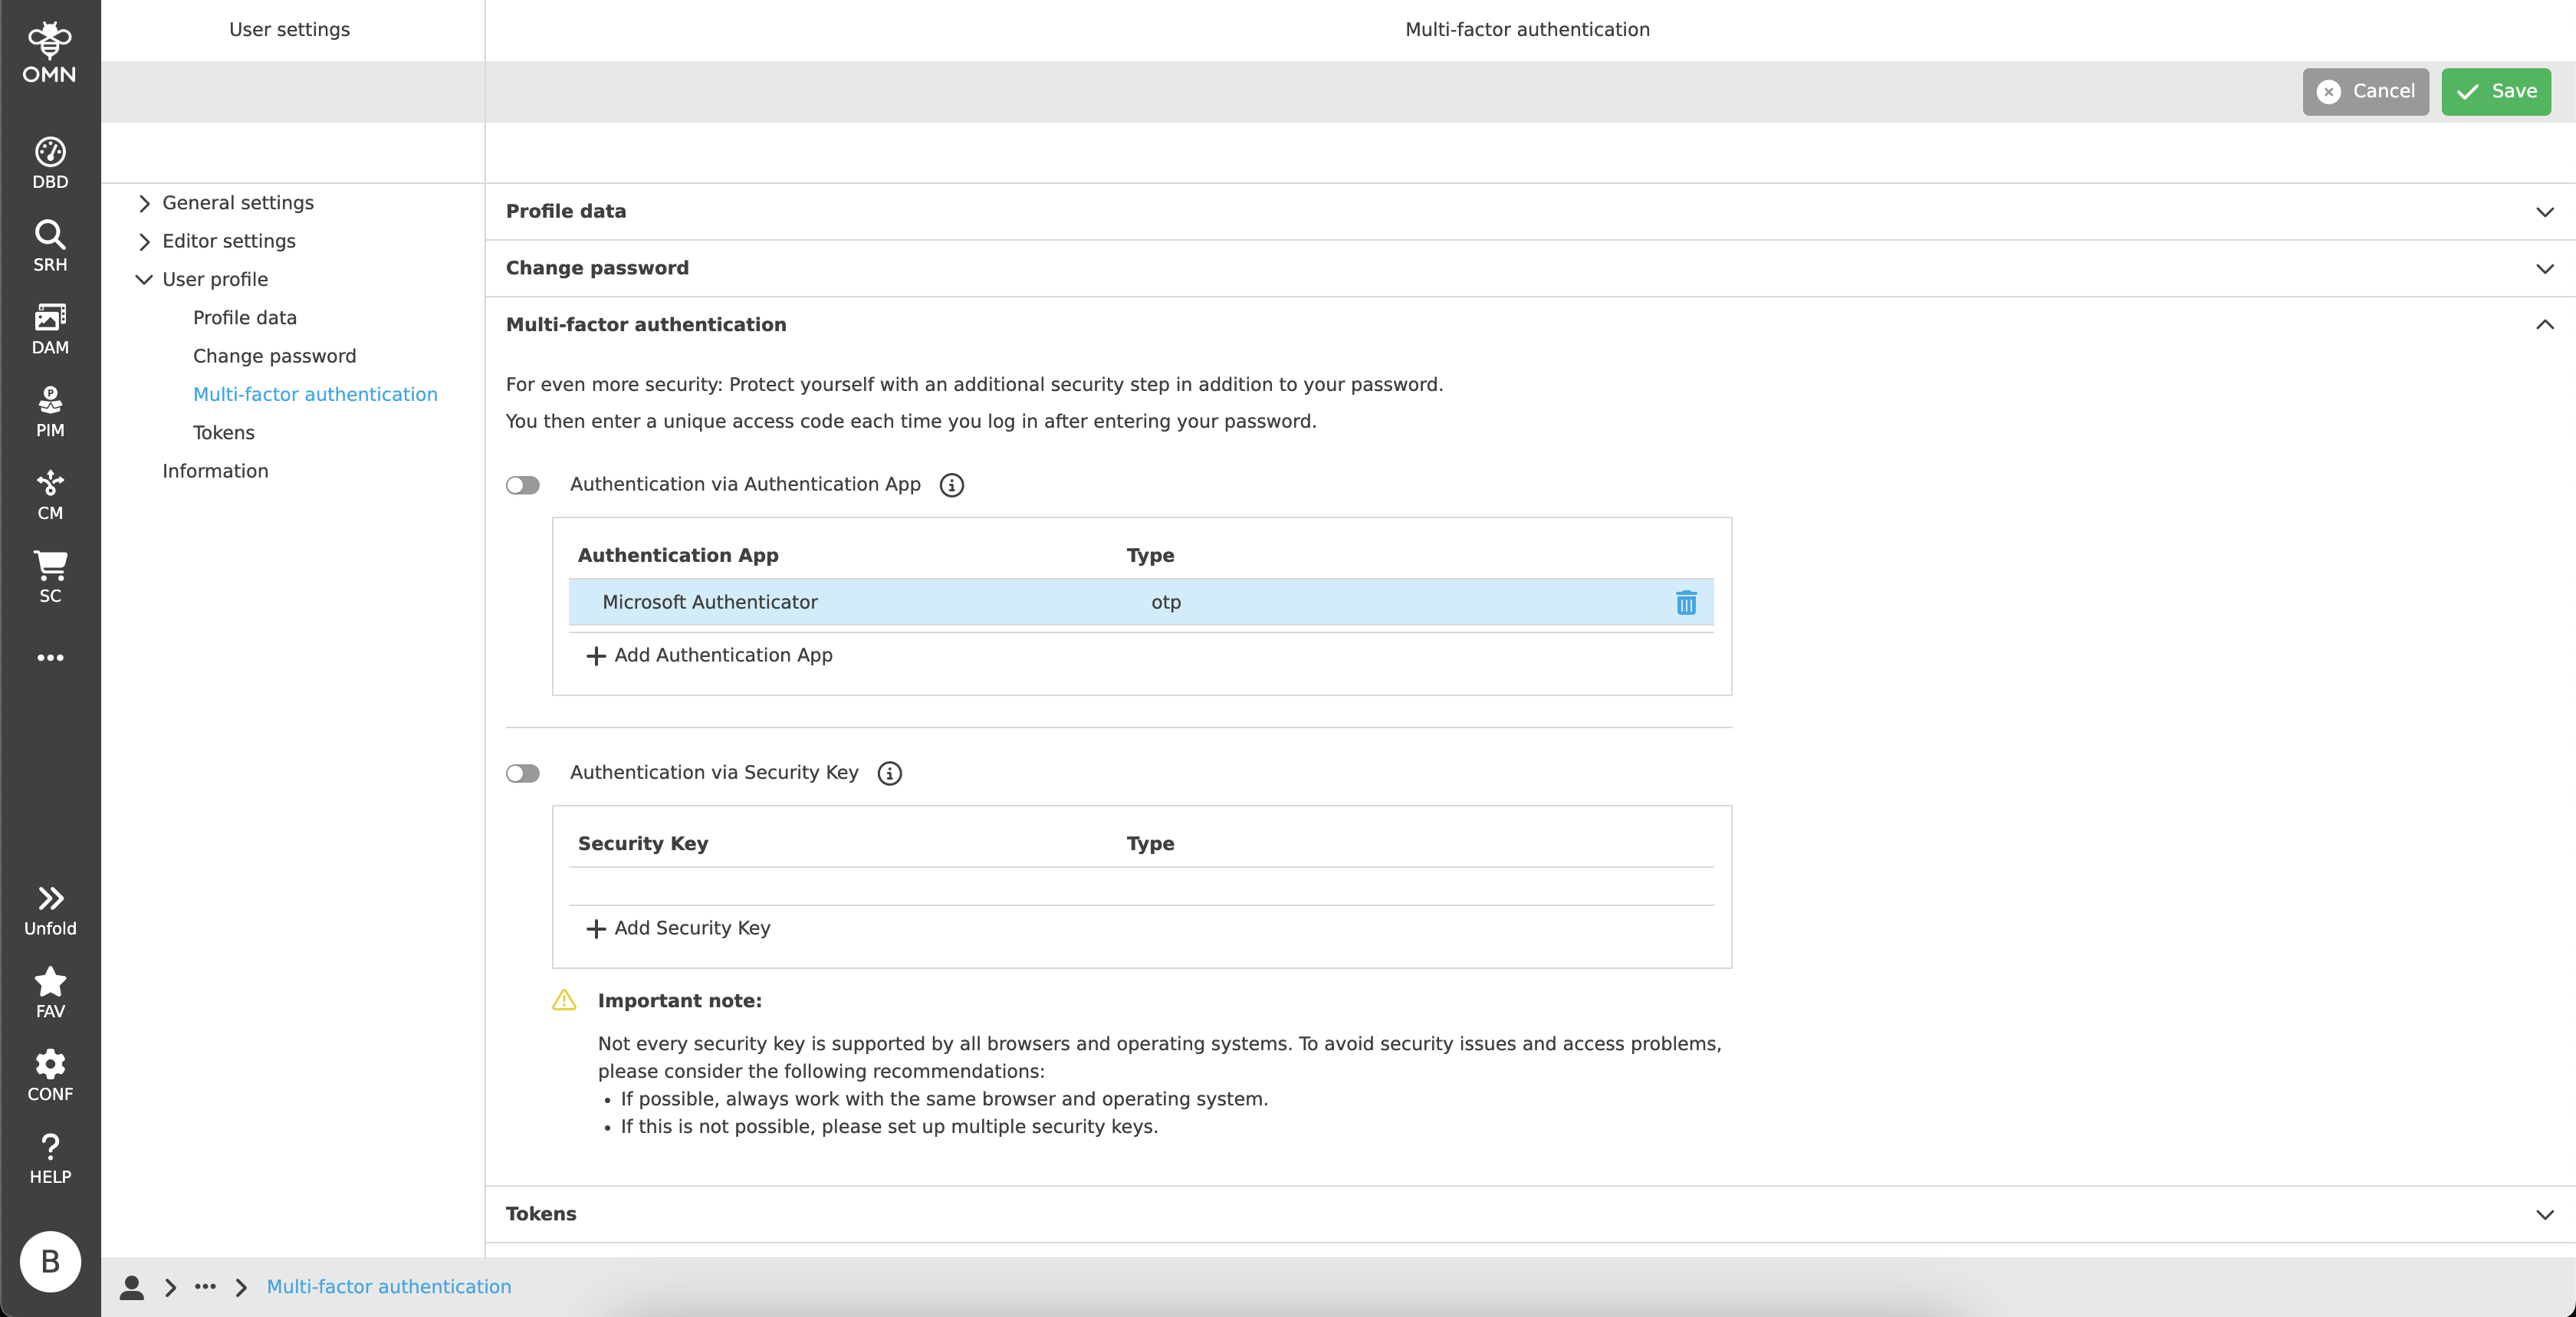
Caution: It cannot be restored and must be registered from the beginning.
If the authentication app section is activated, the user will be asked for the 2FA verification by the next login.
|
Sometimes the OTP will fail during registration or login. Most of the time it is caused by a time difference between the smart device and the server, because the OTP is time-based. In this case, the user should check the time settings. |
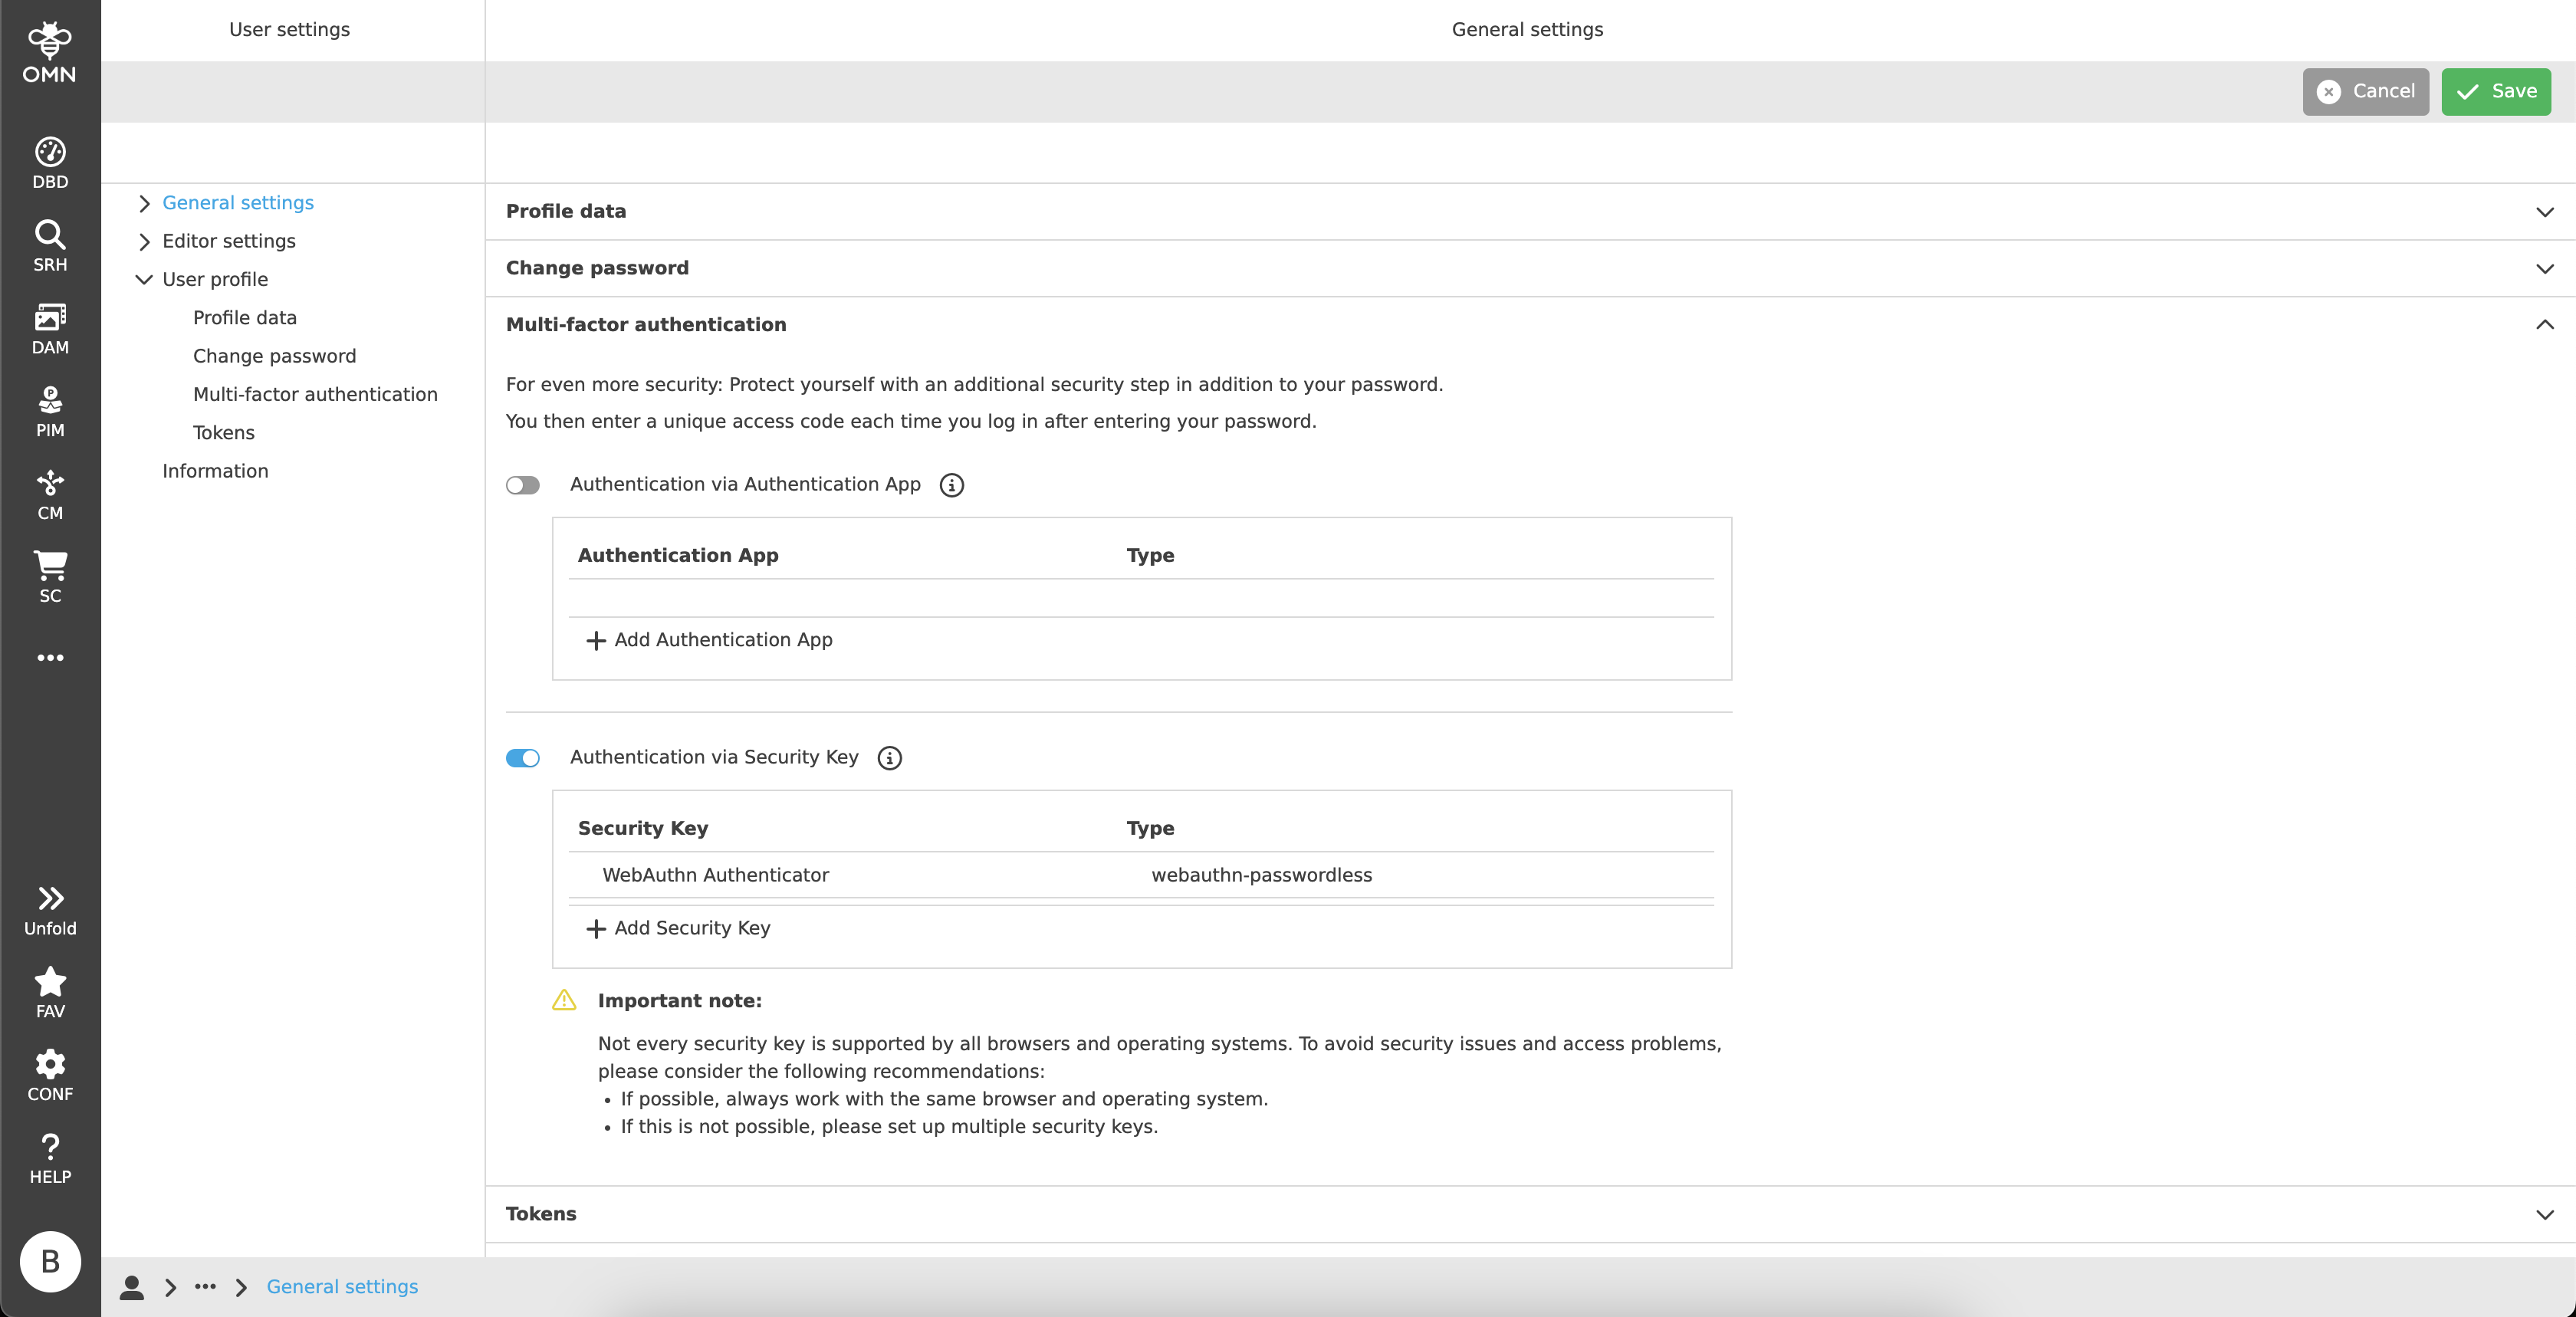
Authentication via Security Key
The second two-factor authentication method "Security Key" bases on the FIDO2 standard which supports biometric authentication. User must have a hardware security key (e.g. YubiKey) or an end device which supports hardware level security technology (e.g. MacOS Touch ID, Fingerprint, etc.).
|
Not every security key is supported by all browsers and operating systems. To avoid security issues and access problems, the user should always work with the same browser and operating system. Alternatively, it is recommended to set up multiple security keys. |
To register a security key, the user must click on the "Add Security Key" button in the table.
After that, he will be redirected to the "Security Key Registration" page.

This page is in general structured as the "Authentication App Setup", but with the difference, that the left side only contains the OMN logo, a welcome message and a button to "Register" or "Cancel".
By clicking on the "Register" button, a browser pop-up appears. As already explained, each browser can have different security key options.
The user needs to follow the instructions to register the desired security key.
For further information, also see Passkey configuration.

| It is possible to set up multiple security keys. |
If the registration was successful, the user will be redirected to the user settings page again and find the registered security key in the table.
The table offers the possibility to delete a registered security key. To do that, the user needs to hover over the table row and a delete icon appears. By clicking on this icon, the key will be removed.
Caution: It cannot be restored and must be registered from the beginning.
If the security key section is activated, the user will be asked for the 2FA verification by the next login.
Setting up multiple Authentication Apps and Security Keys
In principle, it is possible to register several apps and security keys at the same time.
In Login you can then choose between one of these options.
Re-authentication
If the user is in the MFA section or in a registration process and does nothing for a longer period of time, a re-authentication page with an error message may appear during the next action (e.g. adding a security key).
In this case, it should be ensured that no unauthorized third party can make changes to the authentication method.
The user must enter his password and can then continue working as usual.

Reset MFA
For some reasons (e.g. the user lost the smart device or the security key), the user wants to reset the 2FA.
If the user is still able to reach the user settings page, he can just delete the authentication method and create a new one.
If not, the user needs to contact the administrator to reset them from the keycloak administration console.
Tokens
In the "Tokens" section, the user can get the Tokens for the API access.
There are two kinds of Tokens that can be used to authenticate the user when accessing the API.
See more details in Keycloak Tokens

Access Token
This Token is issued by the Keycloak server and could be used to access the API directly.
The user could get a new access Token by clicking the "Refresh" button and copy the whole Token with the "Copy" button.
The Token will be expired after a certain period of time, currently one hour.
| If the user logs out from OMN, the Access Token will be invalidated and cannot be used anymore. |
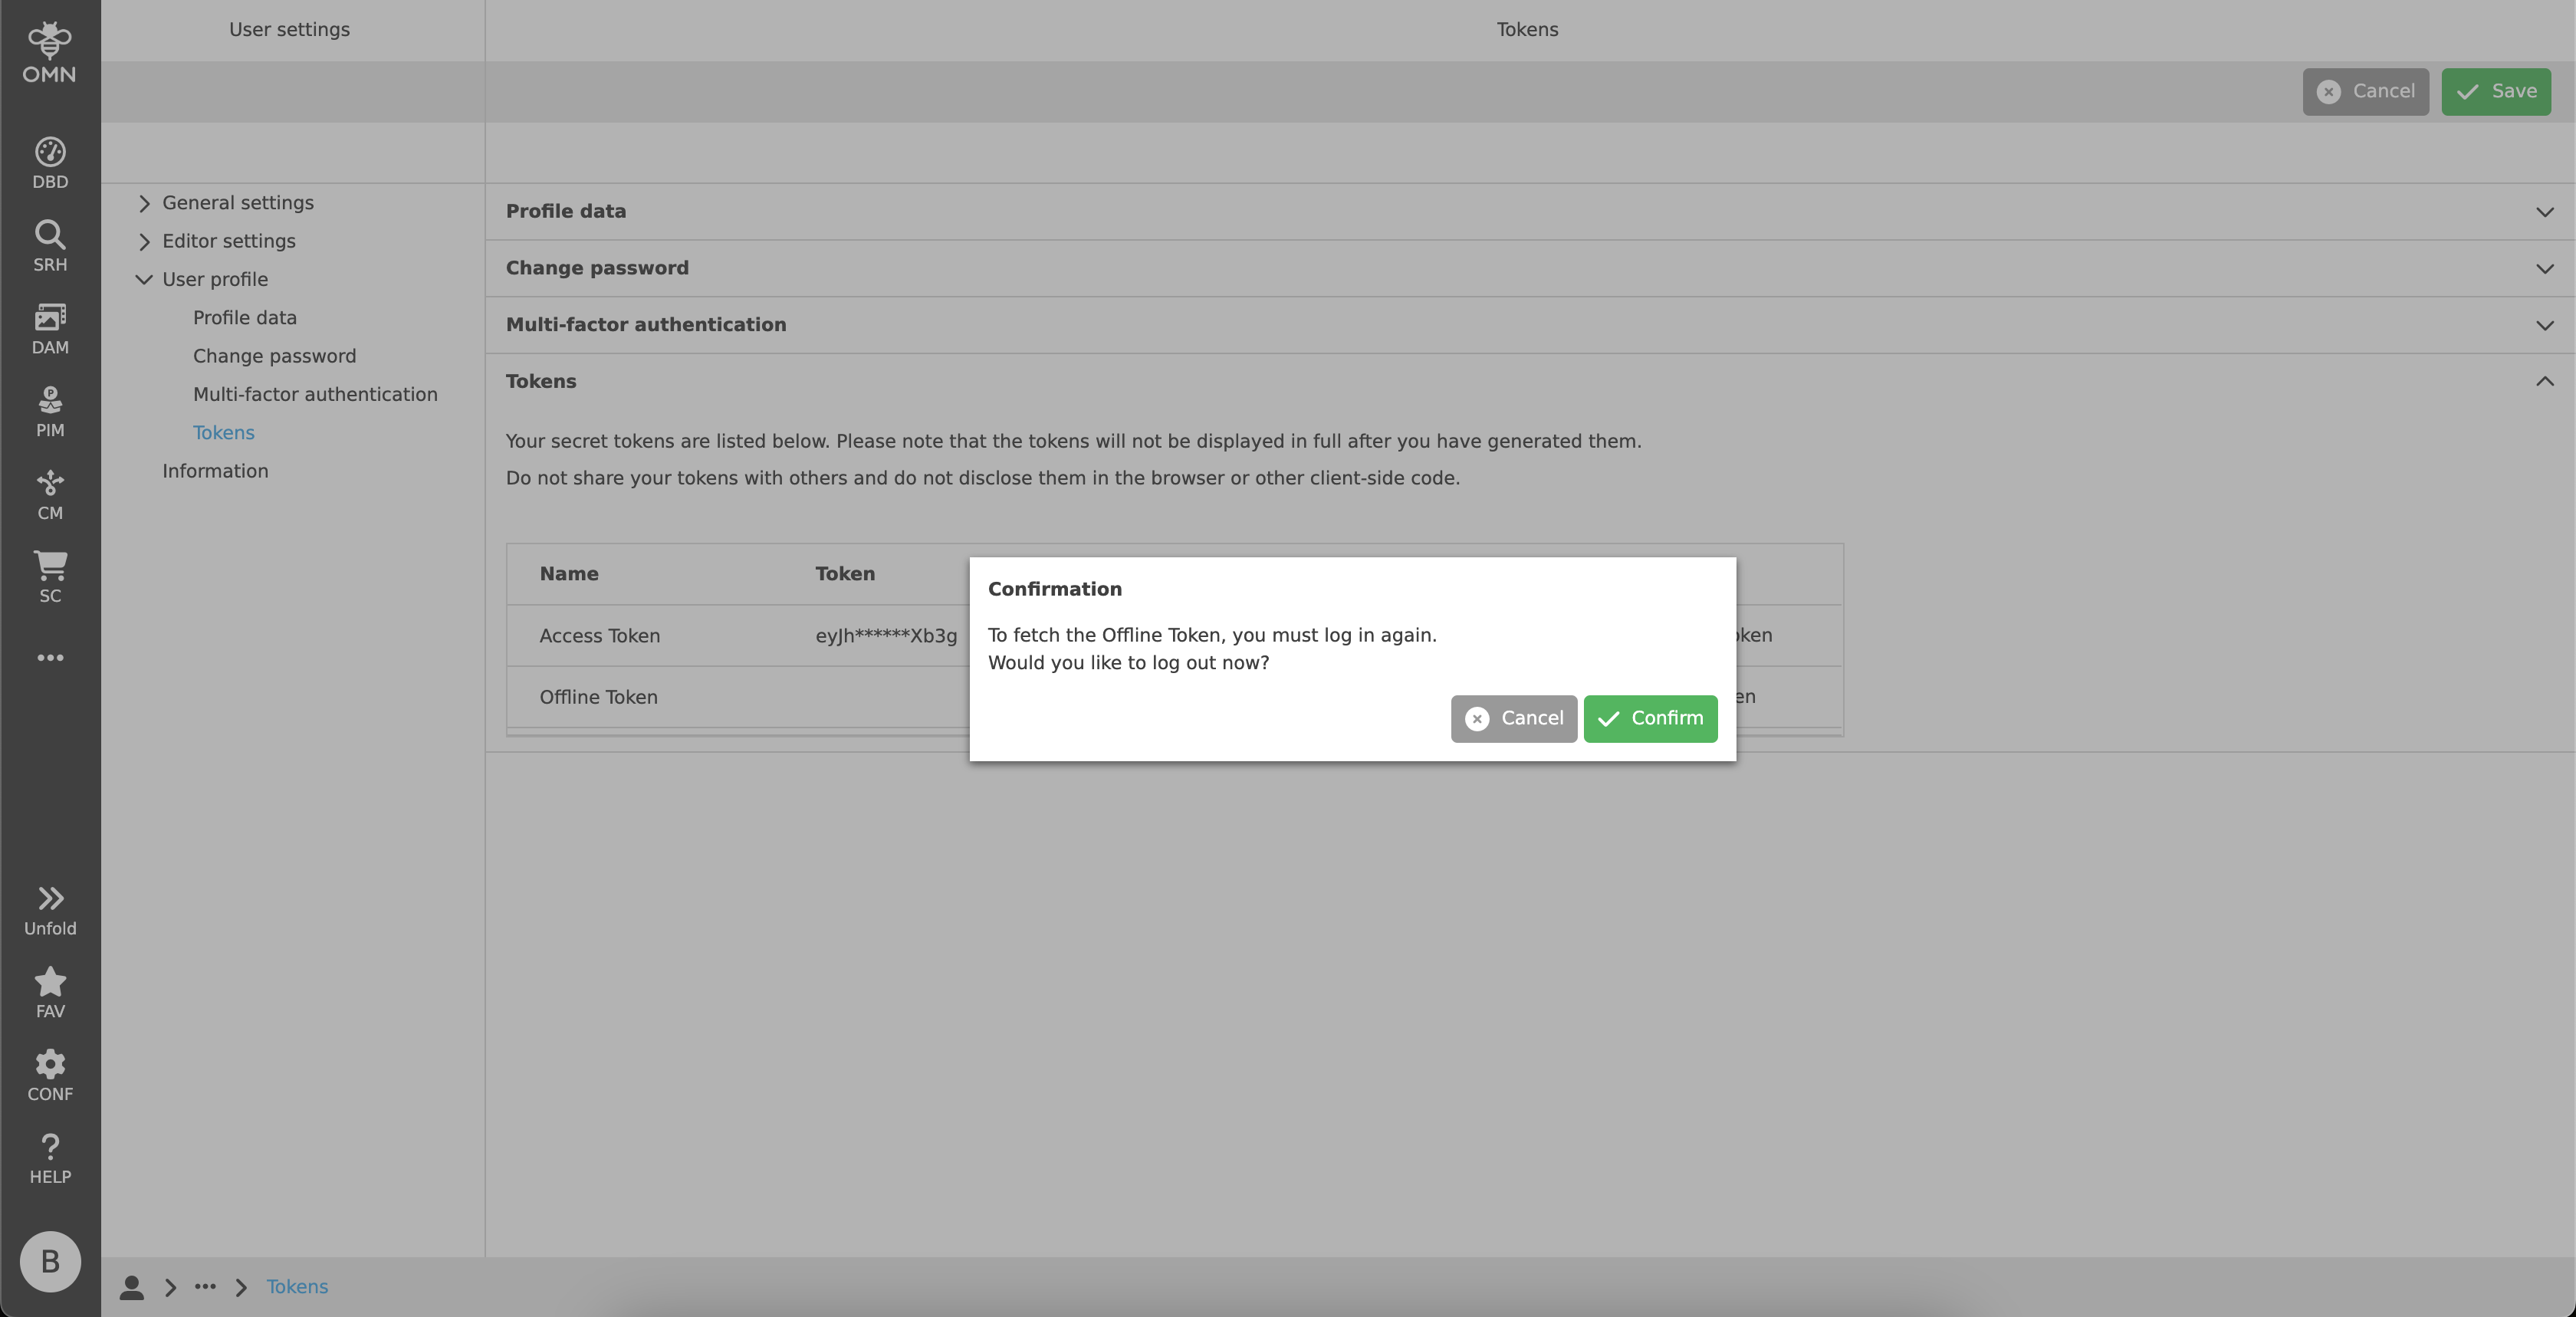
Offline Token
For the long-term access, the user should use the Offline Token.
The Offline Token is a special refresh Token and cannot be used to access the API directly, but it can be used to fetch the Access Token.
To get the Offline Token, the user must click the "Fetch" button.
After that, the user will be required to log in again.
The Offline Token will be shown in the "Token" column after the re-login process is done. It can be copied and saved in a secure place. OMN will not persist it and show it again after logout.
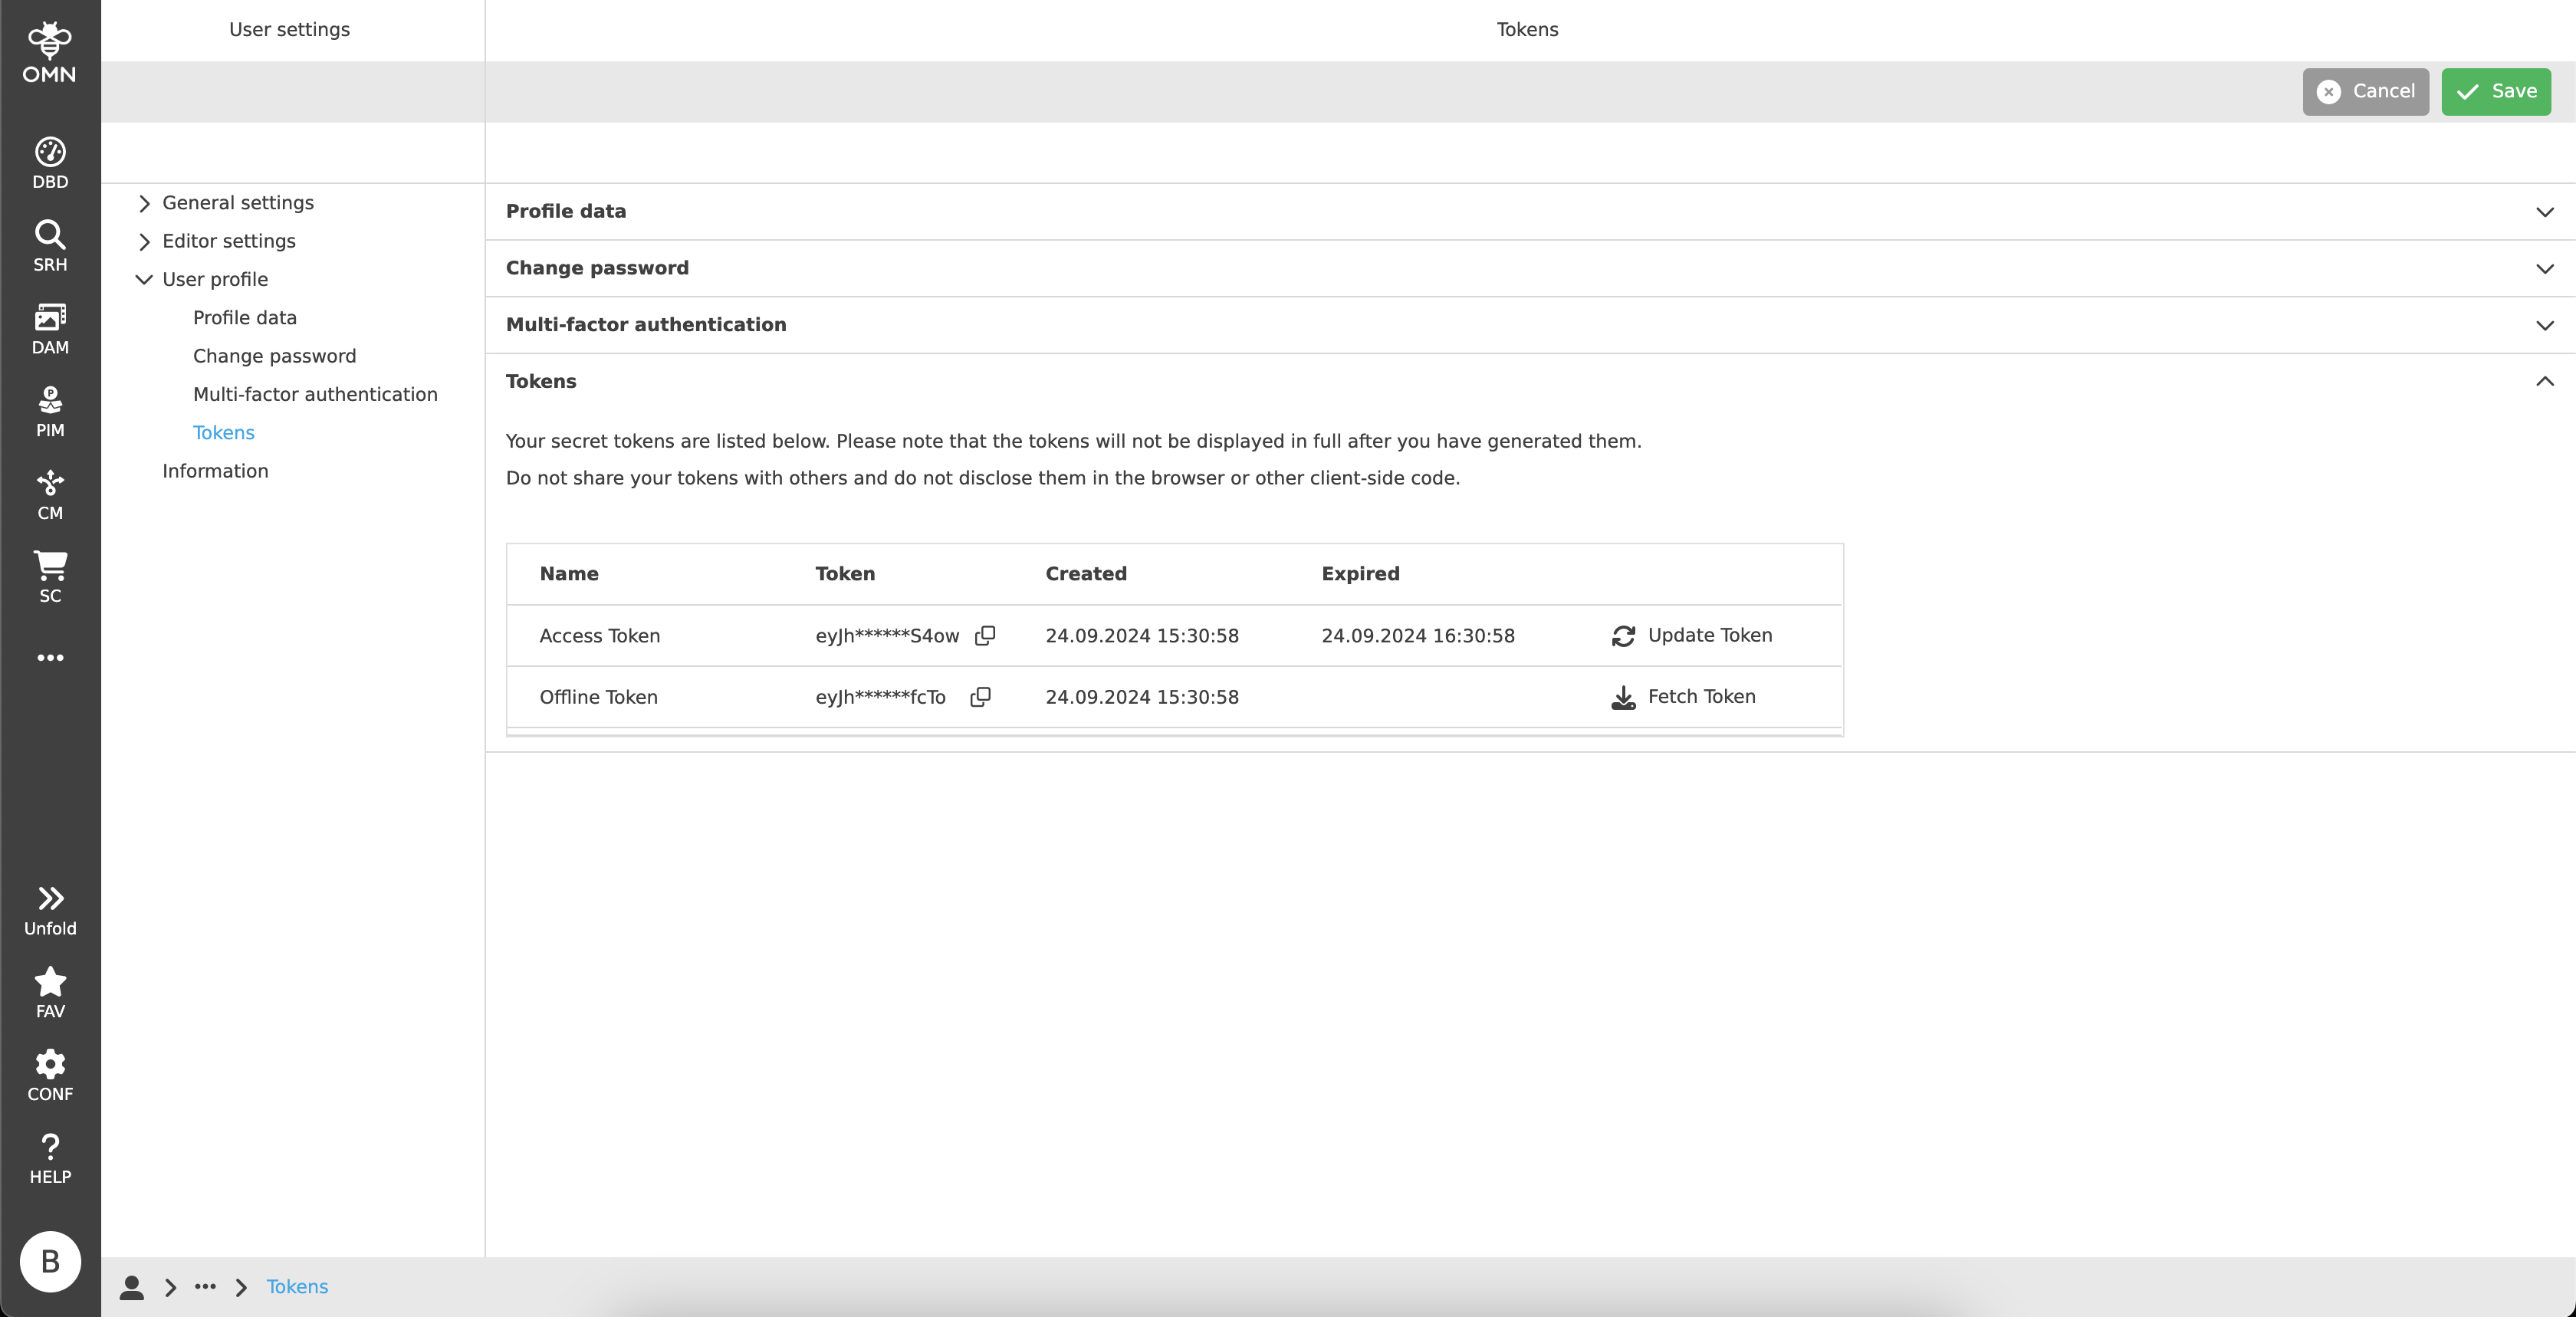
The Offline Token will be expired after a certain period of time, currently 30 days. Users can exchange the old Offline Token with a new one during this period.