Deploy a process definition
Creating and Deploying a Simple BPMN Process with Camunda Modeler
This documentation will guide you through the process of creating a simple BPMN (Business Process Model and Notation) diagram containing a start event, user task, and end event using Camunda Modeler. You will also learn how to deploy the BPMN process to the Camunda engine for execution.
Step 1: Prerequisites
Before you start, ensure you have installed the Resources and Downloads.
Step 2: Example process modeling
-
You should see a blank canvas where you can start designing your BPMN diagram. (BPMN Platform 7)
-
Drag and drop the Start Event element from the toolbar onto the canvas. You can find it under the "Events" section.
-
Drag and drop the User Task element from the toolbar onto the canvas. You can find it under the "Tasks" section.
-
Drag and drop the End Event element from the toolbar onto the canvas. You can find it under the "Events" section.
-
Connect the Start Event to the User Task by dragging and dropping a sequence flow connector from the toolbar. Then connect the User Task to the End Event with another sequence flow.
-
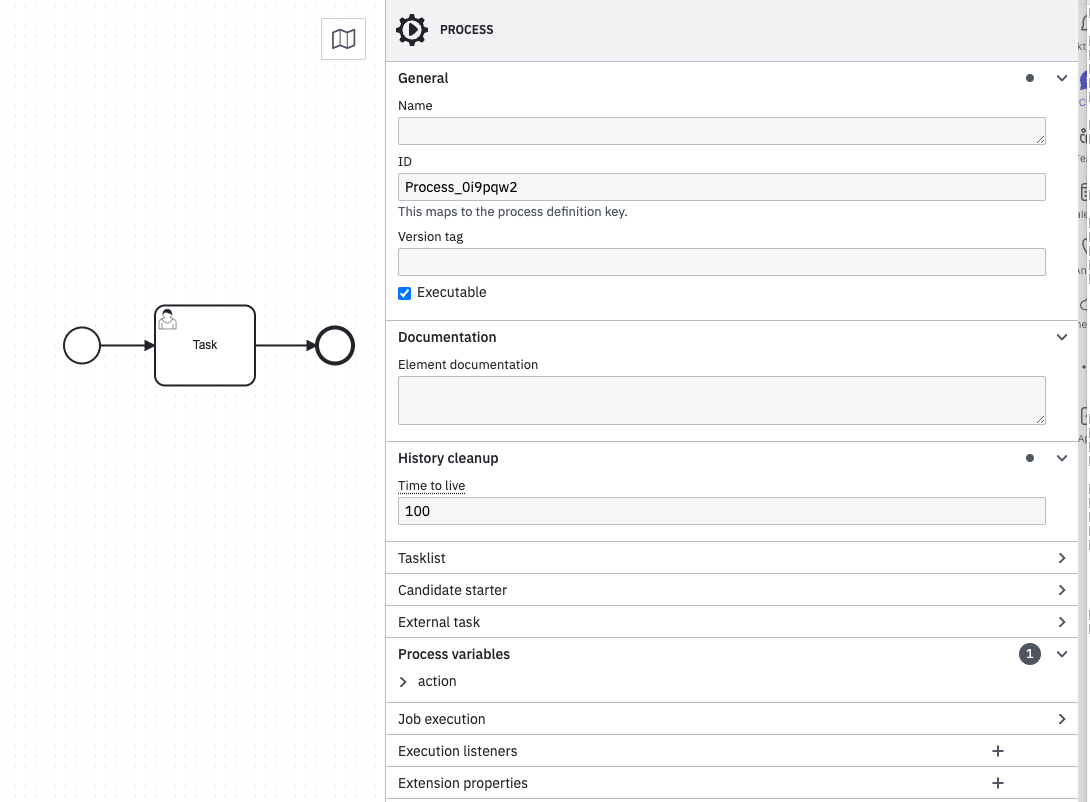
Double-click on the User Task shape to open its properties panel.
-
In the properties panel, specify the task’s name and other relevant details. You can set attributes like task name, task ID, assignee, candidate groups, etc., based on your requirements.
-
Optionally, you can add additional elements like gateways or other tasks to the process to define more complex flows.
-
Set "History lifetime" of the process respective to your needs
-
Save your BPMN diagram with a descriptive name and the
.bpmnextension.
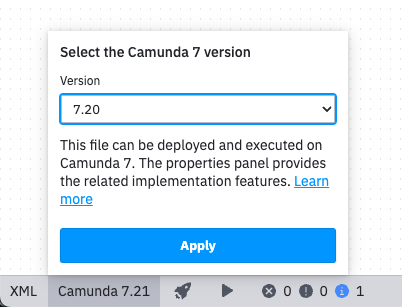
Step 3: Switch Camunda Modeler to compatible version
-
In the OMN Configuration client or in user settings you can check the installed version of OMN and the connected Camunda engine.
-
Set your Camunda Modeler installation to the used Camunda version of your OMN installation
Step 4: Deploy the BPMN Diagram to Camunda Engine
-
Click on the "Deploy" button located in the toolbar. This will open the Deployment dialog.
-
In the Deployment dialog, provide the necessary details such as Deployment Name, Source, and Tenant ID (if applicable).
-
Select the BPMN diagram you want to deploy by clicking on the "+" button next to "Add Diagrams." Browse your file system and select the previously saved BPMN diagram file.
-
Ensure that the deployment options, such as "Deploy Changed Only" or "Resume Previous Versions," are set according to your needs.
-
The deployment URL is
-
depending on your version, it can be taken from the OMN Configuration client.
-
Click the "Deploy" button to initiate the deployment process.
-
Once the deployment is successful, you can access and execute the deployed process in the Camunda engine.