Overview of Online Media Net
Basics of the user interface
After successfully logging in to Online Media Net, the following view will be displayed as your initial homepage.
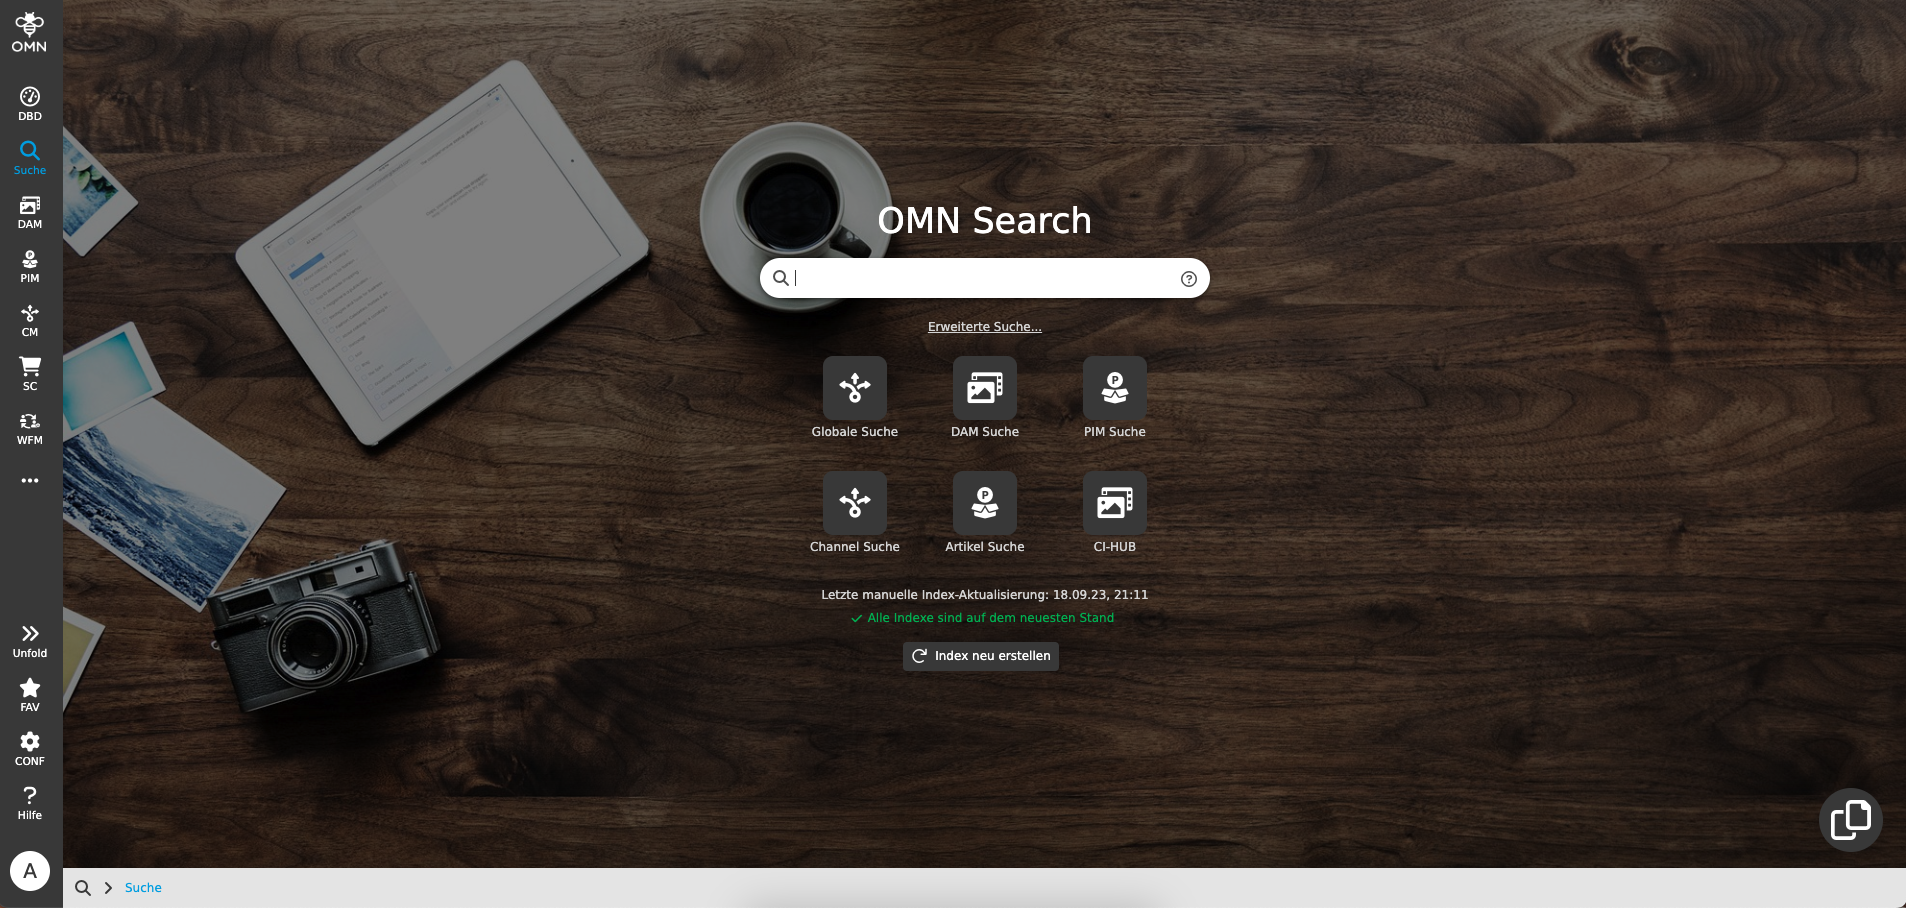
| You can change the home page that is displayed after logging in at any time in your personal settings. |
OMN has a very structured interface across all modules.
If you want to learn more about the general structure of the OMN UI and the general UI principles, the following chapter is just right for you: OMN General Principles
The Sidebar Navigation
Central access to the various module areas of Online Media Net, such as the PIM, DAM or CM module, is via the so-called left-aligned sidebar navigation.

By clicking on your sidebar icon you will be taken to the associated module/function area, which will open in the same browser window.
By pressing CTRL + mouse click (PC) or CMD + mouse click (Mac) on a sidebar element, the associated module/function area can also be opened in a new browser tab. This is useful, for example, if you want to work with several tabs in parallel.
Some sidebar elements are further subdivided. For example, if you click on the DAM sidebar element, a substructure opens for selecting the respective archive area, which must be selected in order to call up the associated module/function area.
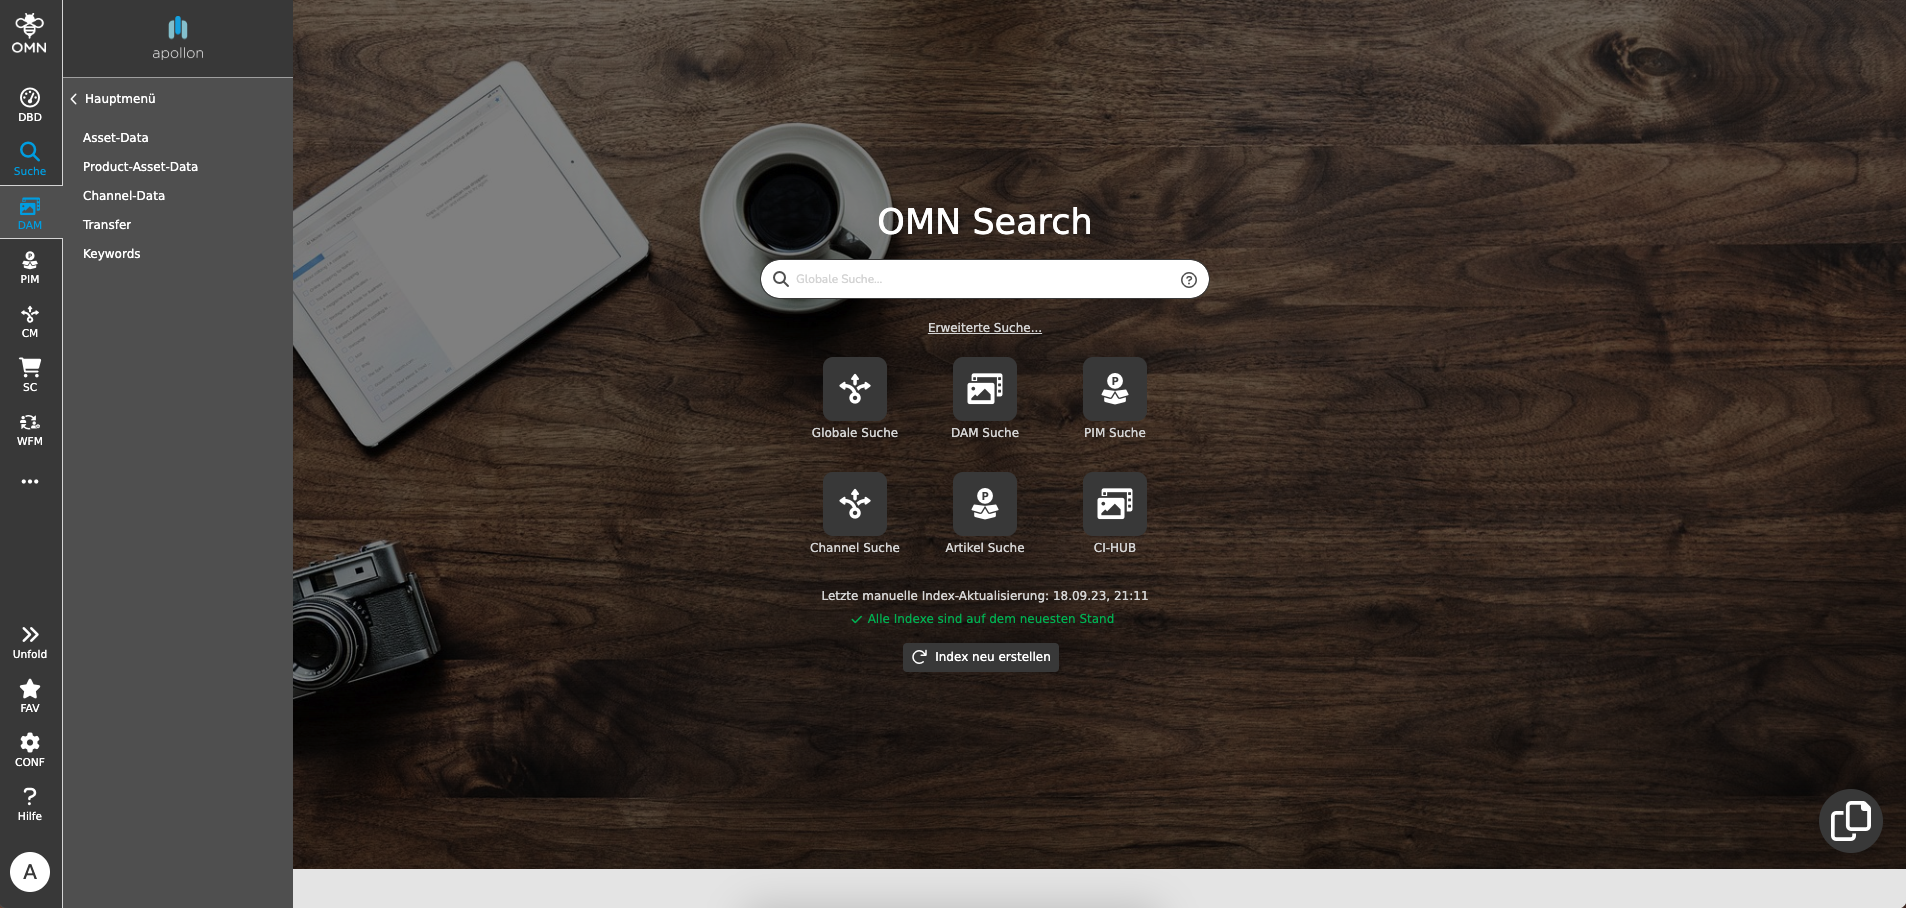
You can find more information here: Sidebar
Surface areas
The functional models, such as the DAM module, follow a three-part division of the surface.
The surface areas are shown schematically in the following figure and briefly explained.
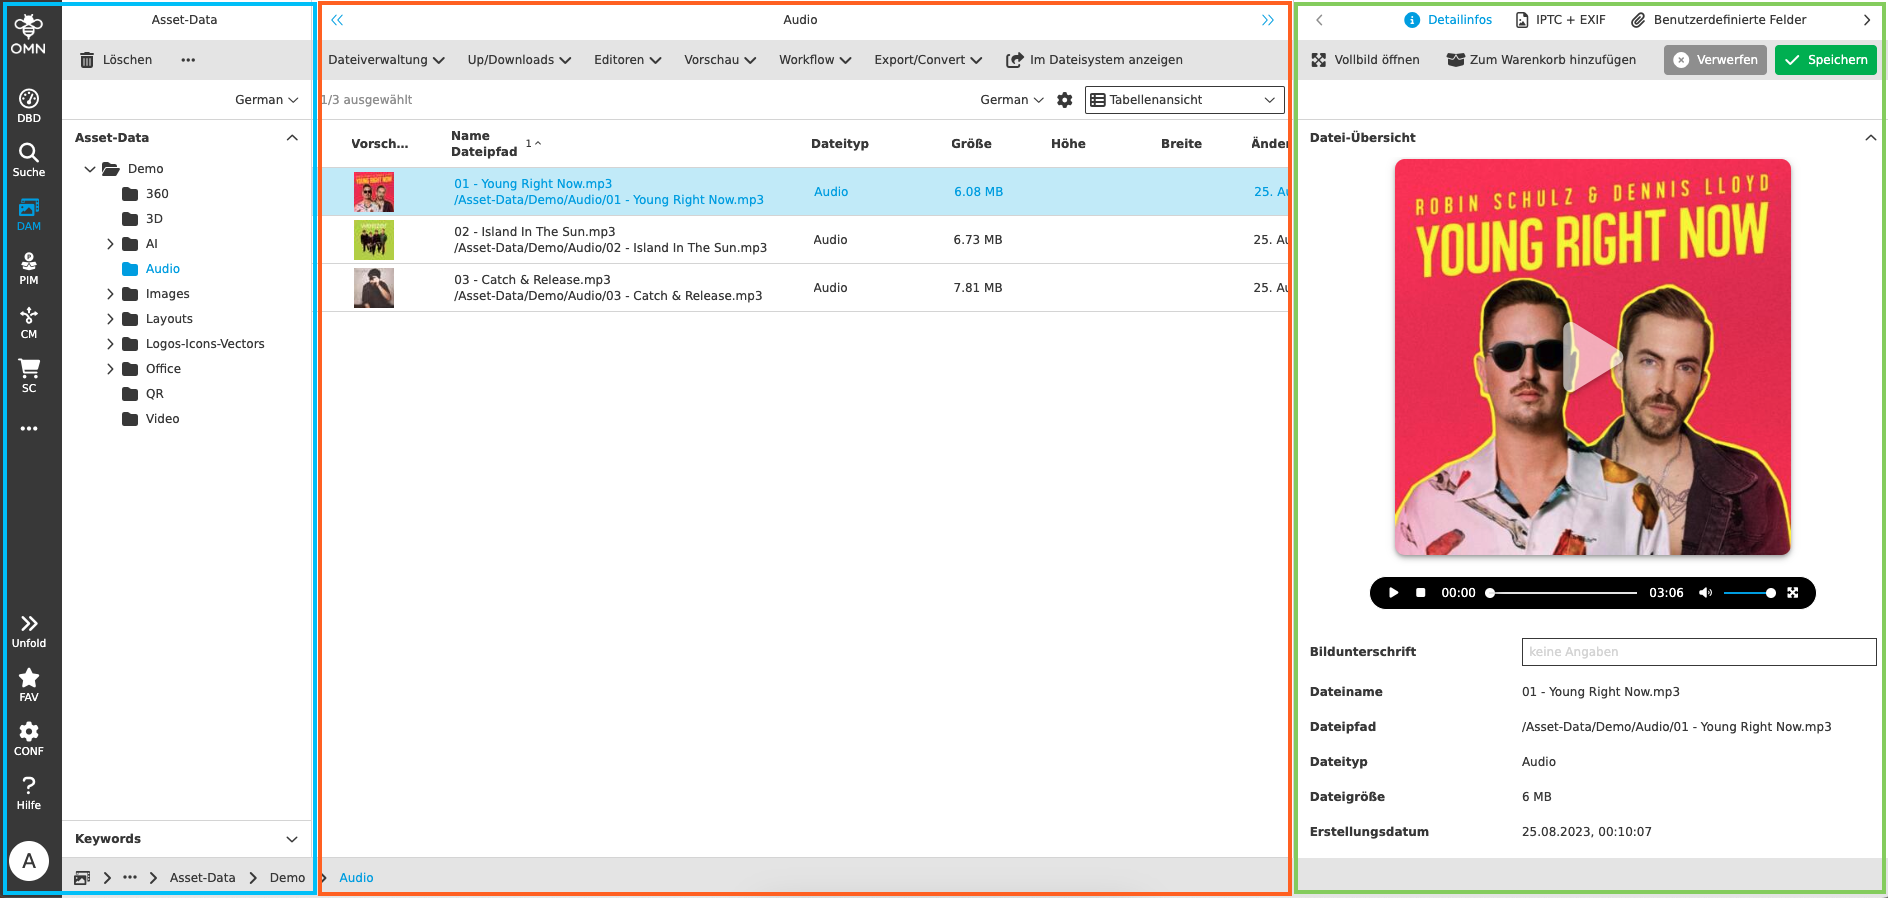
Navigation area (LEFT, blue)
The navigation area shows the navigation structure of the individual areas in the Online Media Net. Either physical folder structures or virtual folder structures can be shown here.
Above the folder display you will find various function groups and functions depending on the type of navigation structure.
Content area (MIDDLE, orange)
The content area is made up of the various views and functions. You can change the display in the content area using so-called content switchers in the content area. Depending on your role and the function area you are calling up, different views and functions are available to you.
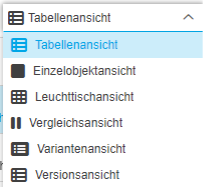
By default, a tabular view is usually selected when you call up the content area. Depending on the module, other view types are also available.
Which view is currently active for you is shown in blue.
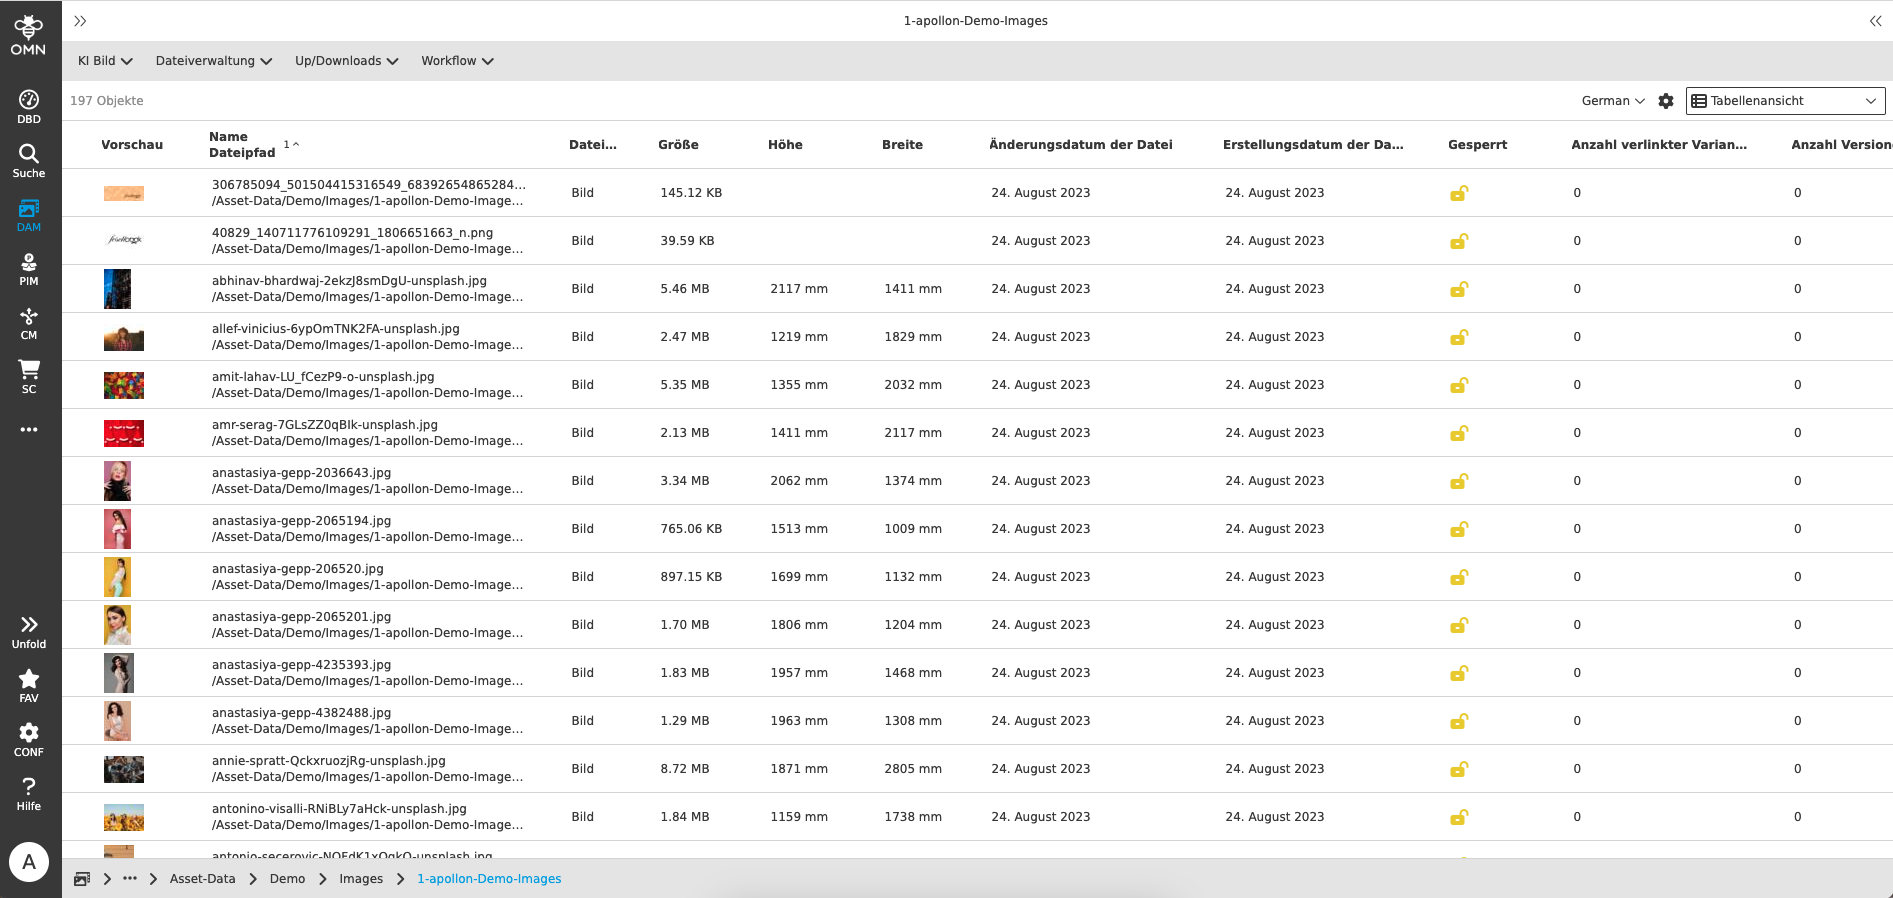
In the example below, the table view is activated.
| All content views are limited to displaying a maximum of 2000 objects within a folder. This is for performance reasons. Objects beyond this number will not be displayed! |
In the footer you will find the so-called breadcrumb navigation. This visualizes the navigation path to the current directory/location you are currently in. All parts of the path are clickable, so you can navigate over them and update the current view.

Detail area (RIGHT, green)
In the right detail area, general properties of a selected object, e.g. product, asset, are displayed from the content view. The display depends on the selected object type (e.g. product, image or video file, etc.).
For an image file, this can be information such as file path, file size and image properties such as dimensions and color space. For a video, however, information about the frame rate or codecs is provided.
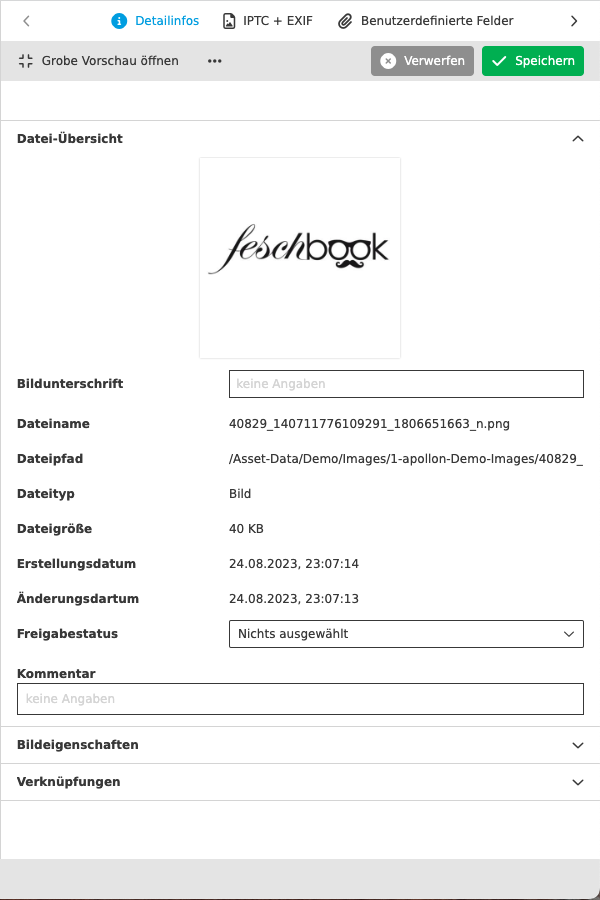
A special feature in the detail area is the “Links” accordion. This section shows you links between the selected element and other linked elements, e.g. a document in which the image is used or the product or project to which the image is linked.
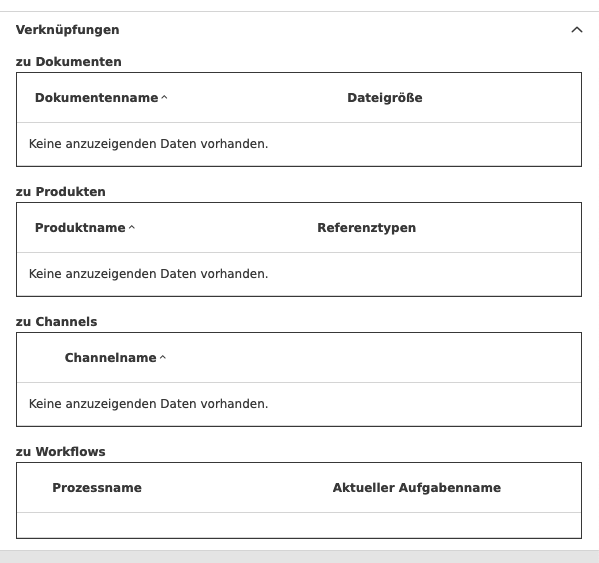
You can open the linked object directly via a function, which will then be opened and displayed in a new tab.
| The prerequisite for displaying the document links is that the documents have been saved with the OMN Page Preview Plugin. |
If you would like to learn more about the structure of the OMN interface, visit the following link: General Structure
Calling up modules and functions
You can access modules via a sidebar element, e.g. the DAM module.
You will find various functions within a module.
Use of functions
Online Media Net is designed in such a way that the user always has to interact before the system can react. This applies to the entire system.
For example, you must first select a folder or file so that all available functions and information for the selection are displayed.
After selecting an object or symbol in the navigation area (left), the content of the object is then displayed in the middle of the content area.
If an entry or line in the content area is clicked, any details about this entry are displayed in the details area on the right.
When working in OMN, you have DnD functionality at your disposal at all times, which allows you to create assignments and logical relationships between individual objects, but also to organize files.
Using this functionality, you can, for example, move files to other folders or assign images to a product.
In addition, in combination with browser tabs, objects can also be organized across different parts of the system, as DnD is also supported between modules opened in different browser windows.
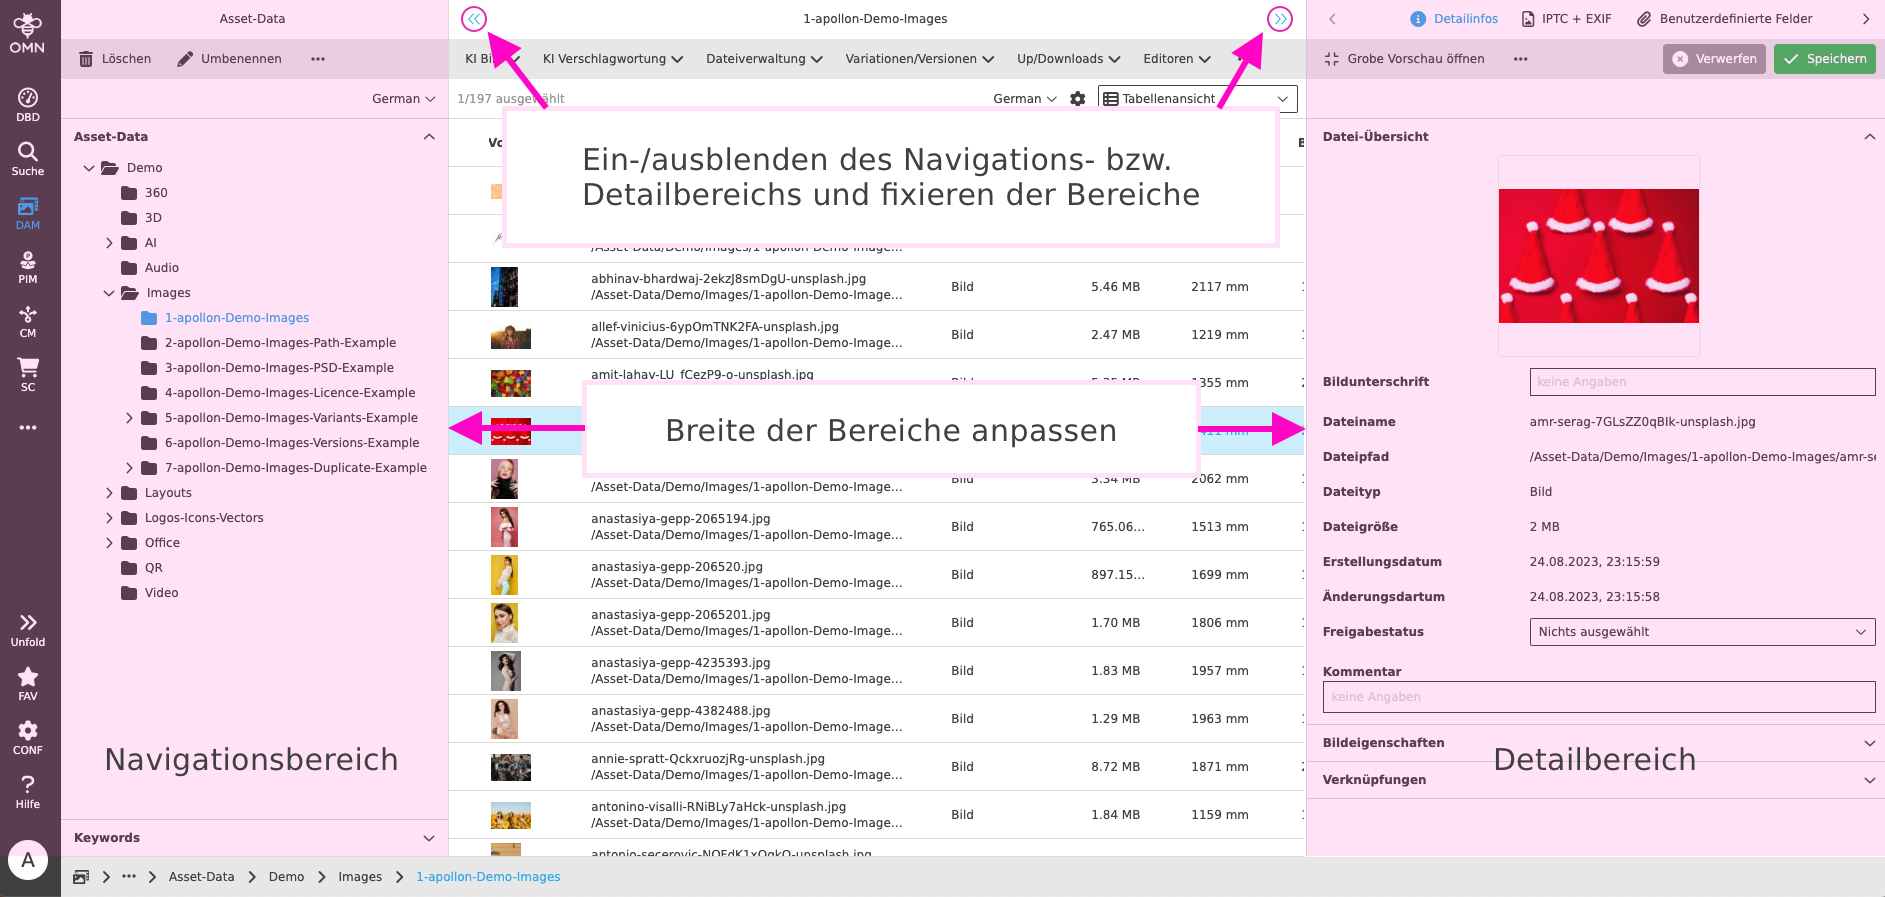
By clicking on the double arrows on the top left and right (see image above), you can show or hide the navigation or detail area to reduce or enlarge the content area.
It is also possible to adjust the width of the individual sections of the work area. To do this, simply move your mouse pointer over the small window divider symbol between two of the three areas and move it to the left or right to the desired position while holding down the left mouse button. You can then release the mouse button.
The contents of the respective areas will then automatically adjust to the new widths.
| If you have also activated the so-called user-based settings in your user settings, these settings will be saved in your profile. |
View forms in the content area
Online Media Net distinguishes between different view forms within the content area.
These are displayed at the top right. Different additional buttons may be available in the different views, which are explained below.
Table view

By clicking on the button Table view, all contents are displayed in a table. In addition to the pure file information, the columns can also display additional meta information.
Above the table, it is shown how many elements were found and selected.
To sort the view according to a column criterion, click on the respective column header to sort the contents in ascending or descending order.
The order of the columns can also be changed by moving the columns to the respective position using DnD.
OMN also supports sorting according to multiple criteria by clicking on multiple columns. You can see from numbers which sorting criteria are used in which order.
| The settings take you to the table view settings. |
Single Object View

By clicking on the button Single object view all contents are displayed individually.
Above the single object view, the number of elements found is displayed.

With the “Zoom” element you can change the single view size.


You can use the arrows to the left and right of the single object view to browse between the individual files.

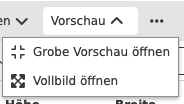
If necessary, you can also change the appearance of the image using the available buttons.
Examples of the elements shown:
-
Rotate the image in 90 degree increments clockwise or counterclockwise
-
Display the image in its original size (maximum)
-
Display the image scaled to the available display area
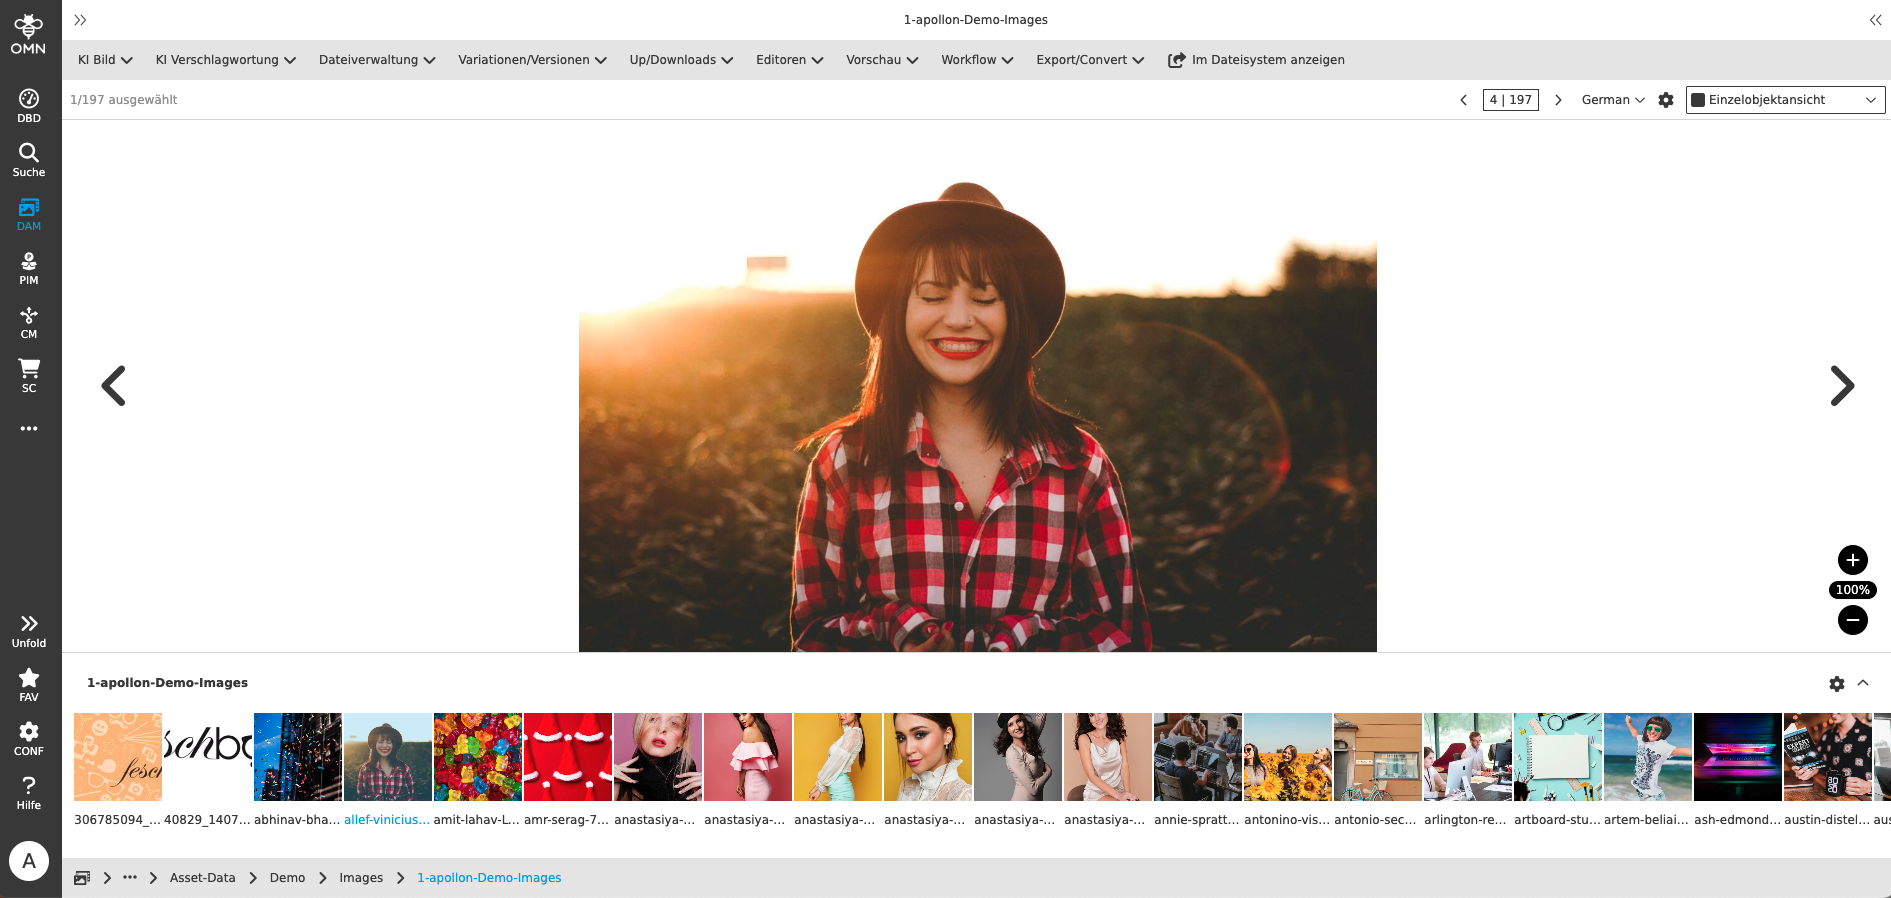
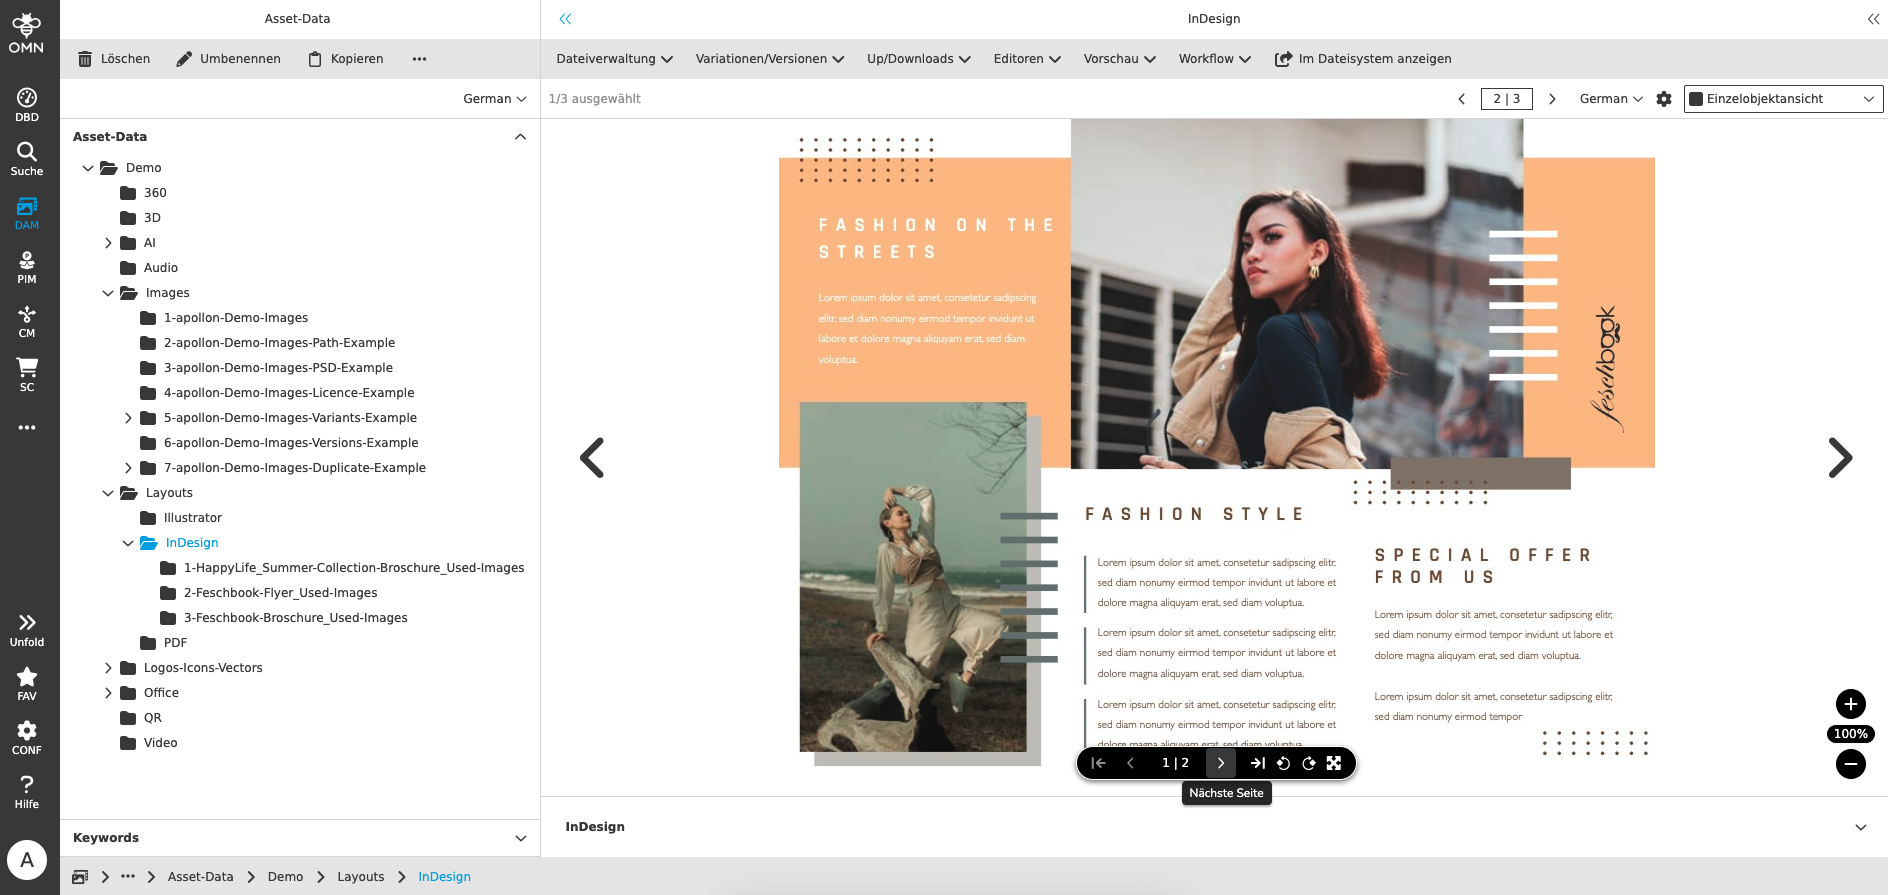
This view offers additional convenience for multi-page documents (e.g. Word, InDesign).
You can browse through these directly in the preview.
|
DIn order to display previews of InDesign documents, they must be saved with the so-called OMN Page Preview Plugin. Using the small toolbar, you can easily switch between pages or set the view to full-screen mode. The pages can be displayed as double pages or single pages (can be set via the settings). |
| No additional metadata information is displayed in the single object view. |
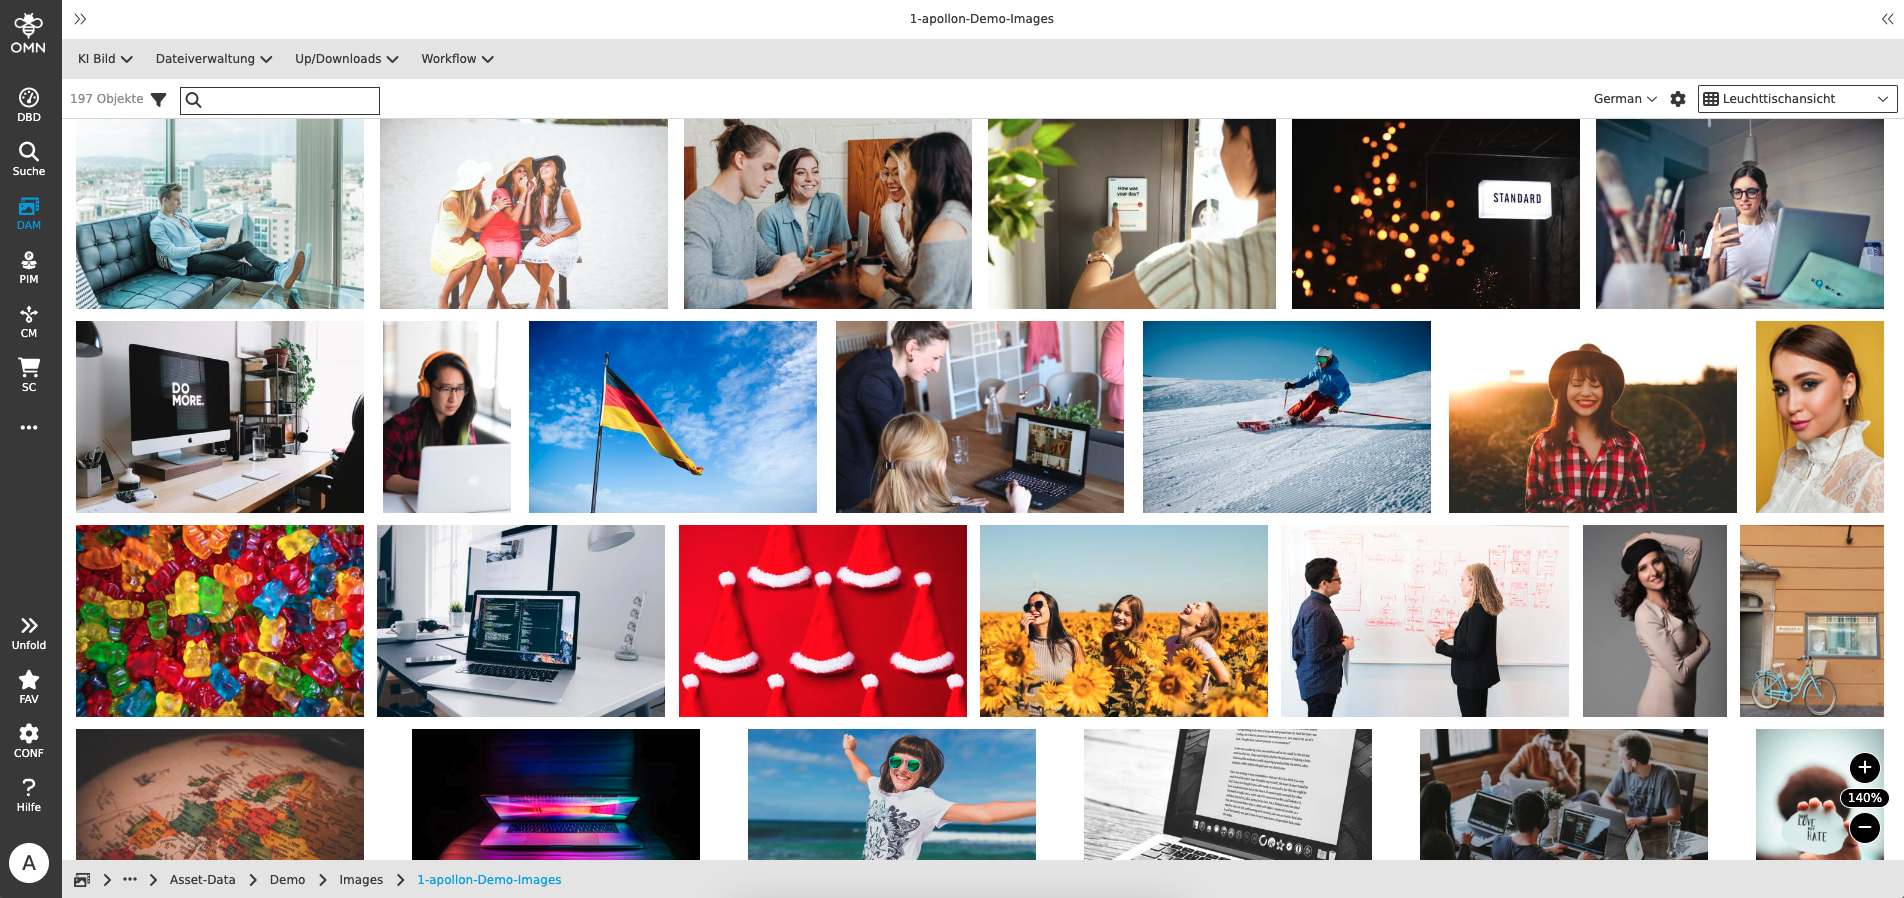
Light Table View

By clicking on the button Light table, all of your content will be displayed in a light table view.
Above the light table, you will see how many elements were found.
Similar to the single object view, you can also set the size of the previews here. This also works via shortcuts, which you can find as an overview in the sidebar.
In addition to the previews, you can display information such as file name, size or keywords. You can determine which you want to have displayed using the light table settings.
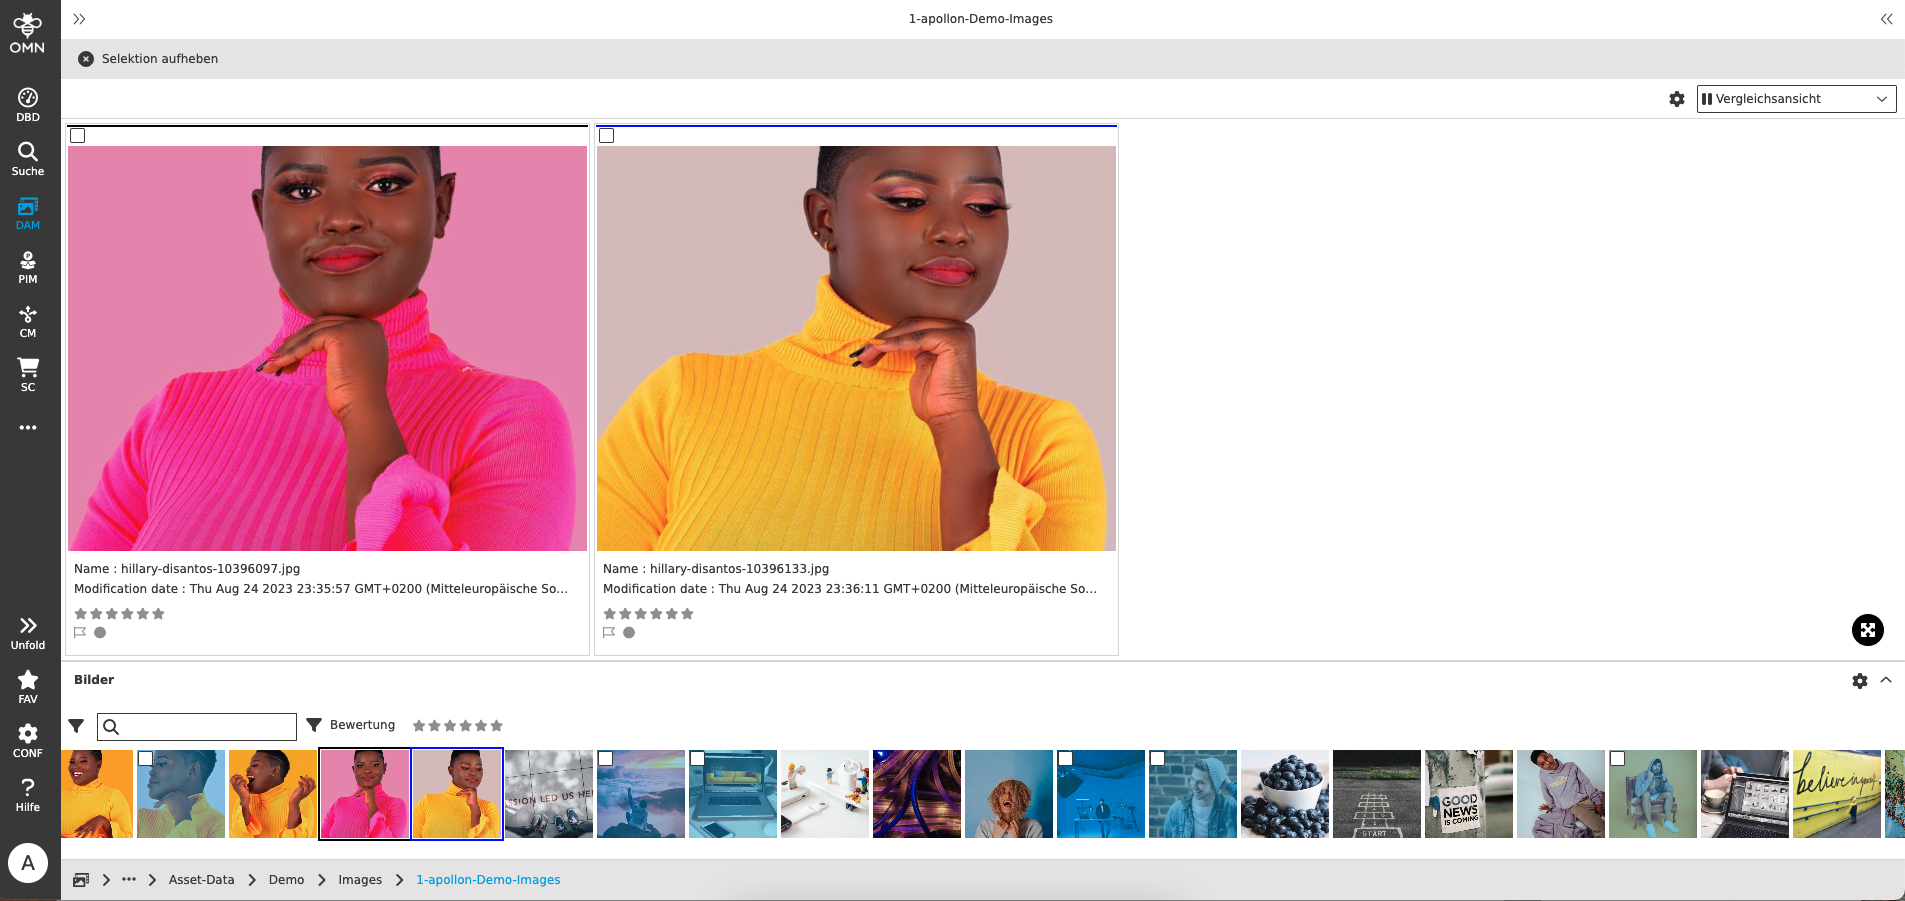
Compare View

By clicking on the button Compare view you will be taken to a view that allows you to compare assets.
The view is divided into an upper and lower area.
In the upper area you will find the actual comparison view, while in the lower area all assets in the selected folder are displayed.
You can use DnD to drag assets from the lower area into the tiles in the upper area.
Use the left and right arrow keys to navigate through the assets in the upper area, and use the up/down arrow keys to change the view.
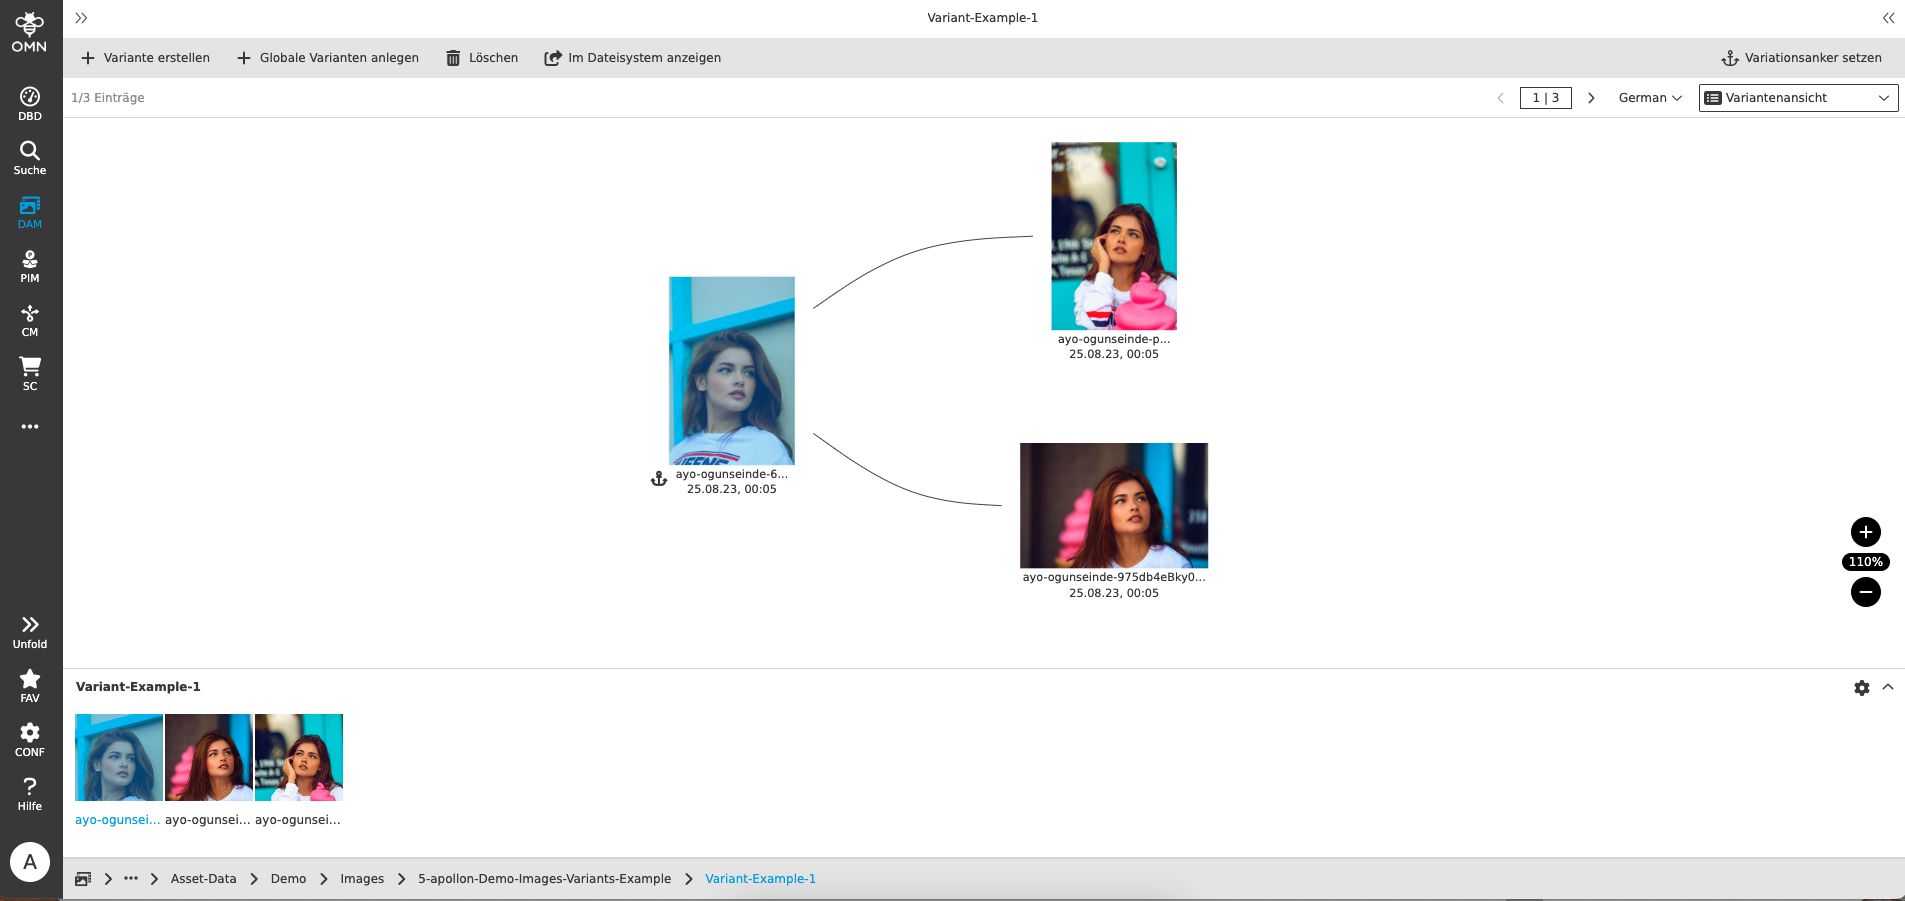
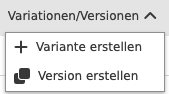
Variation View

By clicking on the button Variation View you will be taken to a view that visualizes the relationships between assets or allows you to establish relationships to the selected file via DnD of an asset.
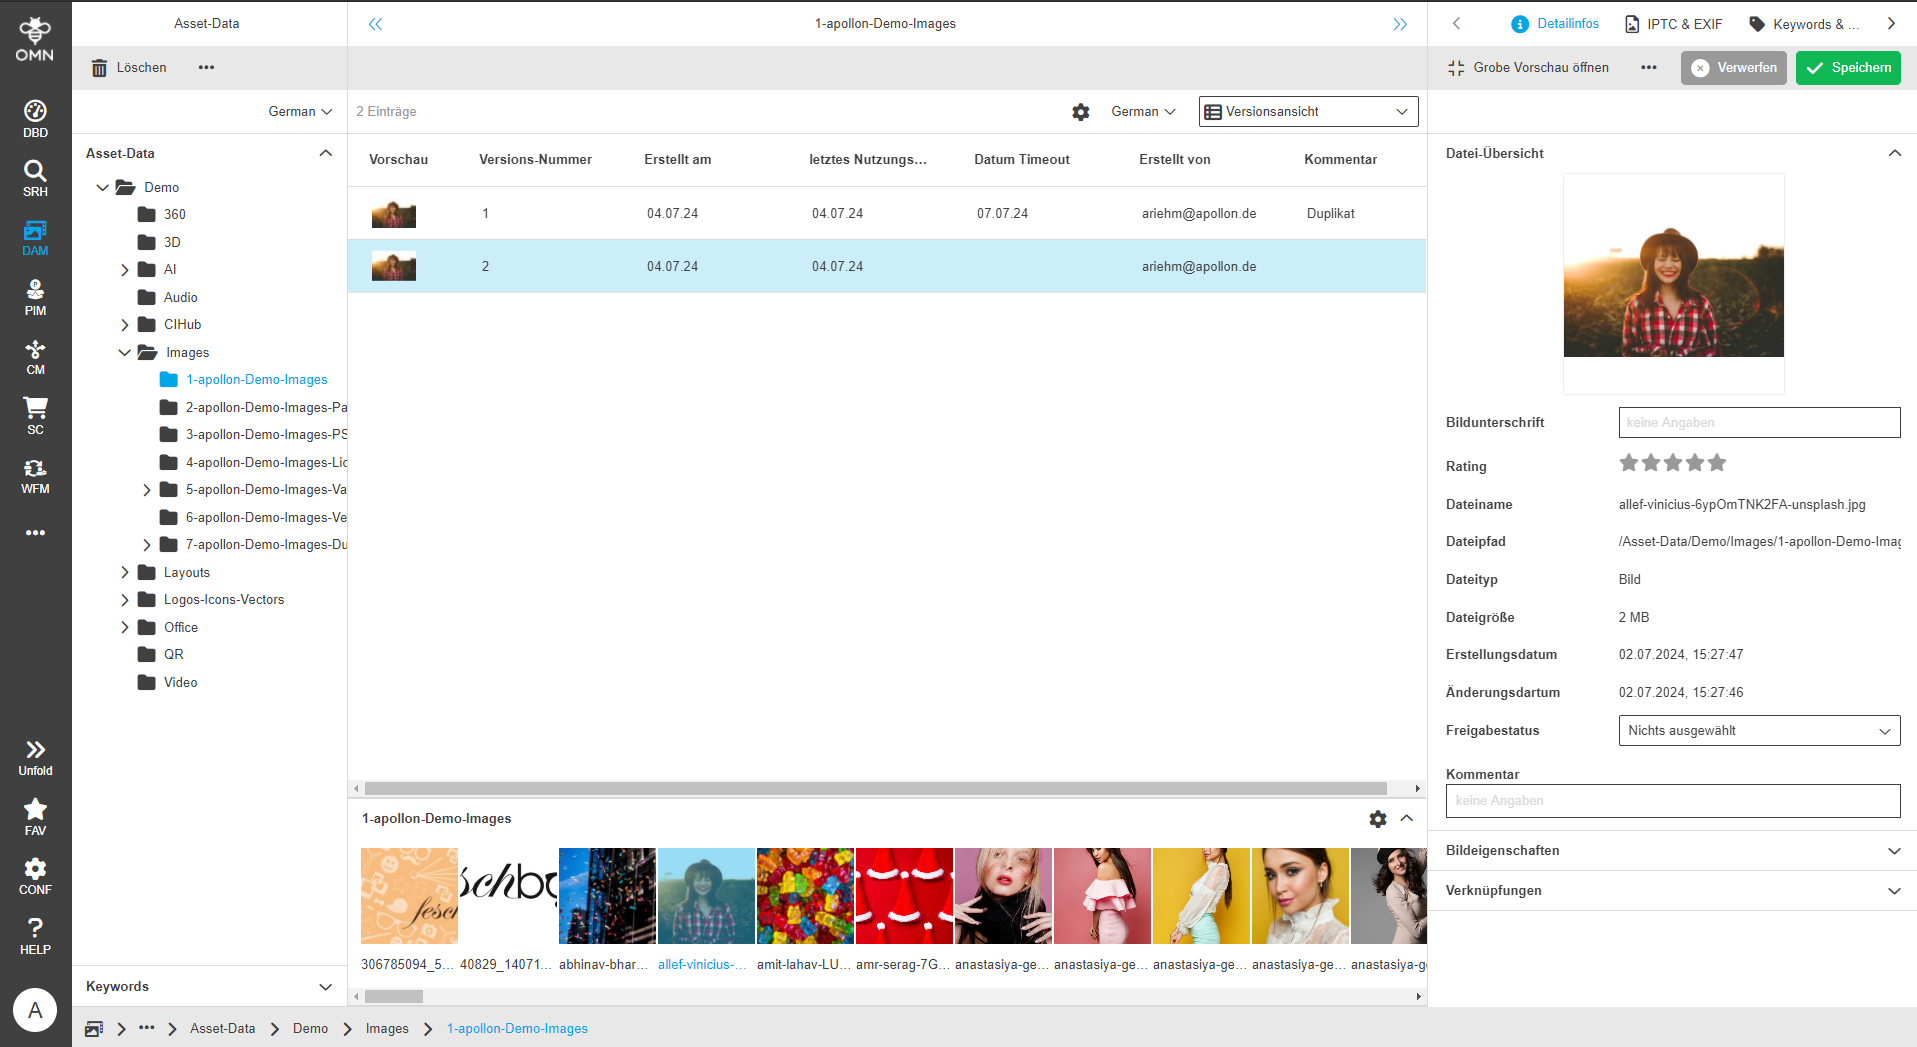
Version View

By clicking on the button Version view you will be taken to a view that shows you previous versions of an asset and allows you to access them again.
Versions are only created if version management is also activated.
Asset details and History (Asset View)

The Asset Details (part of Asset View editor) is used to display additional information about an asset, such as the change history or the metadata information of the assets.
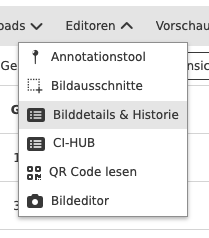
The view can be called up by double-clicking on the asset or the corresponding function button (function group "Editors").
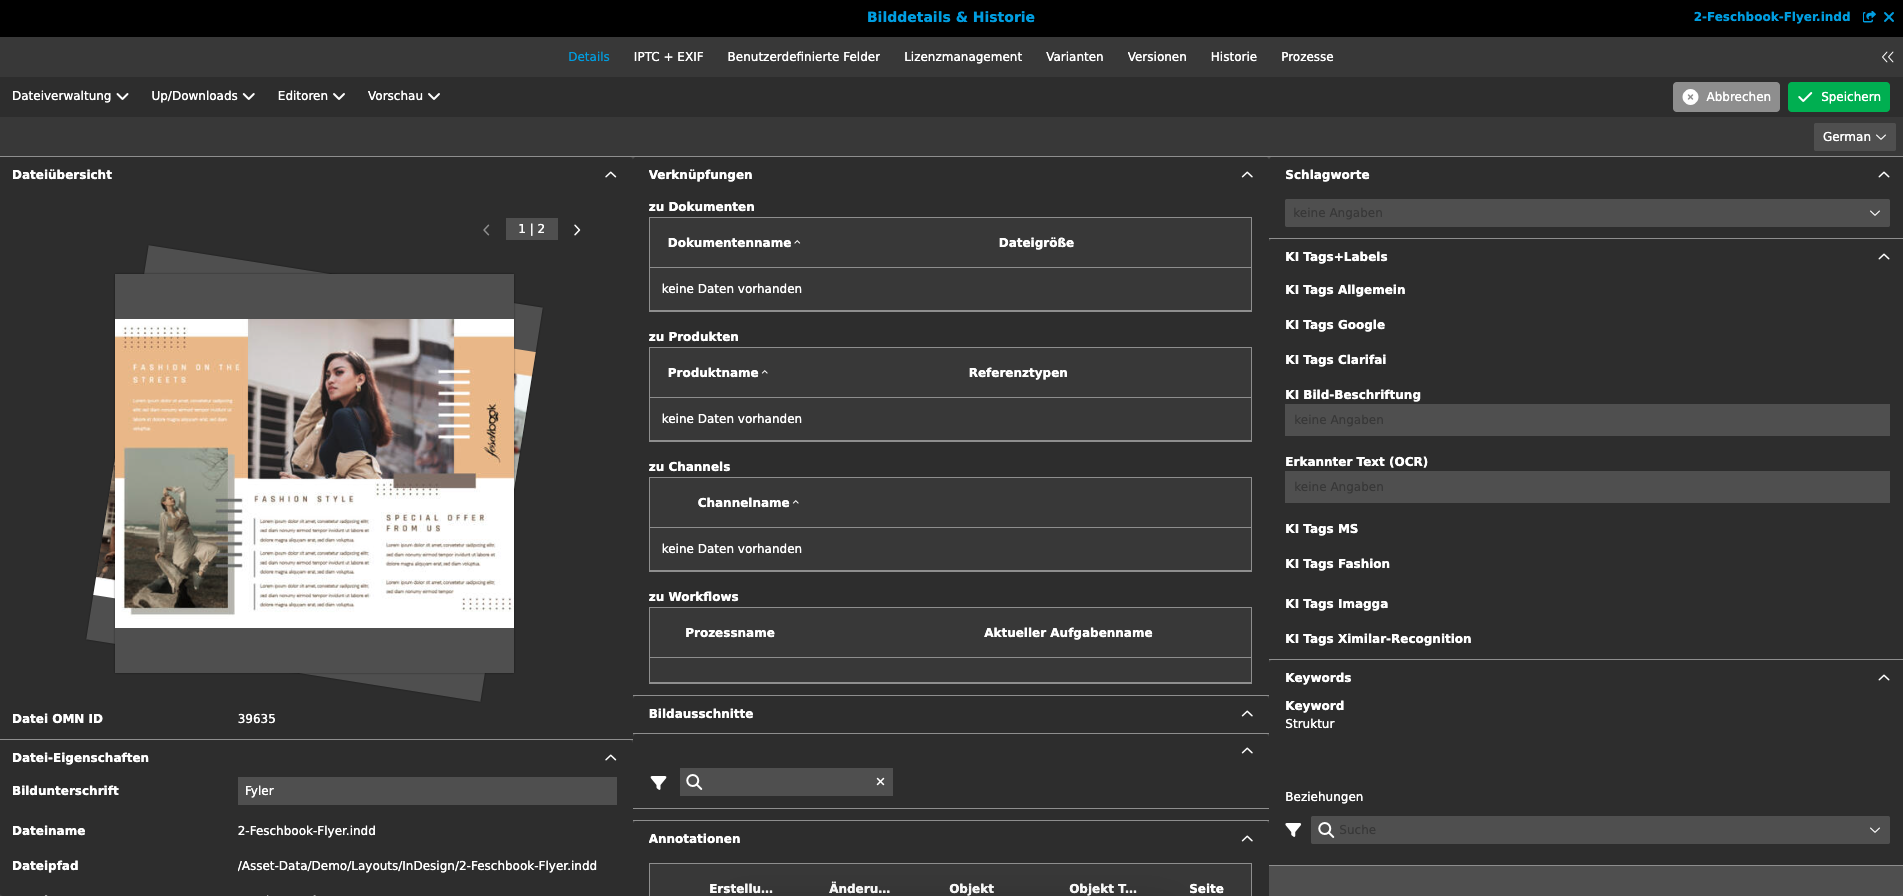
Under the Asset Information section you will find various detailed views:
-
the details or basic file information
-
IPTC/EXIF tagging
-
Custom tagging fields
-
Fields for managing license information
-
Information about file variants
-
Information about file versions
-
History
-
Process information
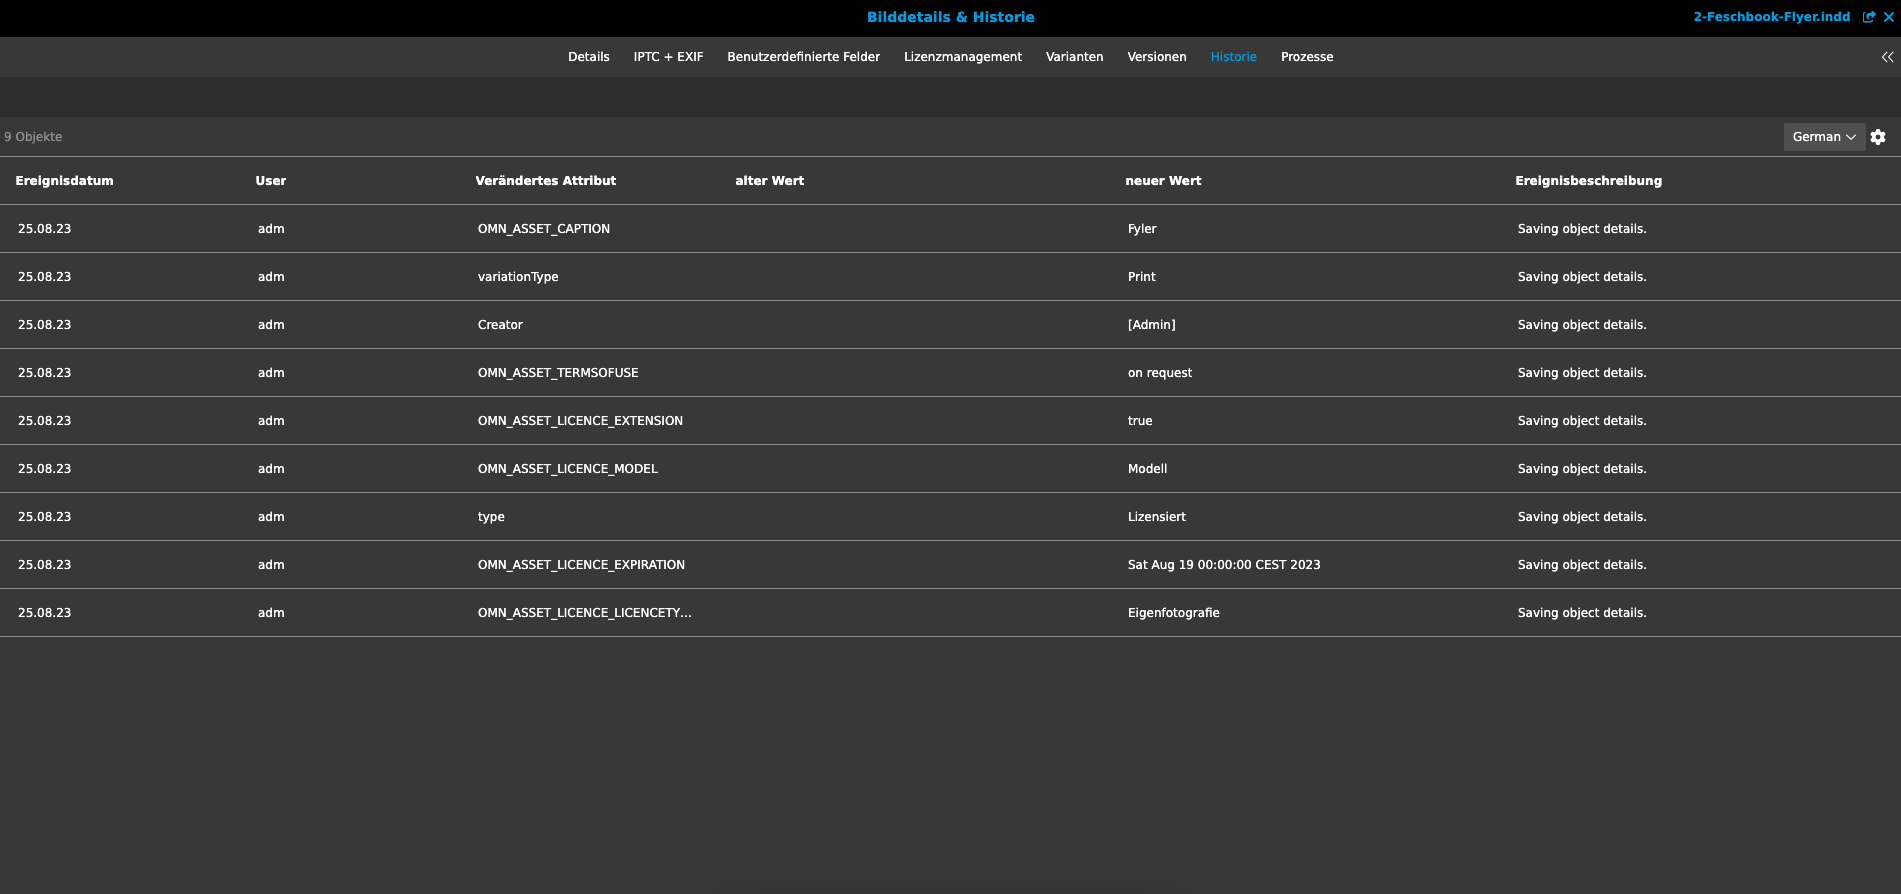
In the history, all changes to an asset are shown in tabular form.
Here you will find all information about the event date, user, old and new value of the attributes.
Usage History

For InDesign documents, all information about the linked assets can be displayed on one page in the Online Media Net via the Usage History.
| The prerequisite for this is that the documents were saved with the Online Media Net extension for InDesign, otherwise no information can be read from the documents and previews can be created for the documents in Online Media Net. |
Clicking on the function button opens a window under a new tab. All pages that the layout document contains are listed in the left column.
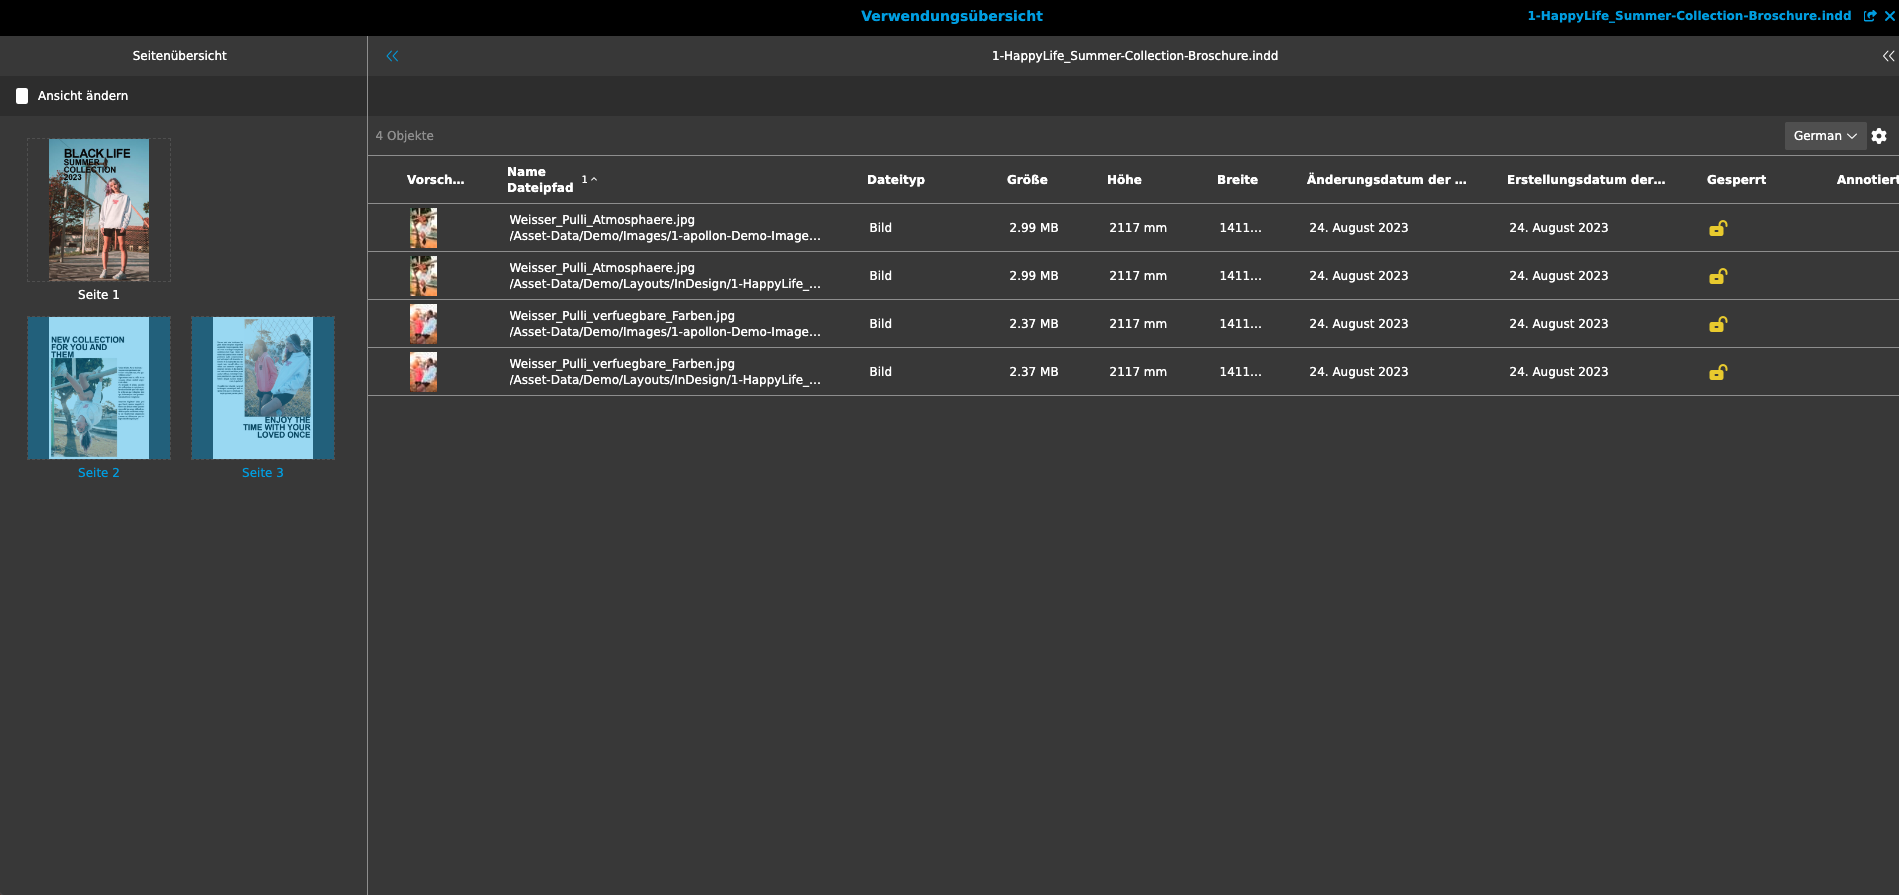
By clicking on an individual page in the left panel, it will be displayed in a table view in the content area.
By clicking on one of the assets used in the document, the respective detailed information will be displayed in the right panel.
Function Overview
Media Management Functions
In OMN DAM, the following OMN standard functions for assets are available to you via the toolbar. Depending on the role and rights configuration, these are only made available for defined areas and are divided into function groups.
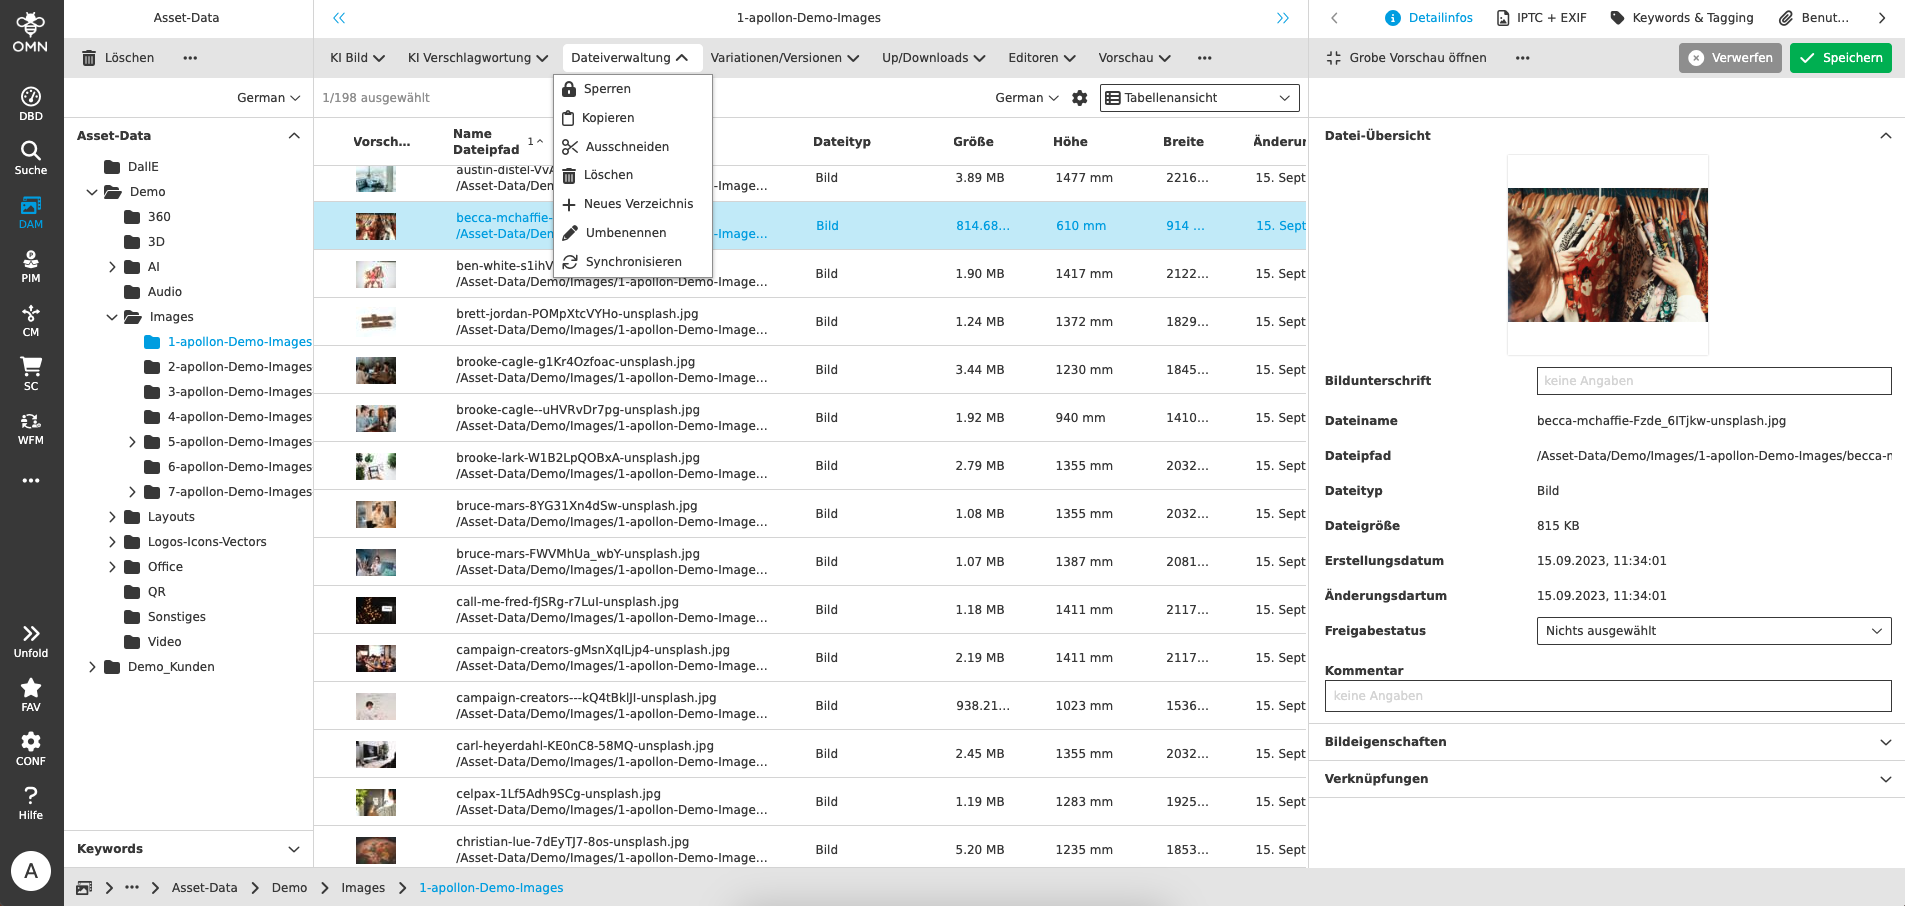
The standard functions are briefly described below.
| Icon | Group | Name | Description | ||
|---|---|---|---|---|---|
|
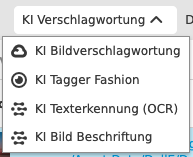
AI Image |
|
|
||
|
AI Tagging |
|
|
||
|
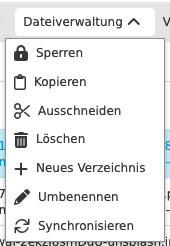
File management |
|
|
||
|
File management |
|
|
||
|
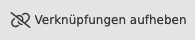
Keyword Management |
|
|
||
|
Variations/Versions |
|
|
||
|
Up/Downloads |
|
|
||
|
Up/Downloads |
|
|
||
|
Up/Downloads |
|
|
||
|
Up/Downloads |
|
|
||
|
Editors |
|
|
||
|
Editors |
|
|||
|
Editors |
|
|
||
|
Editors |
|
|||
|
Editors |
|
|||
|
Previews |
|
|
||
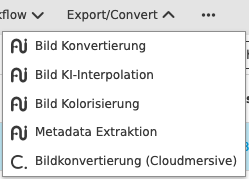
|
Export/Convert |
|
|
||
|
|
|


Product management functions
The following OMN standard functions for products are available in OMN PIM.
Depending on the role and rights configuration, these are only made available for defined areas and are divided into function groups.
The standard functions are briefly described below.
| Icon | Group | Name | Description |
|---|---|---|---|
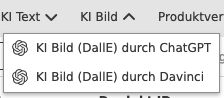
|
AI Image |
|
|
|
AI Translate |
AI Translation with Google |
|
|
AI Translate |
AI Translation with DeepL |
|
|
AI Translate |
AI Translation with Microsoft |
|
|
AI Translate |
AI Translation with Systran |
|
|
AI Text |
AI Text (Advertising & Advertisements) |
|
|
AI Text |
AI Text (Communication) |
|
|
AI Text |
AI Text (eCommerce) |
|
|
AI Text |
AI Text (Rewrite) |
|
|
AI Text |
AI Text (Social Media) |
|
|
AI Text |
AI Text (Website) |
|
|
AI Text |
AI Text (Writing tools) |
|
|
AI Text |
AI Text (OpenAI-Davinci) |
|
|
AI Text |
AI Text (OpenAI-ChatGPT) |
|
|
AI Text |
AI Text generation (Shoes) |
|
|
AI Image |
|
|
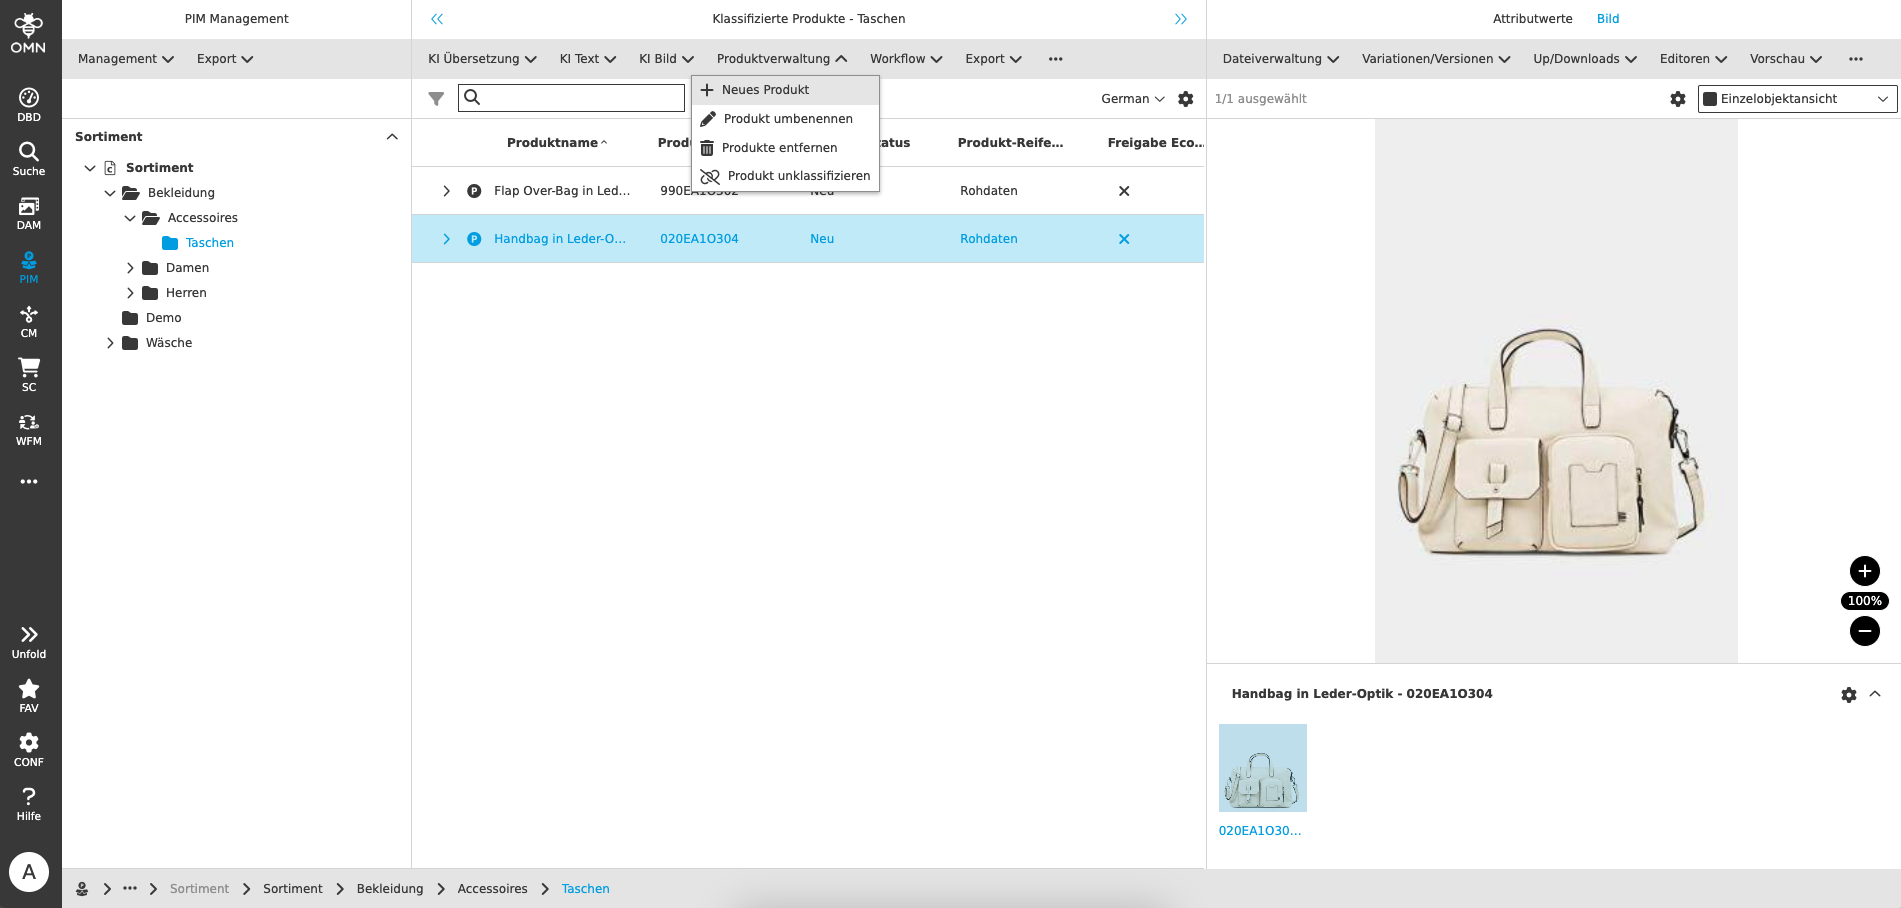
|
Product management |
Create item |
|
|
Product management |
Rename product |
|
|
Product management |
Remove product |
|
|
Product management |
Unclassify product |
|
|
Workflow |
Create ad hoc task for product |
|
|
Workflow |
Start product approval |
|
|
Export |
Export products (XML) |
|
|
Export |
Export products (CSV) |
|
|
Export |
Raw data of product |
|
|
|
||
|
|


Functions within Project Management
The following context-related functions are provided in the OMN Channel Management module:
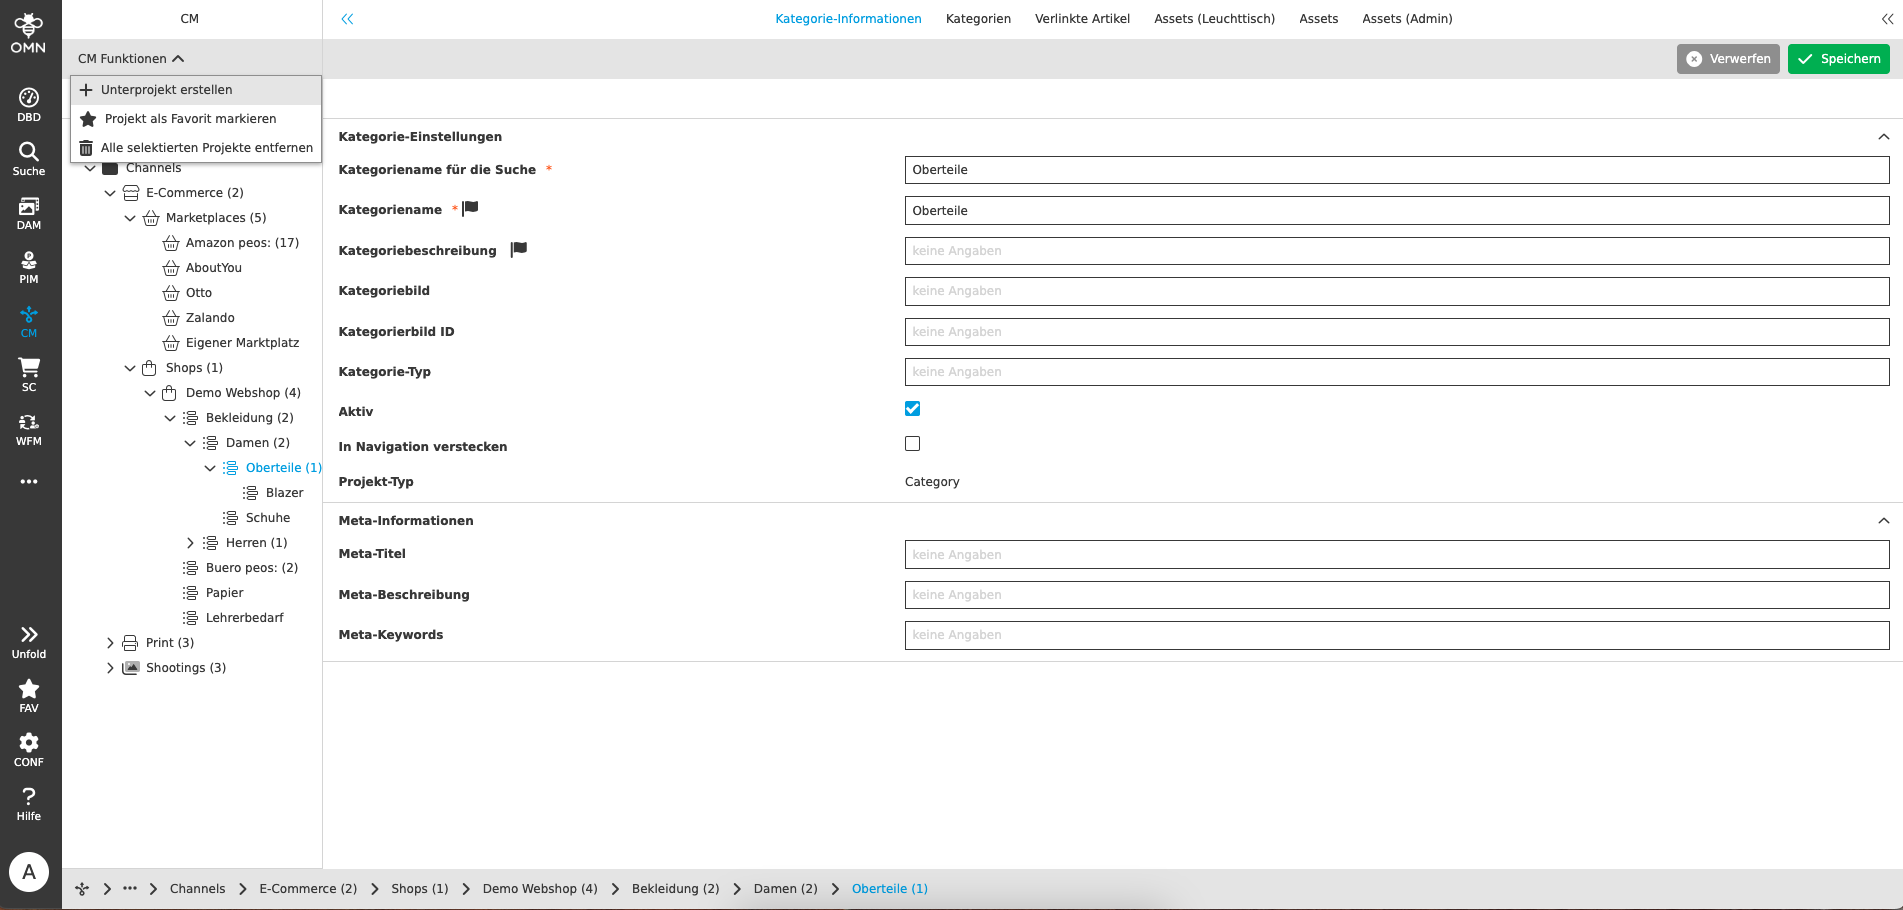
The standard functions are briefly described below.
| Icon | Name | Description |
|---|---|---|
|
Create project node |
This function enables the creation of new channel structure elements, e.g. shop, shop category, marketplace, print object, etc. |
|
Delete project node |
Deletes a project node with all associated assets and removes links to it |
|
Refresh |
Refreshes the active view (via navigation bar or breadcrumb menu) |
|
Set favourite project |
Defines the selected project node as favorite |
|
Clear favourite project |
Removes the favorite assignment |
|
Go to favourite project |
Navigates to the defined favorite project |


Functions when working with Workflows and Task Lists
When working with tasks, OMN distinguishes between two different principles
-
Workflow tasks (task list processes)
-
Tasks resulting from a business process that is stored in OMN as a BPMN model
-
As a rule, you can jump from one task step to several subsequent steps
-
The possible state transitions (also called decision paths) are defined by the stored BPMN model (e.g. in the case of approval or rejection)
-
-
Ad hoc tasks (task list ad hoc tasks)
-
Ad hoc tasks (also called standalone tasks) are individual tasks that an OMN user can assign to another OMN user or a role
-
In contrast to workflow tasks, there is no predefined process and therefore no decision paths
-
This task type is suitable for simple task communication within the OMN
-
There are separate entries for workflow tasks and ad-hoc tasks in the sidebar menu - see Module/Functional areas (sidebar navigation)
The structure and basic functions of both task overviews are almost identical for both task principles.
In the views of the Workflow Management (WFM) module, various context-related functions are made available to you for working with tasks in OMN.

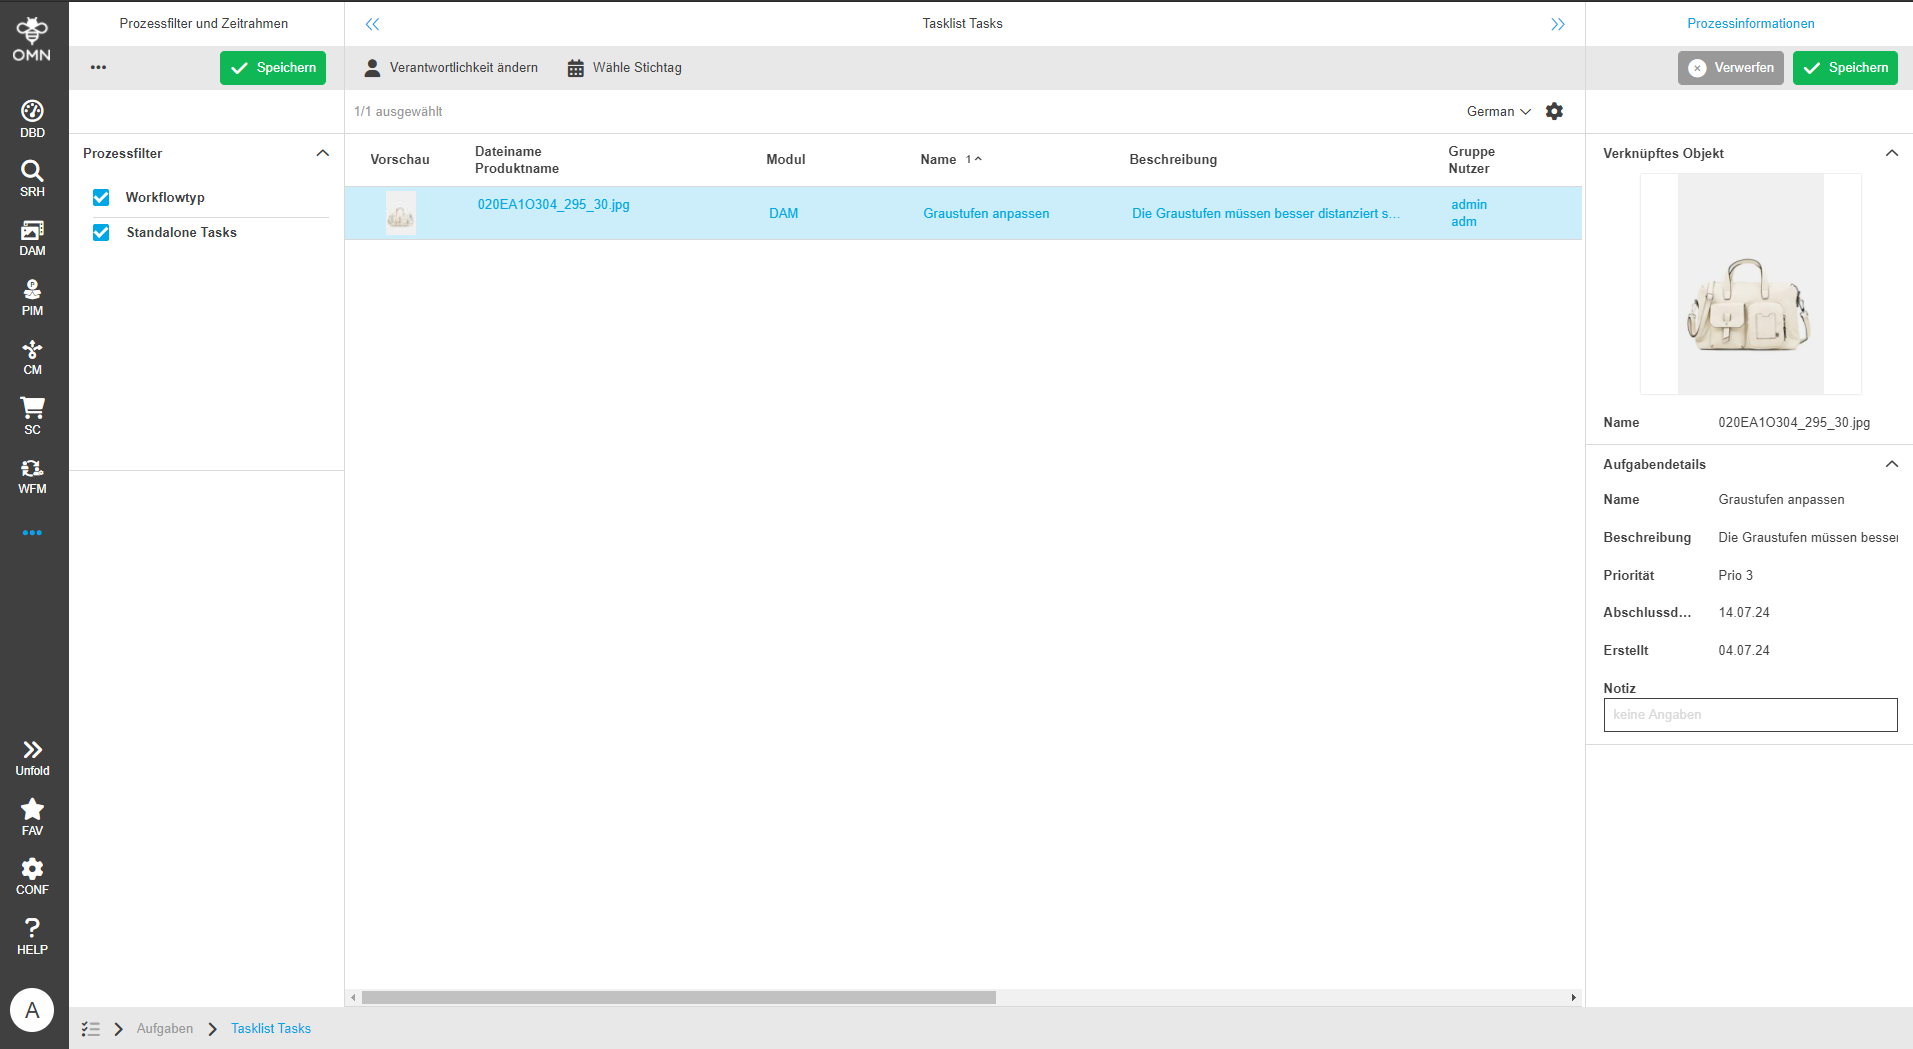
The standard functions are briefly described below.
| Icon | Name | Description | ||
|---|---|---|---|---|
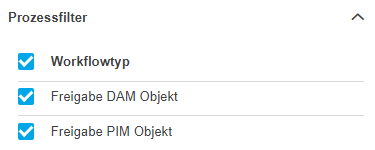
|
Process filters |
Allows you to filter according to different workflow processes that are stored in the system. In the screenshot shown, two processes can be selected. |
||
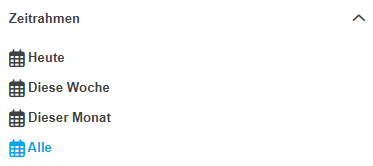
|
Time frame (Filter) |
Allows you to filter the tasks in the task list according to their due date
|
||
|
Set deadline (Filter) |
Allows you to set a deadline for the current task step |
||
|
Change responsibility |
Allows you to change the responsibility by setting additional users or roles. |
||
|
Open process model |
Displays the BPMN model underlying the process in a pop-up and marks the current process step in the model
|
||
|
Delete Workflow Function |
Allows you to delete a running workflow process
|
||
|
(Workflow-) Functions |
Workflow functions are the functions that can be executed at a specific process step (e.g. when releasing something in the Annotation-Tool). |
||
|
(Workflow-) Status |
The workflow status shows one or more icons for possible status changes, depending on which subsequent steps the workflow can be switched to. |