Sidebars
-
Access the Main menu configuration via Mandators → <Mandator name> → Sidebars
Make sure that you have at least one Page plug-in available before configuring the Sidebar.
All page-plug-ins can be used, e.g.:
✓ Page plug-in "FSNavigation"
✓ Page plug-in "Dashboard"
✓ …
This is how configuration of Sidebar looks like:
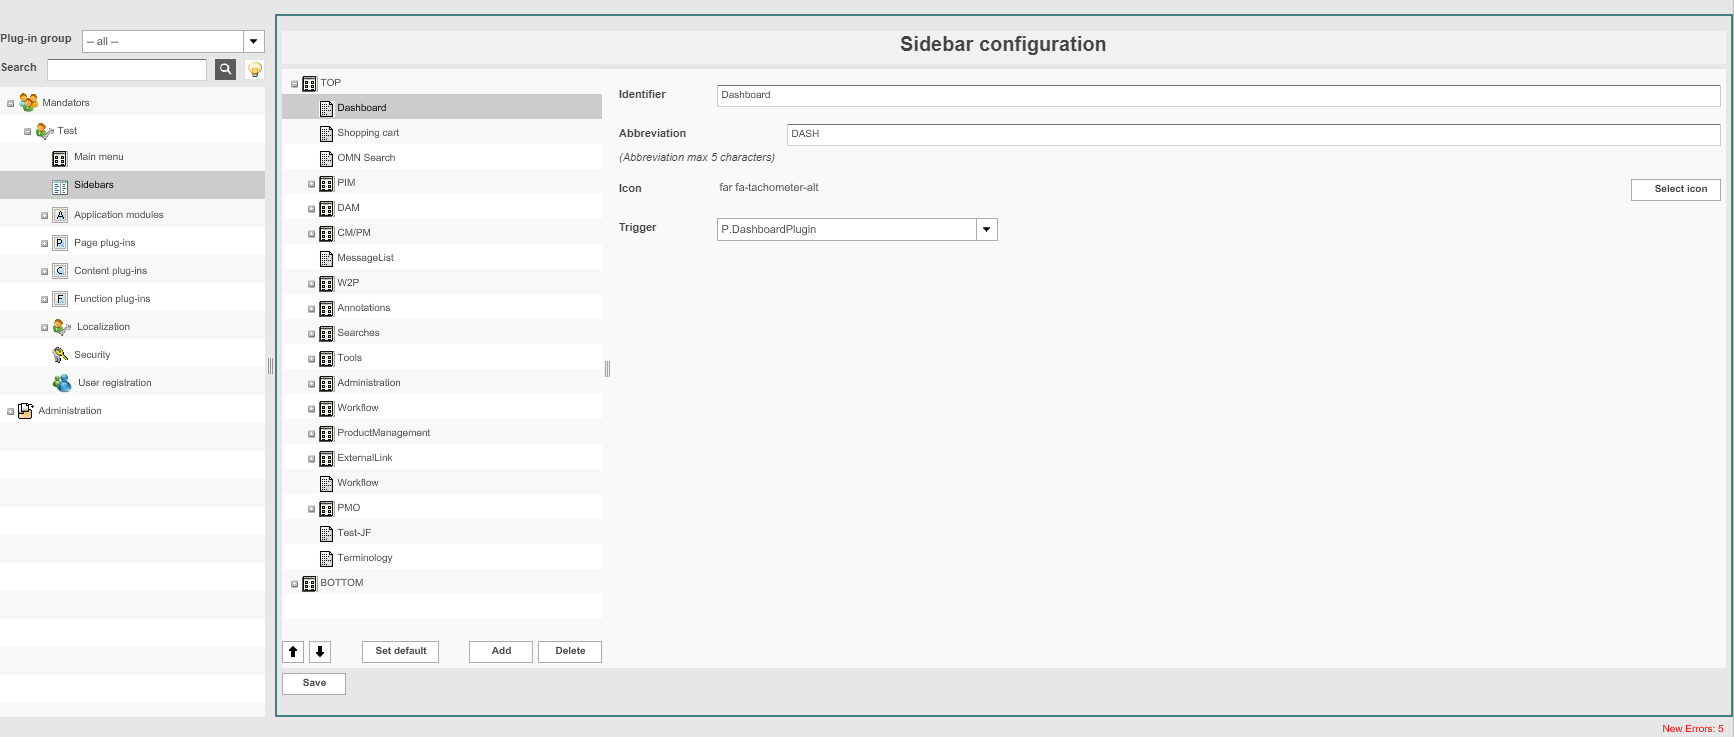
The Sidebar contains out of 2 sections:
-
TOP (main area of sidebar)
-
BOTTOM (secondary area of sidebar – e.g. Used for Help page, etc.)
| Field | Description | Notice |
|---|---|---|
Item identifier |
Name that is displayed in the Sidebar at the HTML5 Frontend |
|
Abbreviation |
Abbreviation of sidebar entry which will be displayed in Frontend below the Icon |
Max 5 character are allowed |
Icon |
For choosing an Icon from Fontawesome icon library use Select icon function |
Icon name will be shown after selection E.g. Fa-star |
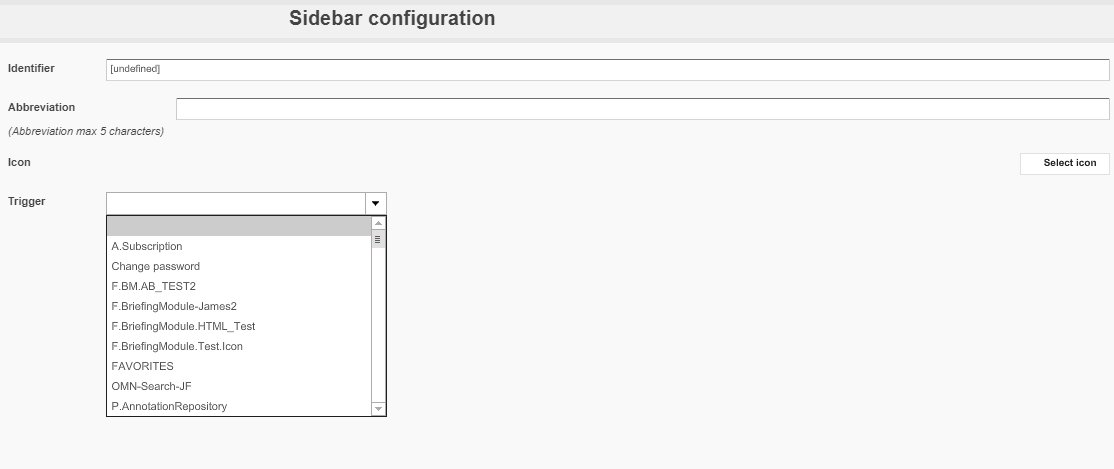
Trigger |
Drop-down list that includes all configured Page plug-ins for the mandator which can be used as sidebar items |
The list also contains special functions, e.g. Favorites, Configuration, Help, etc. |
Configuring the Sidebar menu
1. Open Sidebars items by clicking +.
2. Click Add to add a Sidebar item.
3. Enter a name for the item in the field Item identifier.
4. Select an Icon via Select Icon function. User can select from All Icons, use icons from preselection (containing suggested apollon product icons) or Search in Fontawesome icon library. To use icon confirm dialog with OK.
5. Choose the desired page plug-in in the drop-down menu under Trigger.
Or:
To create a sub-item for sidebar, leave the drop-down menu empty.
6. To remove a sidebar item, highlight it and click Delete.
7. To set a sidebar item to open directly after login at the Frontend, highlight it and click Set default.
| A user can change the default individually in Frontends’ usersettings. |
7. To save the configuration and all changes made, click Save.
Here you can see the example of Sidebar on the frontend client:
