Upload
Purpose of the plugin
With the Upload function, locally stored files can be inserted into folder structures to make them available in the OMN system.
Introduction
The upload allows the user to transfer files from their local storage to the OMN system.
Uploads can be designed very specifically beyond the simple Upload function, e.g. the user can specify which sizes or file formats should be permitted. It is also possible to start various processes automatically after the upload.
Prerequisites and relations to other modules
To be able to upload files to OMN, the “Upload” function must be integrated in at least one of the following modules:
Please note that only file formats supported by OMN can be uploaded.
The list of file types can be found here: Detailed information for file formats.
How to use
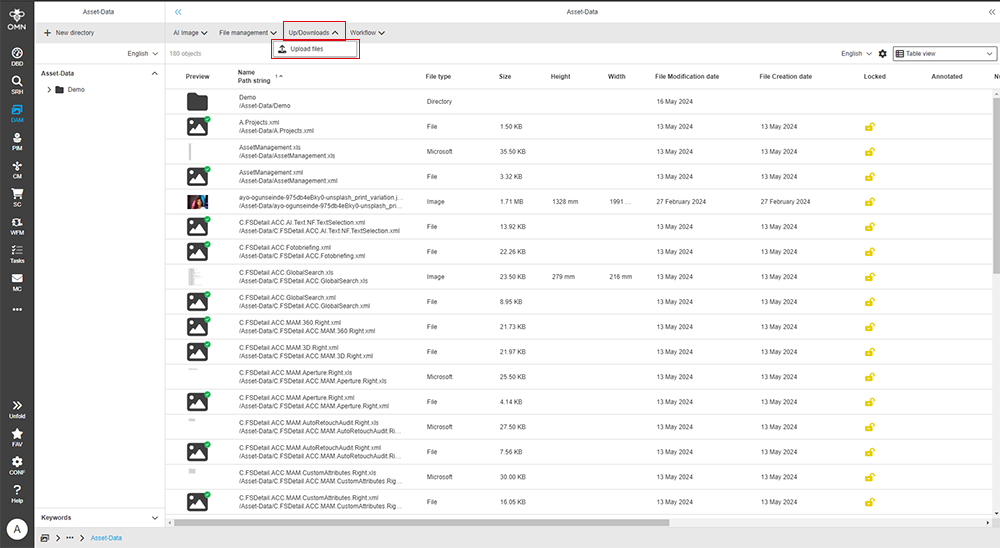
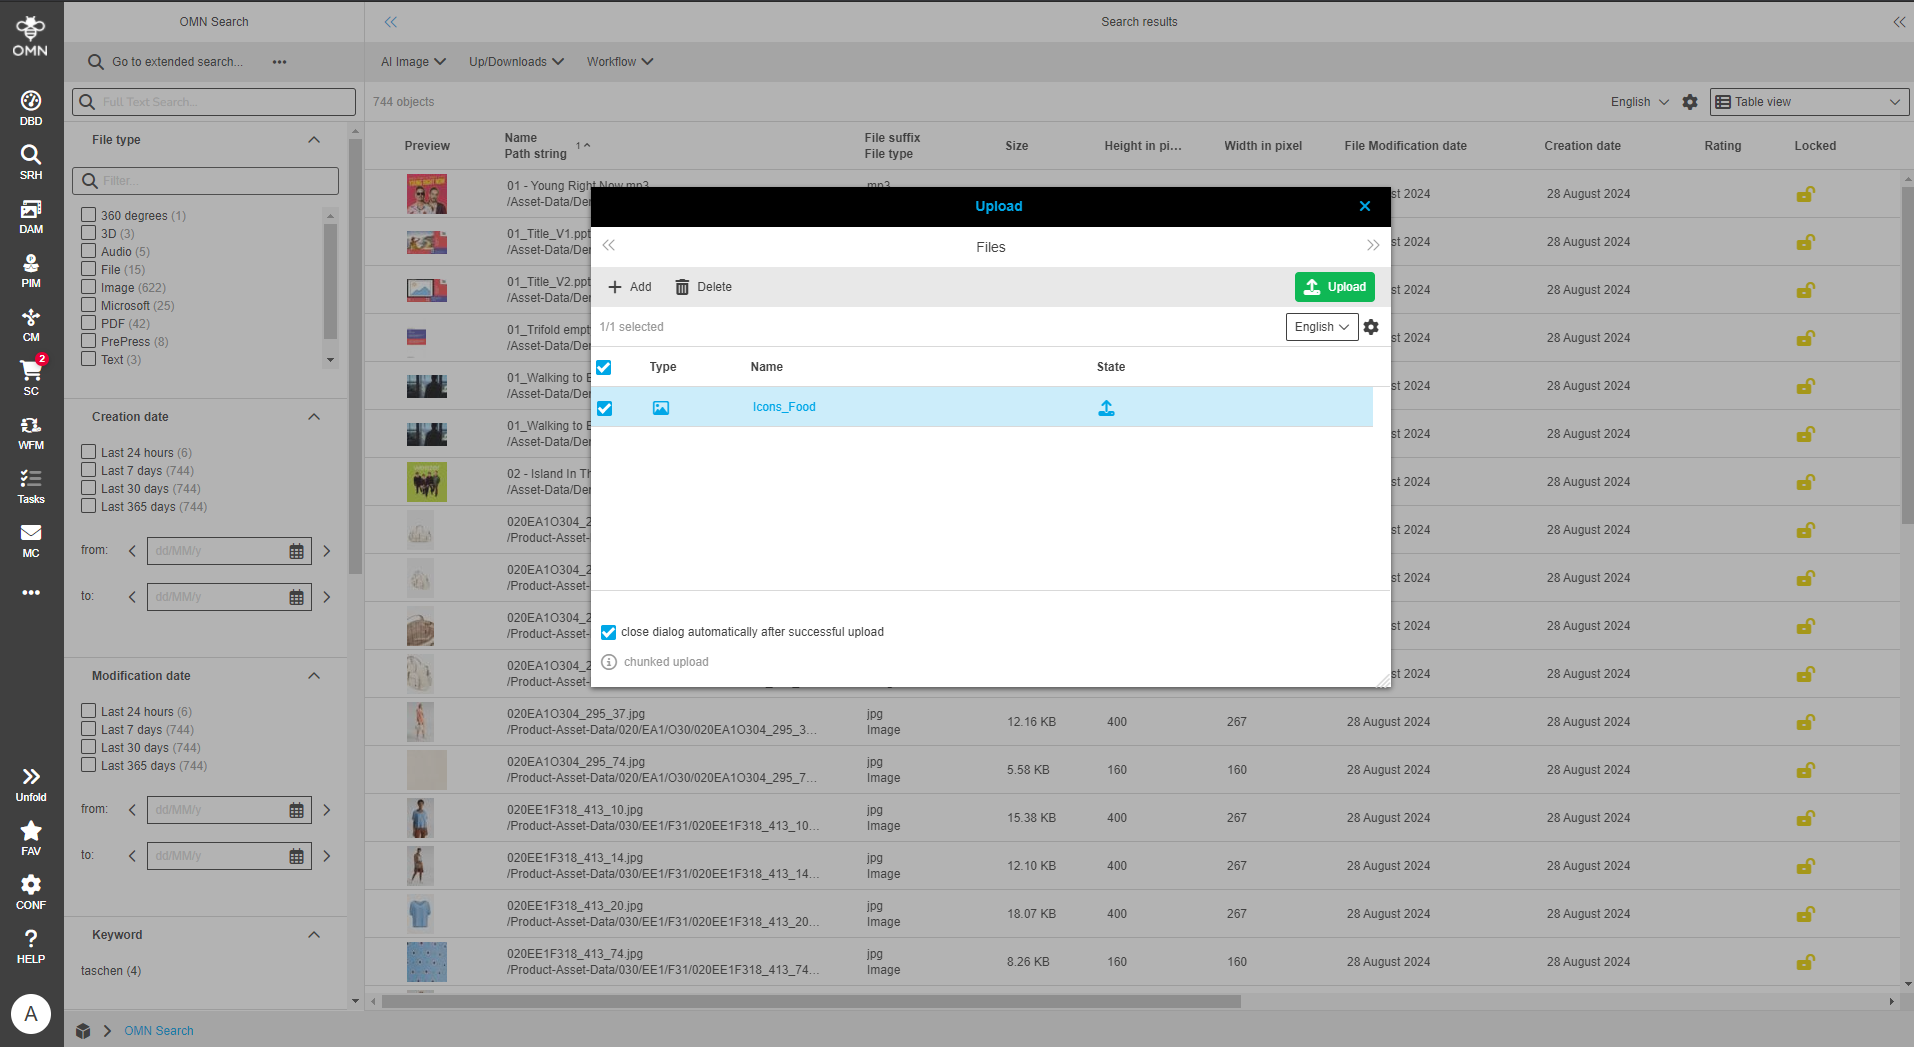
If the “Upload” function is available, it is displayed in the toolbar after selecting a folder or within a workflow.
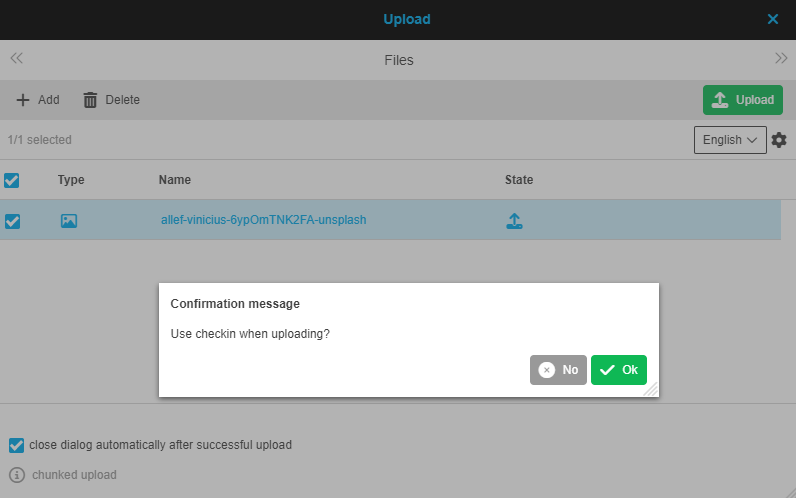
Once the function has been executed, an upload dialog opens.
Toolbar & Functions
The toolbar contains the following functions:
-
Add
A window opens to add local files to the upload dialog. -
Delete
Selected files can be removed from the list.
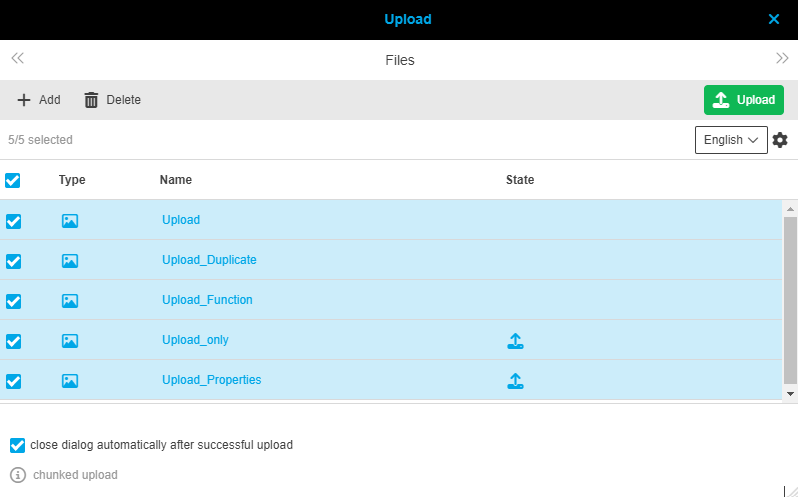
As soon as files have been selected using the "Add" function, the “Upload” (Primary) button appears on the right-hand side of the toolbar.
When this button is clicked, the upload starts for all selected files in the list.
If not all files have been uploaded and the dialog is to be closed, a message is displayed that all missing uploads will be canceled.
In the background, further functions can be activated with the upload through specific configurations.
These are:
-
View of the modal upload window
-
simple
-
Enhanced for uploading with reduced client CPU utilization
-
-
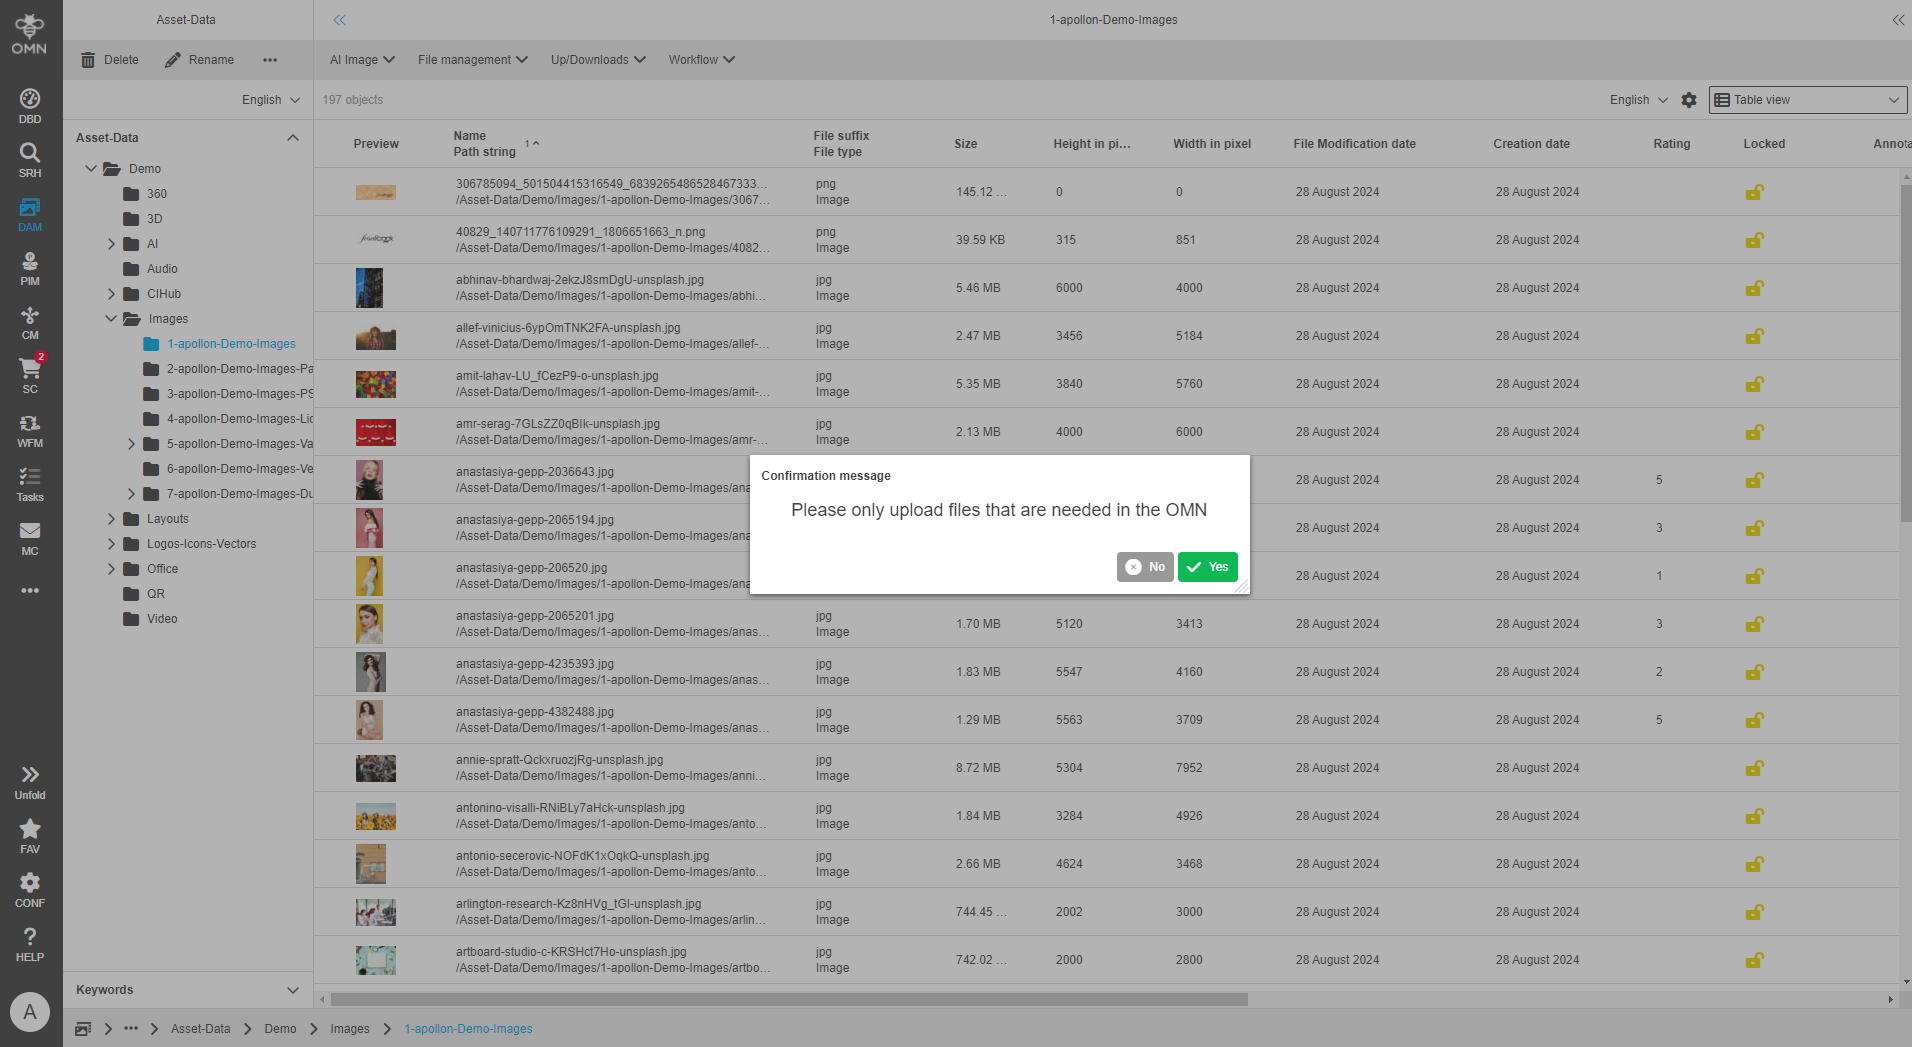
Dialogs with specific information or notes (e.g. on permitted file sizes)
-
The notes can be configured on a customer-specific basis and are used to pass on information before the upload
-
-
Automatic linking of files to products

-
Execution of scripts (e.g. for quality checks)
-
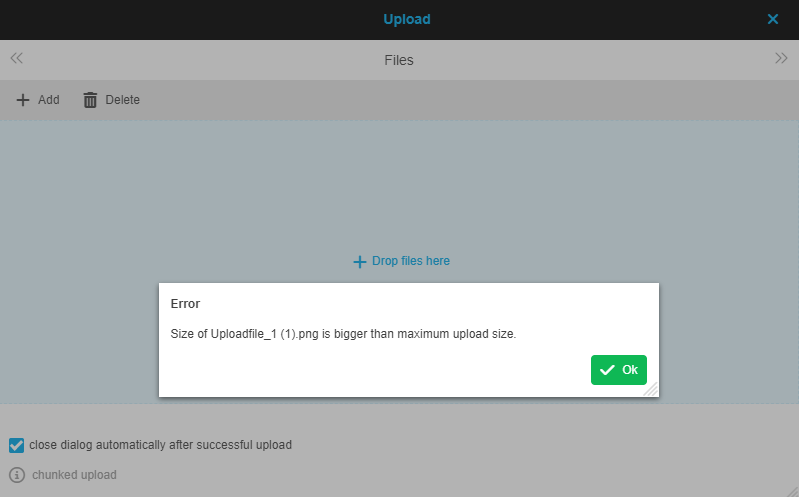
Setting the maximum file size
-
Check for specific naming conventions or file extensions

-
Execution of workflows or functions after completion of the upload
-
Unlocking a locked file through upload
-
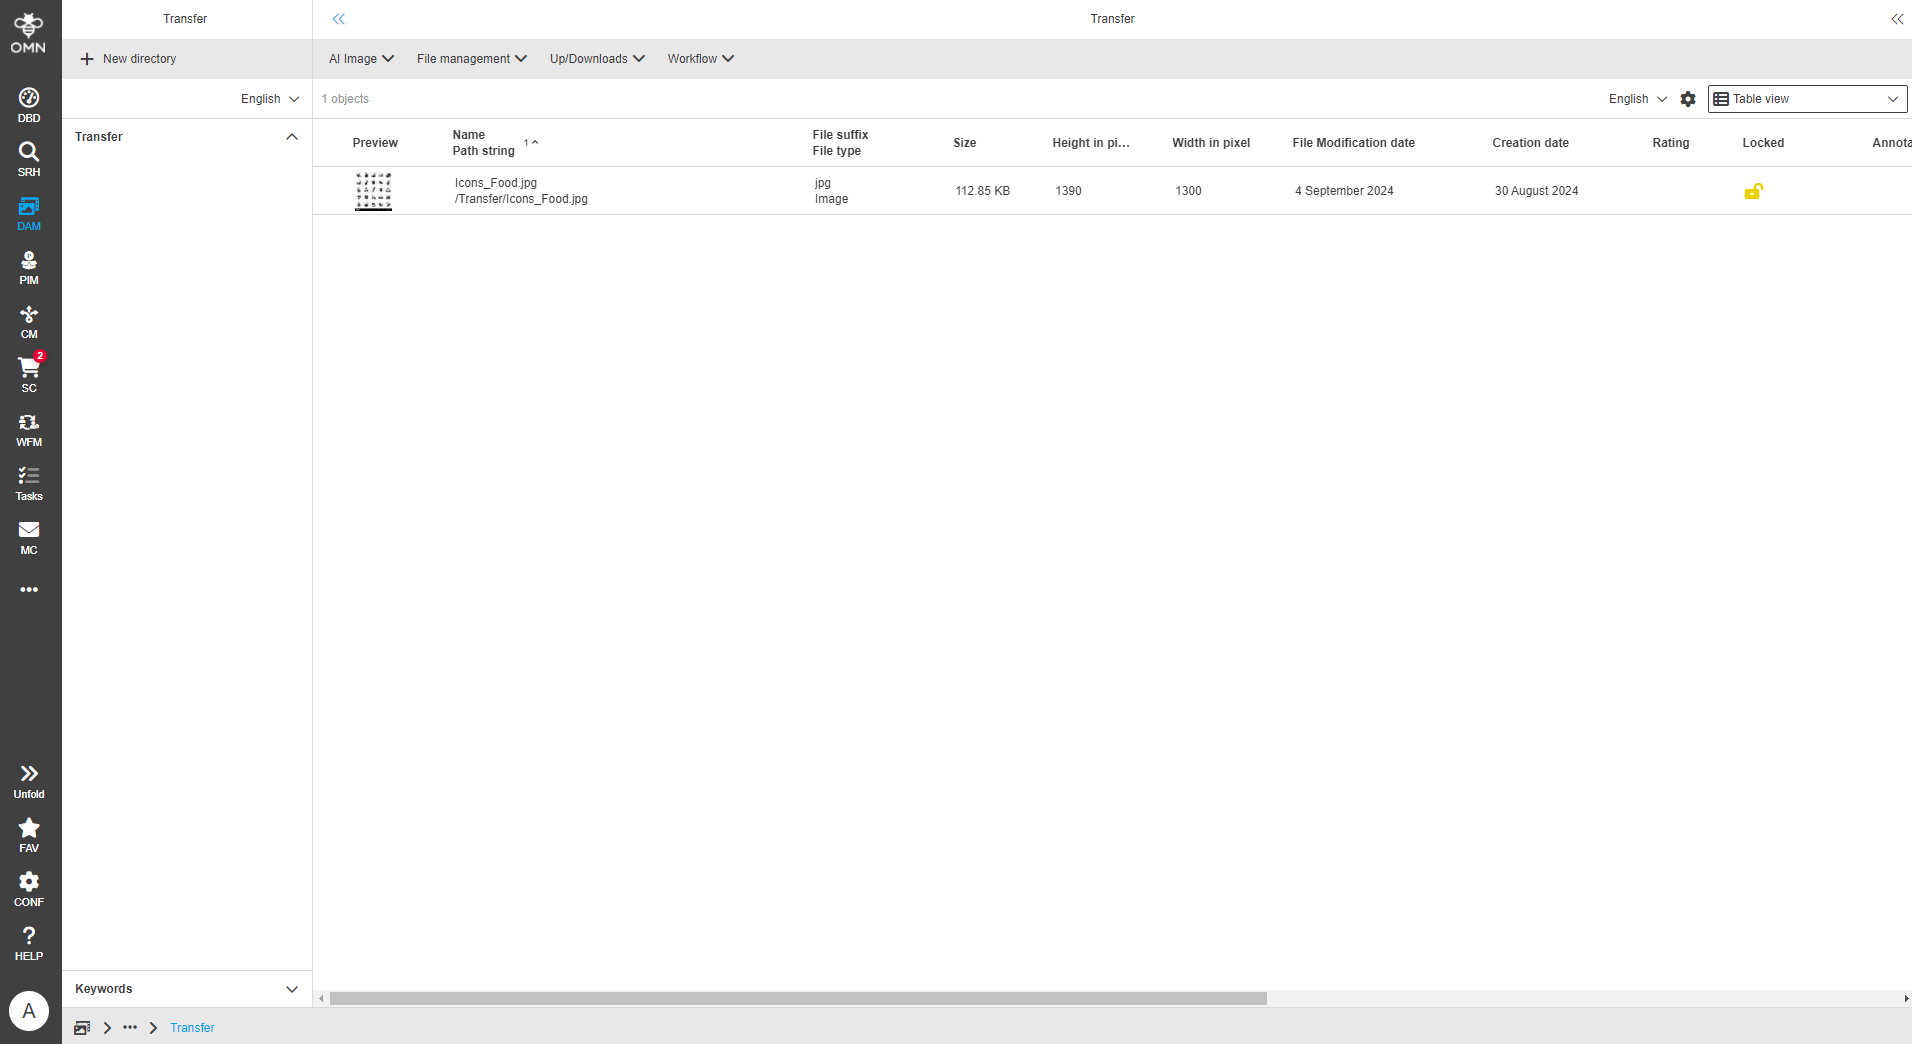
Target RNC or path for the upload in the search
-
The upload is started in the search, whereby in our example, the target path “Transfer” is used.
-
The uploaded file is stored in the “Transfer” folder
-
-
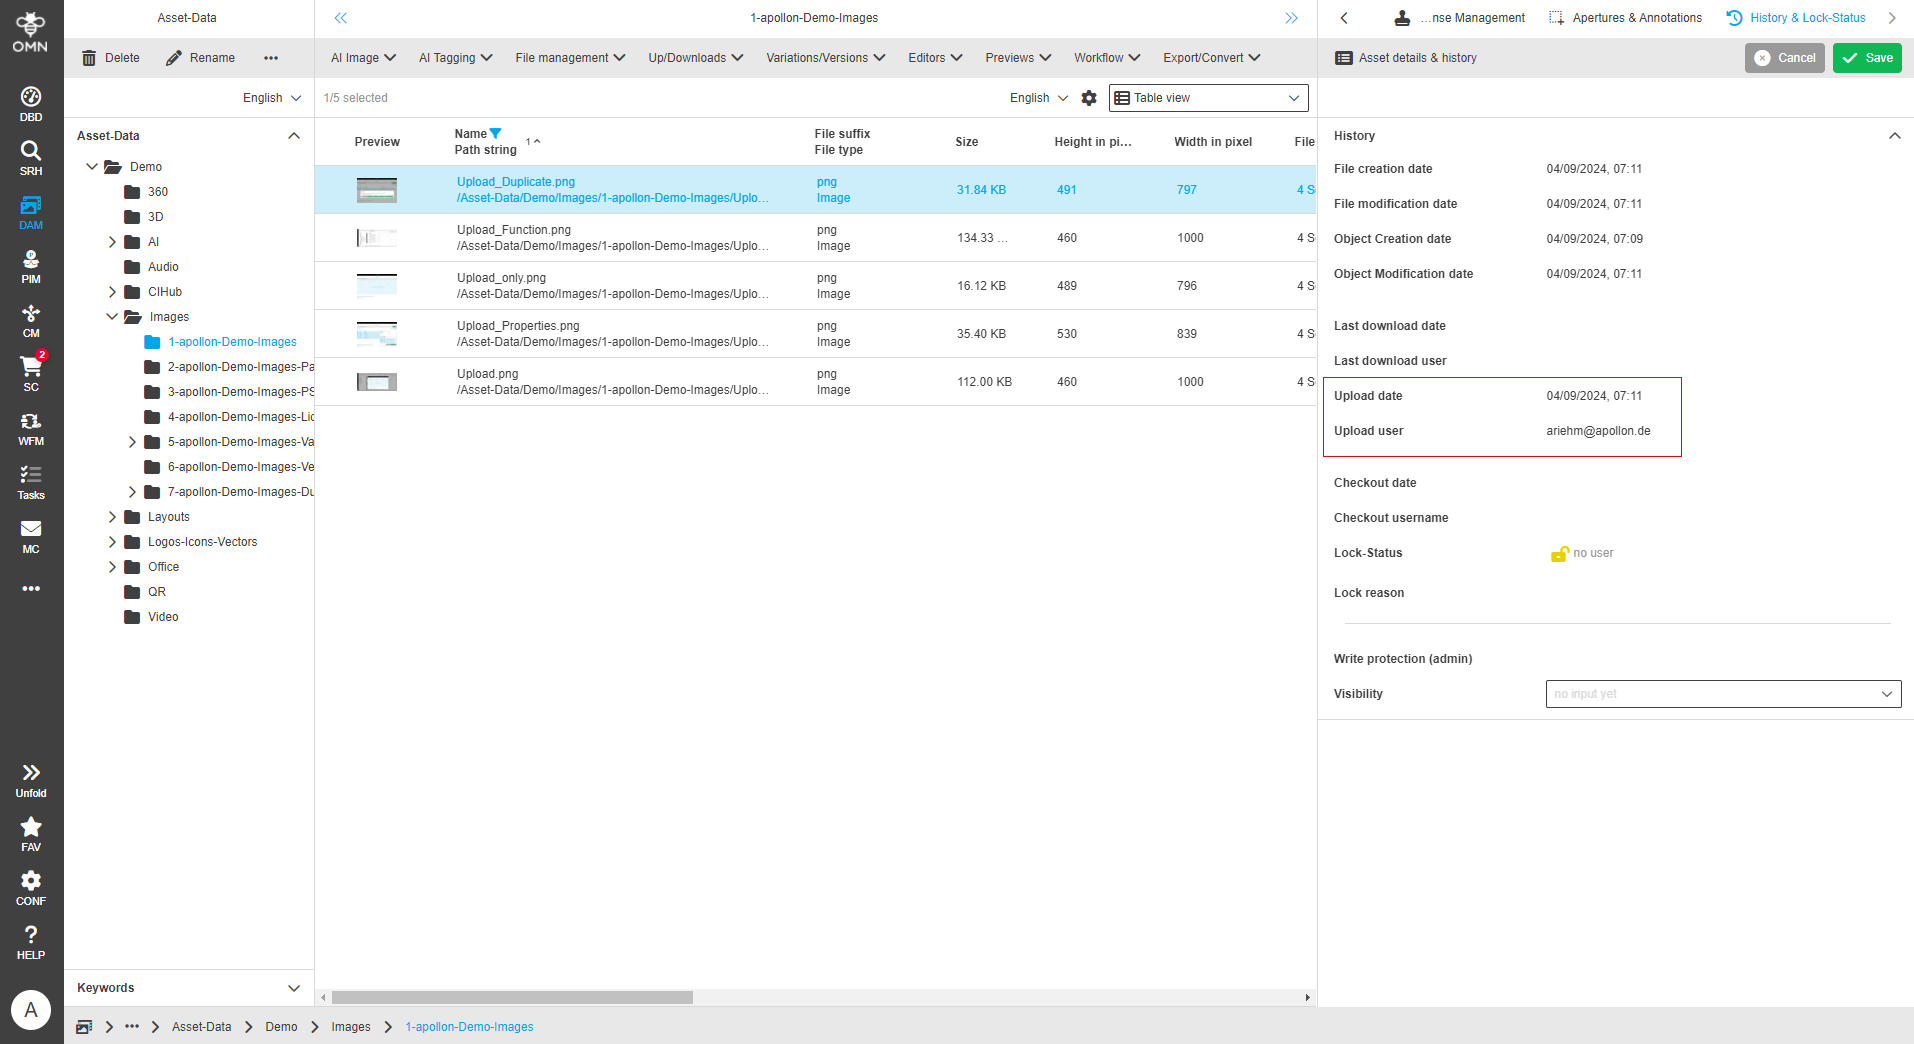
Saving the upload user or date
-
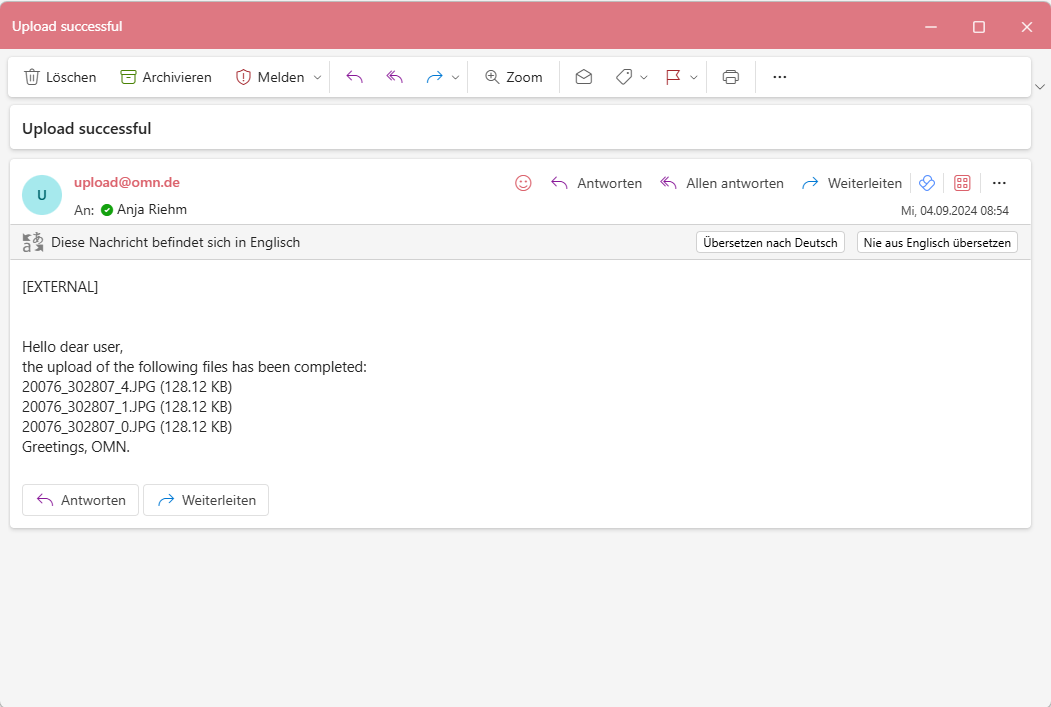
Mail dispatch
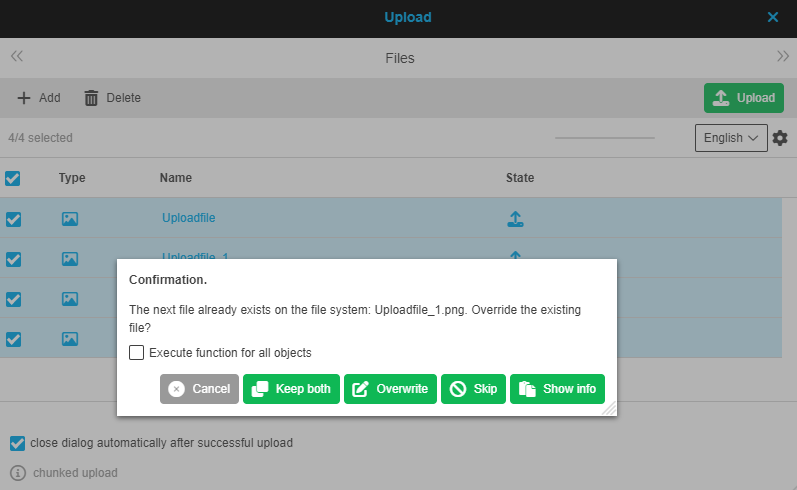
If files are selected for upload that already exist in the target path, a dialog appears with a corresponding message.
This dialog offers the user various options: Cancel, Keep both, Overwrite, Skip or Show information.
A checkbox makes it possible to specify whether the selected function should be applied to all objects.
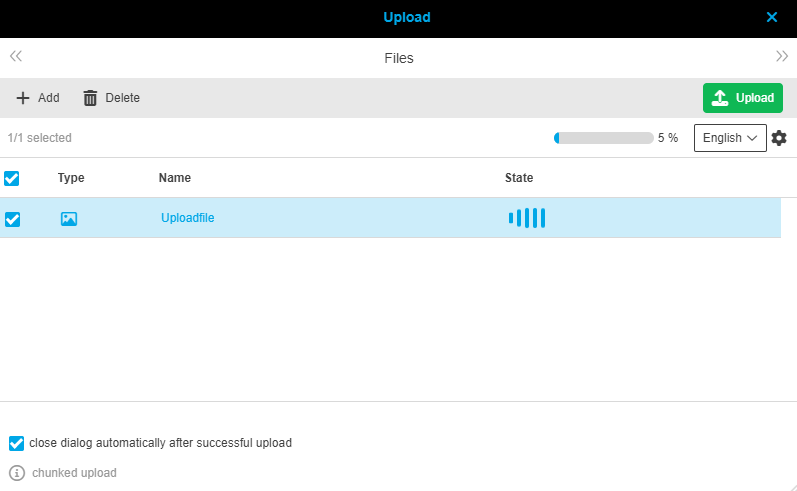
Statusbar
After selecting the files to be uploaded, the statusbar is displayed. It offers options for language selection (dropdown) and settings.
After adding files, an object counter is also displayed on the left-hand side, which shows the number of files.
In addition, the process progress is displayed on the right-hand side of the statusbar after the upload has been started.
| The process progress is optionally displayed according to the configuration. |
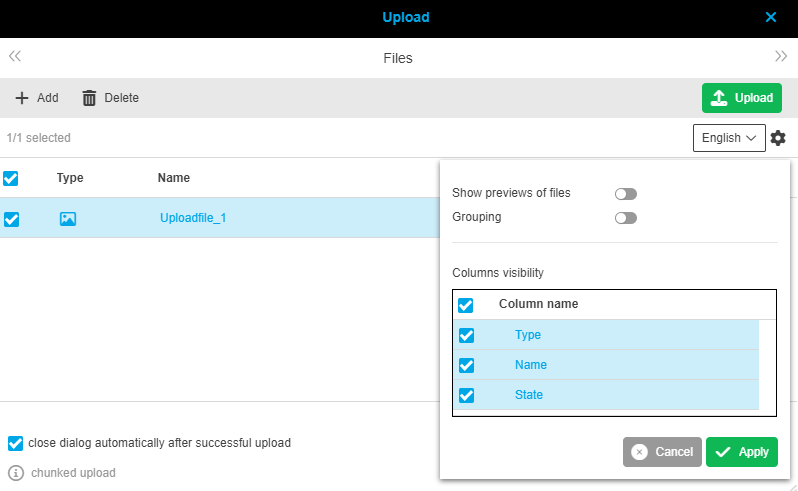
The statusbar settings enable the following:
-
Show preview of files
-
Grouping
-
Column visibility
Canvas
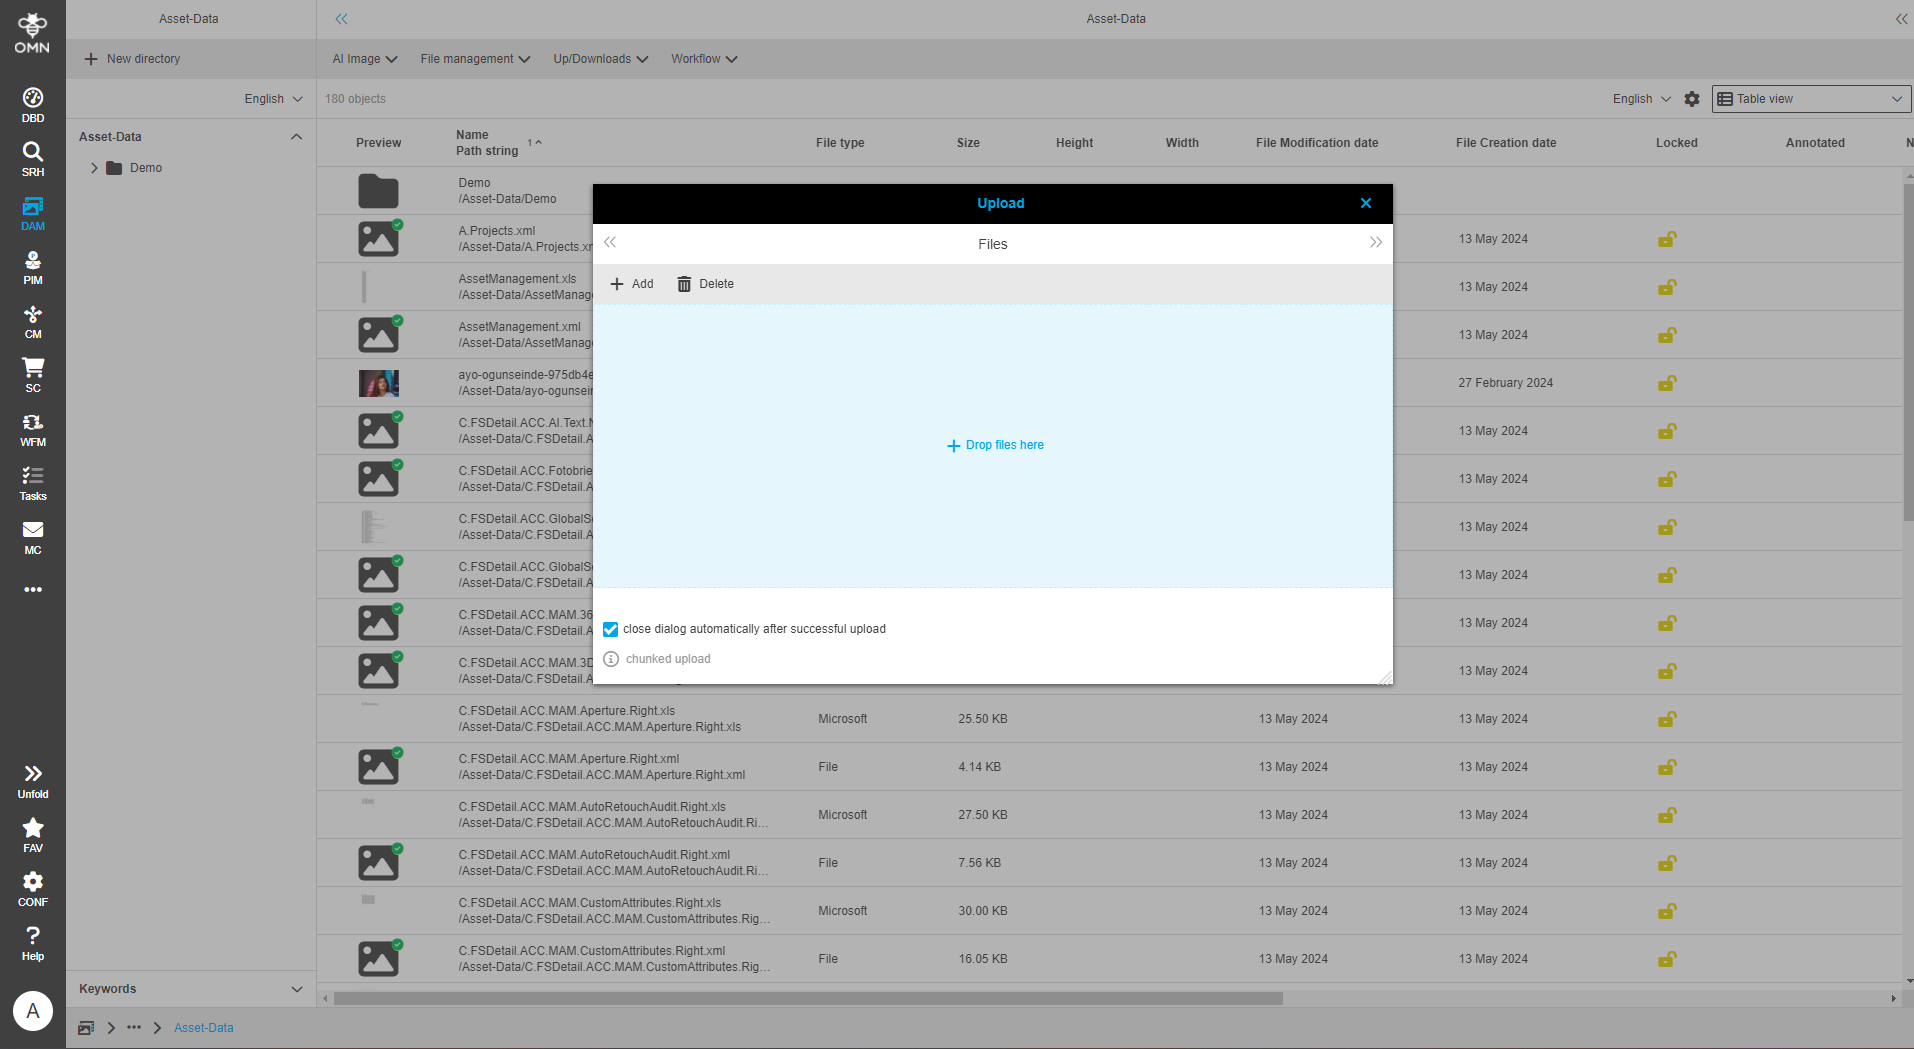
After opening the upload dialog, the canvas is initially displayed empty.
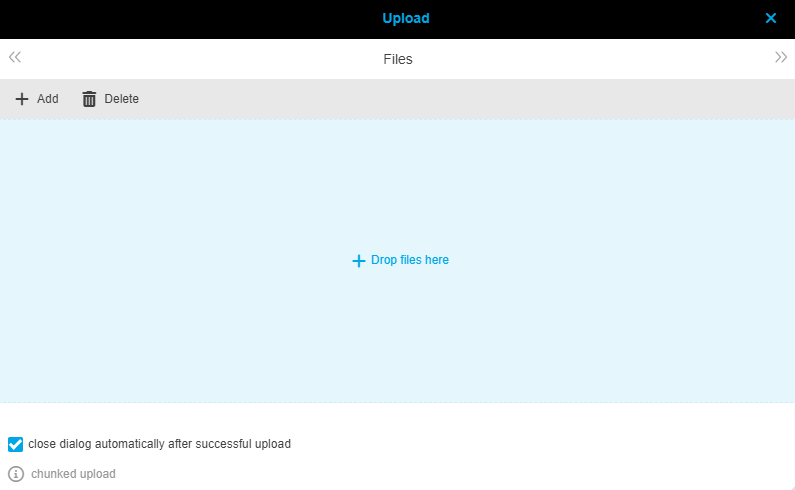
To add files to the list, drag and drop (DnD) can be used in addition to the "Add" function.
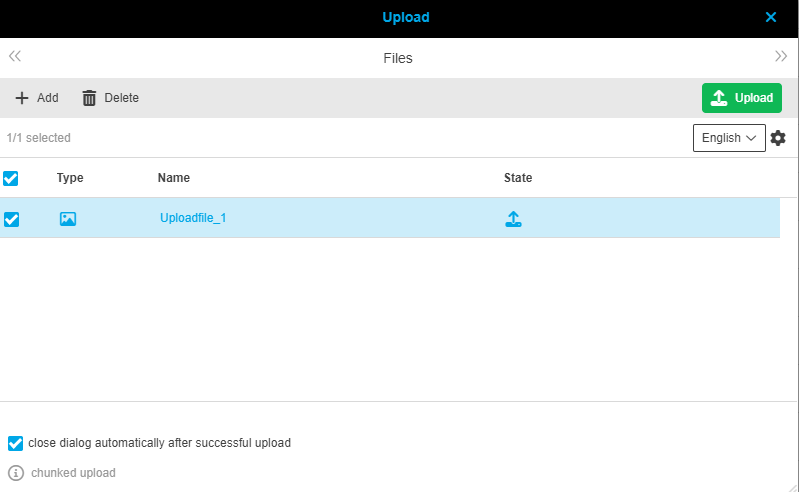
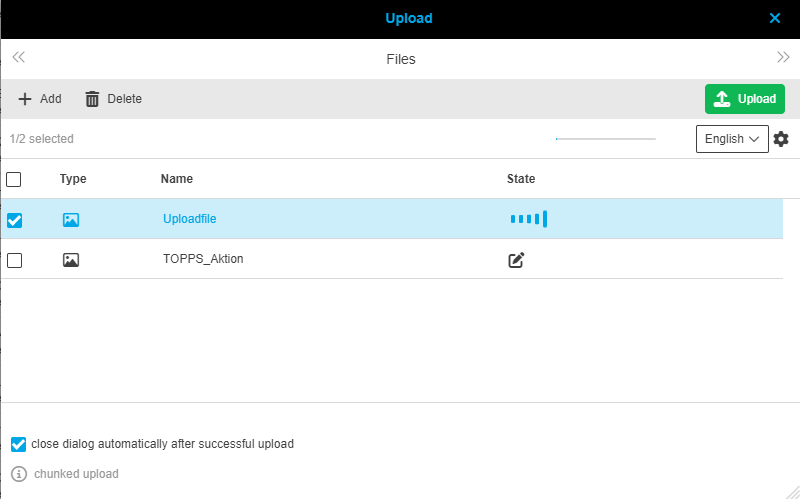
As soon as files have been added, the file view is displayed in the form of a table. The table shows the following columns:
-
Checkbox
-
The files can be selected or deselected via the checkbox
-
-
Type or preview
-
Depending on the “Show preview of files” setting
-
-
Name
-
State
-
 Waiting for upload
 -
 Upload in progress
The spinner is optionally displayed according to the upload settings. -
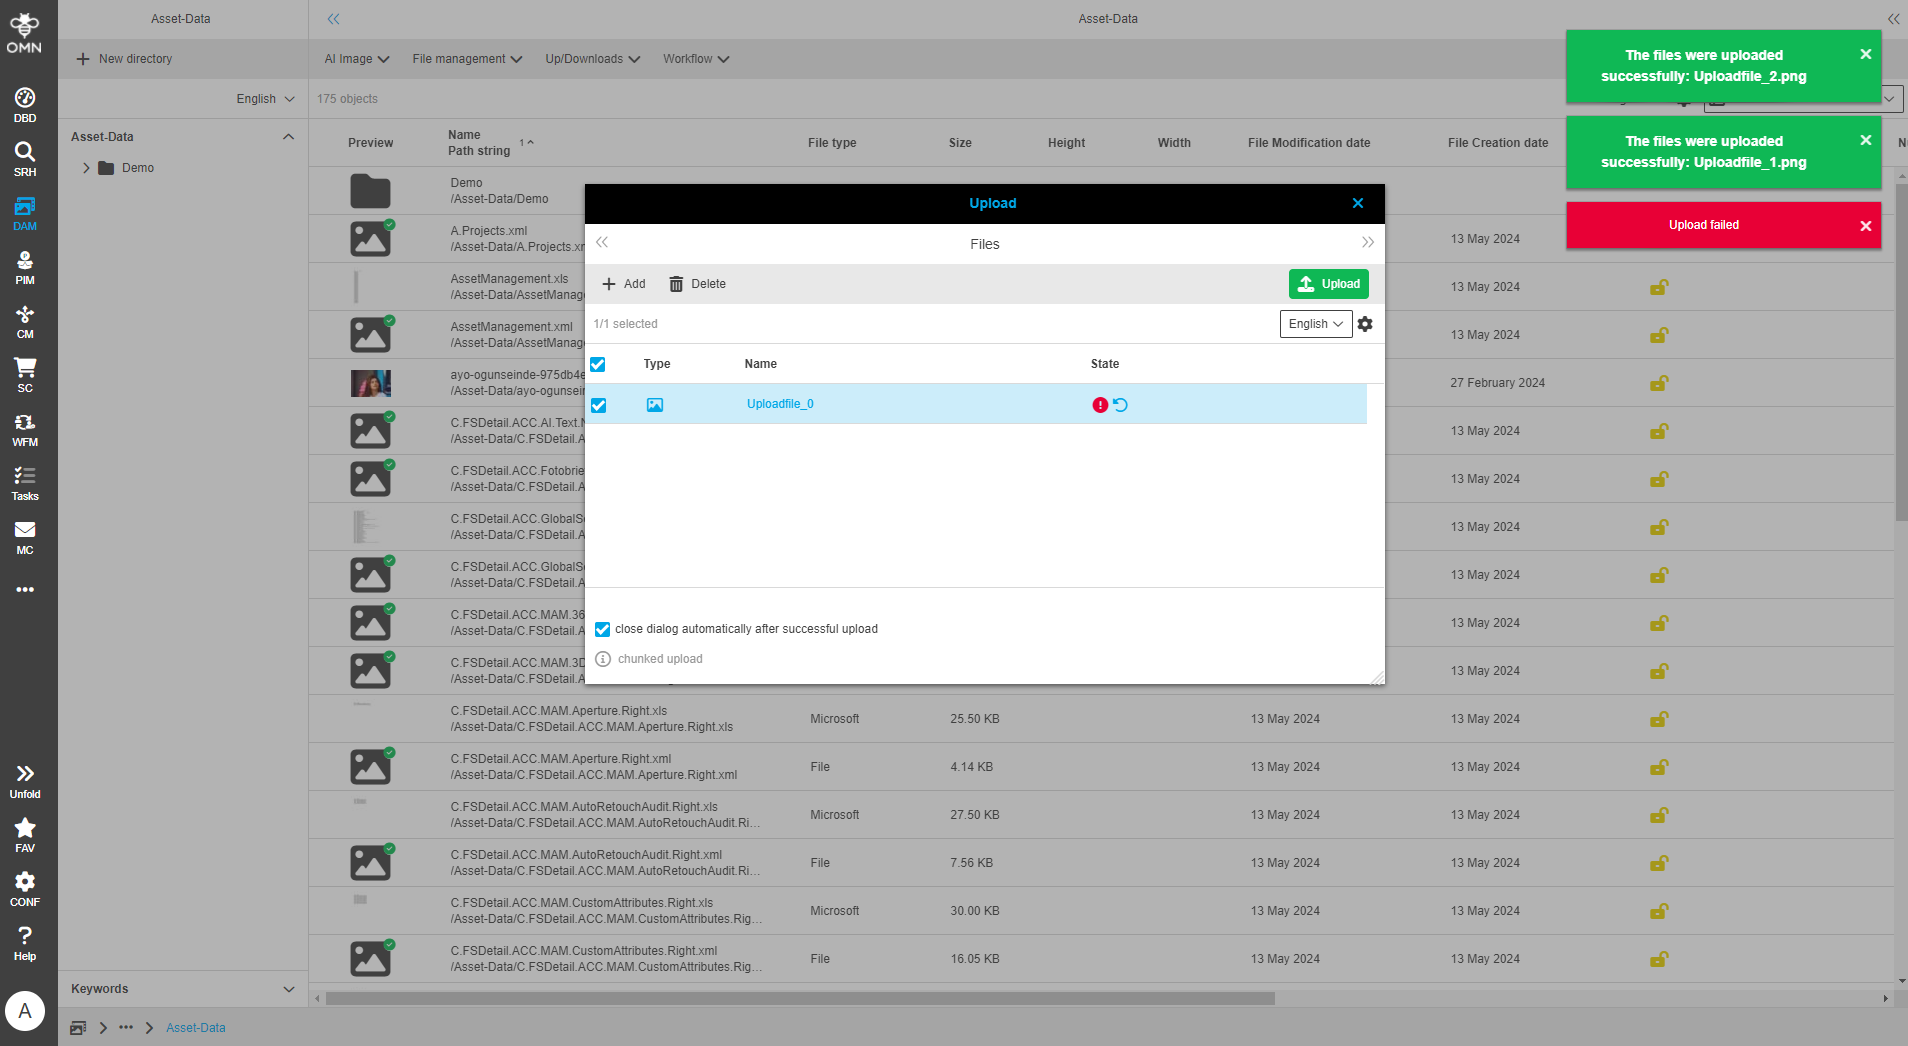
 Upload successful
 -
 Upload failed
 -
 Restart upload
 -
 File is overwritten
 -
 File is ignored
 -
 Copy is created
-
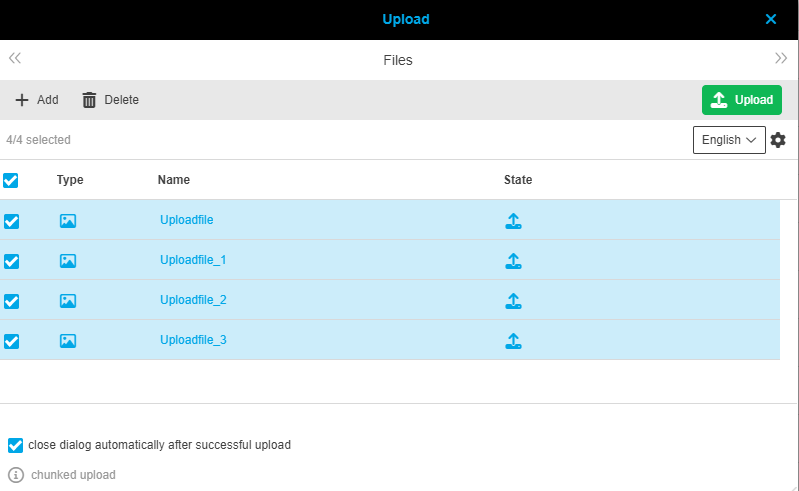
It is possible to filter and/or sort columns.
At the bottom of the upload dialog there is also a setting option for the visibility of the dialog. A checkbox can be used to select whether the upload window should be closed or not after a successful upload.
Optionally, a chunked upload message appears below this checkbox.
| A segmented (chunked) upload is a process in which a large file is divided into smaller segments or sections before it is uploaded. These segments are then uploaded in parallel or sequentially to improve the speed and efficiency of the upload process. |
Notifications
If the upload of a file has been successfully completed, a green message box is displayed.
If an error occurred while uploading the file, a red error message is displayed.
| The status of the upload is also indicated in the “Status” column in the canvas. |