Metadata Fields Administration
The values of an object can be saved in metadata fields.
-
Access the metadata fields administration via Mandators → <Mandator name> → Application modules → MAM → Metadata fields
You can use the metadata fields as follows:
-
Content plug-in "FSDetail"
-
Content plug-in "FSTable"
-
Content plug-in "Lighttable"
-
Content plug-in "MetaDataTranslation"
Here you can see the configuration areas available for Metadata fields configuration:
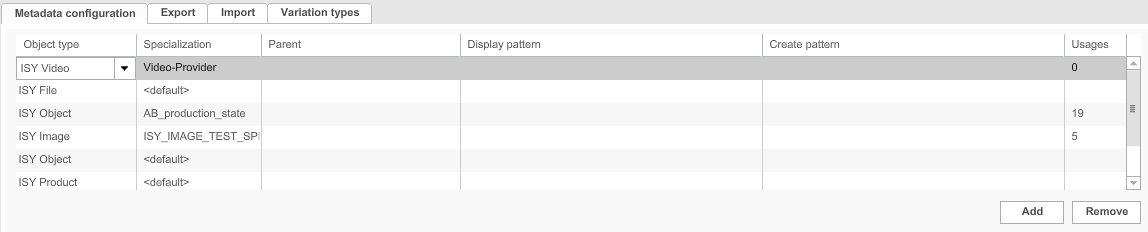
| Field | Description | Notice |
|---|---|---|
Metadata configuration |
If more than one root node is configured in the OMN system, one needs to be assigned for the MAM |
|
Export |
Exports metadata configurations |
|
Import |
Imports metadata configurations |
|
Variation types |
Configures variation types for asset variations |
Metadata – Object types, Specializations and Inheritance
The following object types are available:
-
ISY Object
-
ISY File
-
ISY Directory
-
ISY Video
-
ISY Image
-
ISY Document
-
ISY PrePress Document (INDD/QXP)
-
ISY PDF Document
-
ISY MS Office Document
-
ISY PostScript Document
-
360D File
-
3D File
-
Container File
-
CM Layout
-
ISY Product
For each object type different specializations can be configured:
-
<default>: A <default> specialization exists for all object types.
Metadata attributes defined for an <default> object type are available for all objects of this object type. -
user-defined sub-types: Sub-types of objects can have additional metadata attributes only valid for this object type.
Metadata attributes can be inherited as follows:
-
from ISY Object <default> to all ISY Object Specializations and all other object types (including their Specializations)
-
from ISY File <default> to all ISY File Specializations and to ISY Image, ISY Document and ISY Video (including all their Specializations)
-
from ISY Document <default> to all ISY Document Specializations and to ISY PrePress Document, ISY PDF Document, ISY MS Office Document, ISY PostScript Document (including all their Specializations)
-
from one object type to a child object type
Configuring Metadata Fields
This is how the configuration of Metadata Fields can be done:
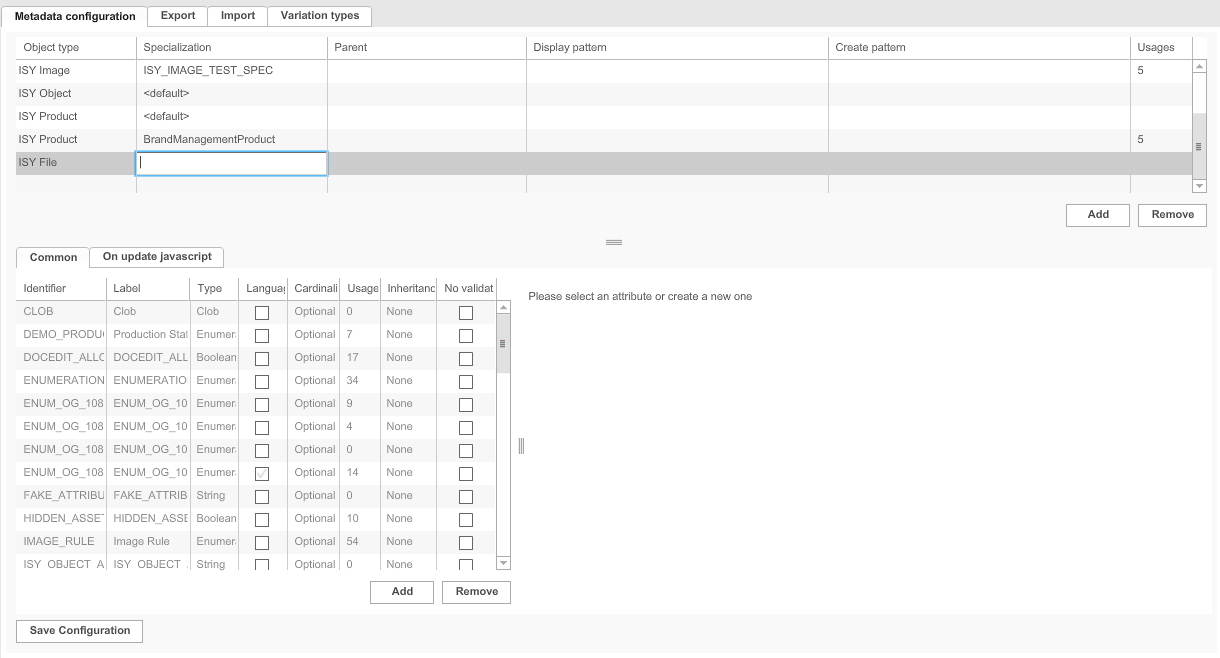
1. Open the tab Metadata configuration.
2. Click Add to add an object type.
3. Choose an object type.
4. Enter a specialization if the object type shall not be <default>.
5. If necessary, choose a parent object type.
6. In the tab Common, add or remove metadata attributes (see "Adding metadata attributes").
Inherited metadata attributes are displayed in grey color.
They cannot be changed or removed.
7. On update javascript: Add a javascript that will be triggered each time the value of the metadata attribute is changed in the Frontend.
8. On delete javascript: When a file is deleted using the OMN Delete function, the script deletes the links in products if the deleted file was linked.
A script could remove links. Via PIM2 API (com.meylemueller.pim2.api.facade.Pim2ApiFacadeImpl#unlink) Linked products could be retrieved by com.meylemueller.pim2.facade.impl.LinkedProductsLoader, the script needs to create DataItems and get needed services. The script should be located in: Application Module → MAM → MetadataFields → ISYObject → OnDelete script
The following JS script example can be used:
After saving, each asset deleted by OMN Delete function, will be processed by the deletion script.
9. To save the configuration and all changes made, click Save configuration.
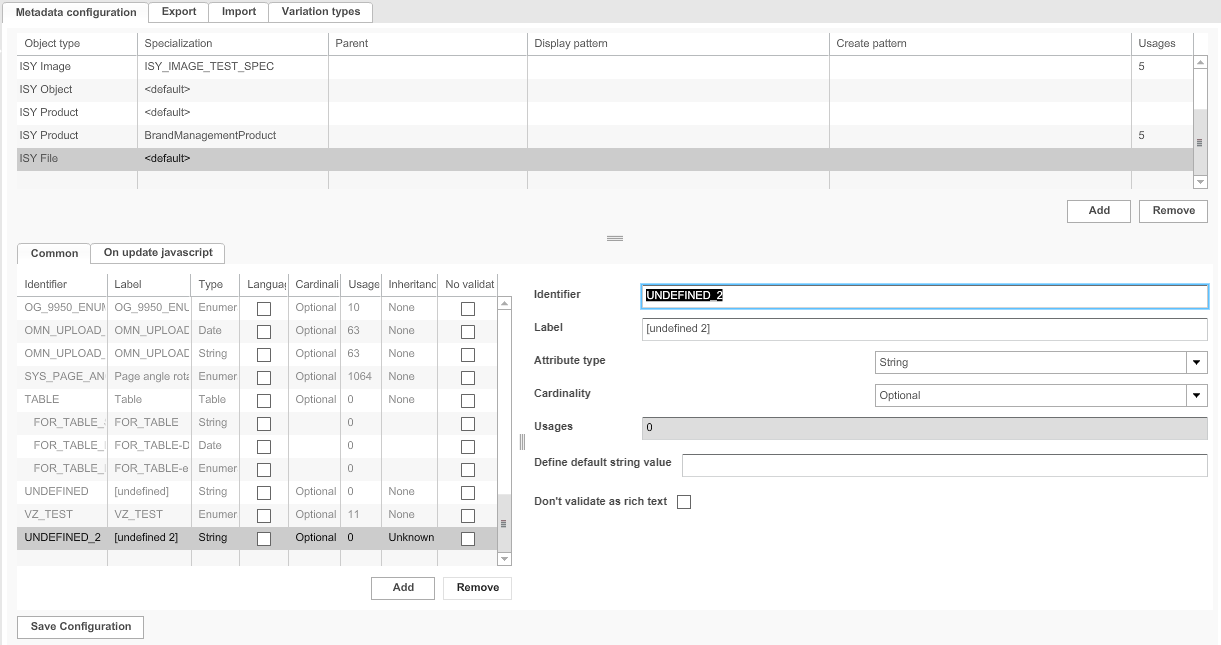
Adding metadata attributes
In this section you can find out how to add a metadata attribute.
| Field | Description | Notice |
|---|---|---|
Identifier |
The identifier should be unique for the whole OMN installation, otherwise mandators may share the value of the fields |
Only use the following characters:
After saving and using the identifier once it cannot be renamed. |
Label |
The label should refer to the content of the Metadata Field |
|
Attribute type |
Available attribute types:
|
For enumerations, a list of values must be specified. For tables, attributes must be added to the columns. The table has to be added to a content plug-in "FSDetail". |
Cardinality |
For each metadata attribute, a value in the Frontend can be optional or required |
Required fields are labelled as mandatory in the Frontend |
Inheritance |
Inheritance can happen by value or by reference |
|
Usages |
The field shows if and how often a metadata field is filled with data |
|
Define default value |
For some attribute types (e.g. string, Boolean) a default value can be defined that will be used as long as the field has no value |
|
Don’t validate as rich text |
>> Activate the checkbox when validation for rich text for allowed HTML5 tags should be disabled |
Exporting Metadata Configurations
In this section you can find out how exporting of the metadata configuration can be done.
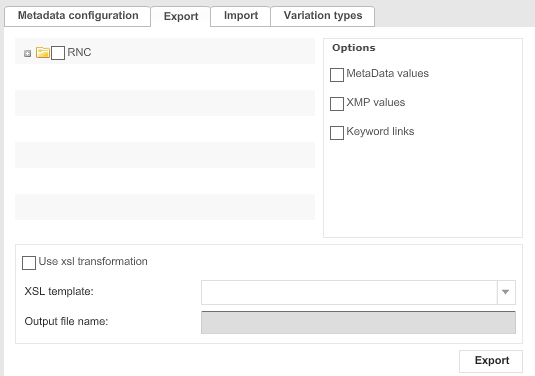
1. Open the tab Export.
2. Activate the checkbox in front of the root node configuration you want to choose.
→ If the checkbox for RNC is activated, the metadata configurations for all root node configurations will be exported.
3. Activate the checkbox in front of the option, to choose the element to be exported.
4. To use xsl transformation:
-
Activate the checkbox Use xsl transformation.
-
Choose an XSL template.
-
Enter an output file name.The file is usually stored in the directory <Installation path>/catalinabase/webapps/export/metadata/<Mandator>/
5. To export the metadata configuration, click Export.
The path to the export file will be displayed after the export is completed.
Importing Metadata Configurations
In this section you can find out how importing of the metadata configuration can be done.
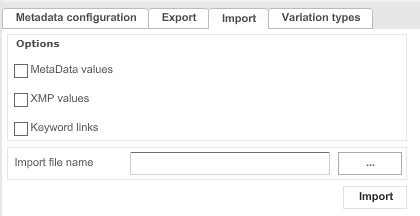
1. Store the XML file you want to import in the directory <Installation path>/-catalinabase/webapps/export/metadata/<Mandator>/.
2. Open the tab Import.
3. Activate the checkbox in front of the option, to choose the element to be imported.
4. Click …
5. Choose the relative path of the XML file you want to import (see above).
Invalid XML elements will not be imported.
6. Click Import, to start the import of metadata configurations.
Configuring Variation Types
In this section you can find the description of variation types configuration.

1. Open the tab Variation types.
2. Click Add, to add a variation type.
3. Fill in all the fields.
The name entered for the variation type must be unique for the mandator.
4. If necessary, test the variation type with the fields on the right-hand side:
— Enter all values.
— Click Test.
5. To save the configuration and all changes made, click Save.