Preparing Configuration-Guide
Expand Mandators → <Mandator name> → Function Plug-ins and select Preparing. Create a configuration with a corresponding identifier. The Plug-in consists of different tabs in which you define the settings for the Frontend usage. The tab "General" is selected by default on opening the page.
"General"-Tab
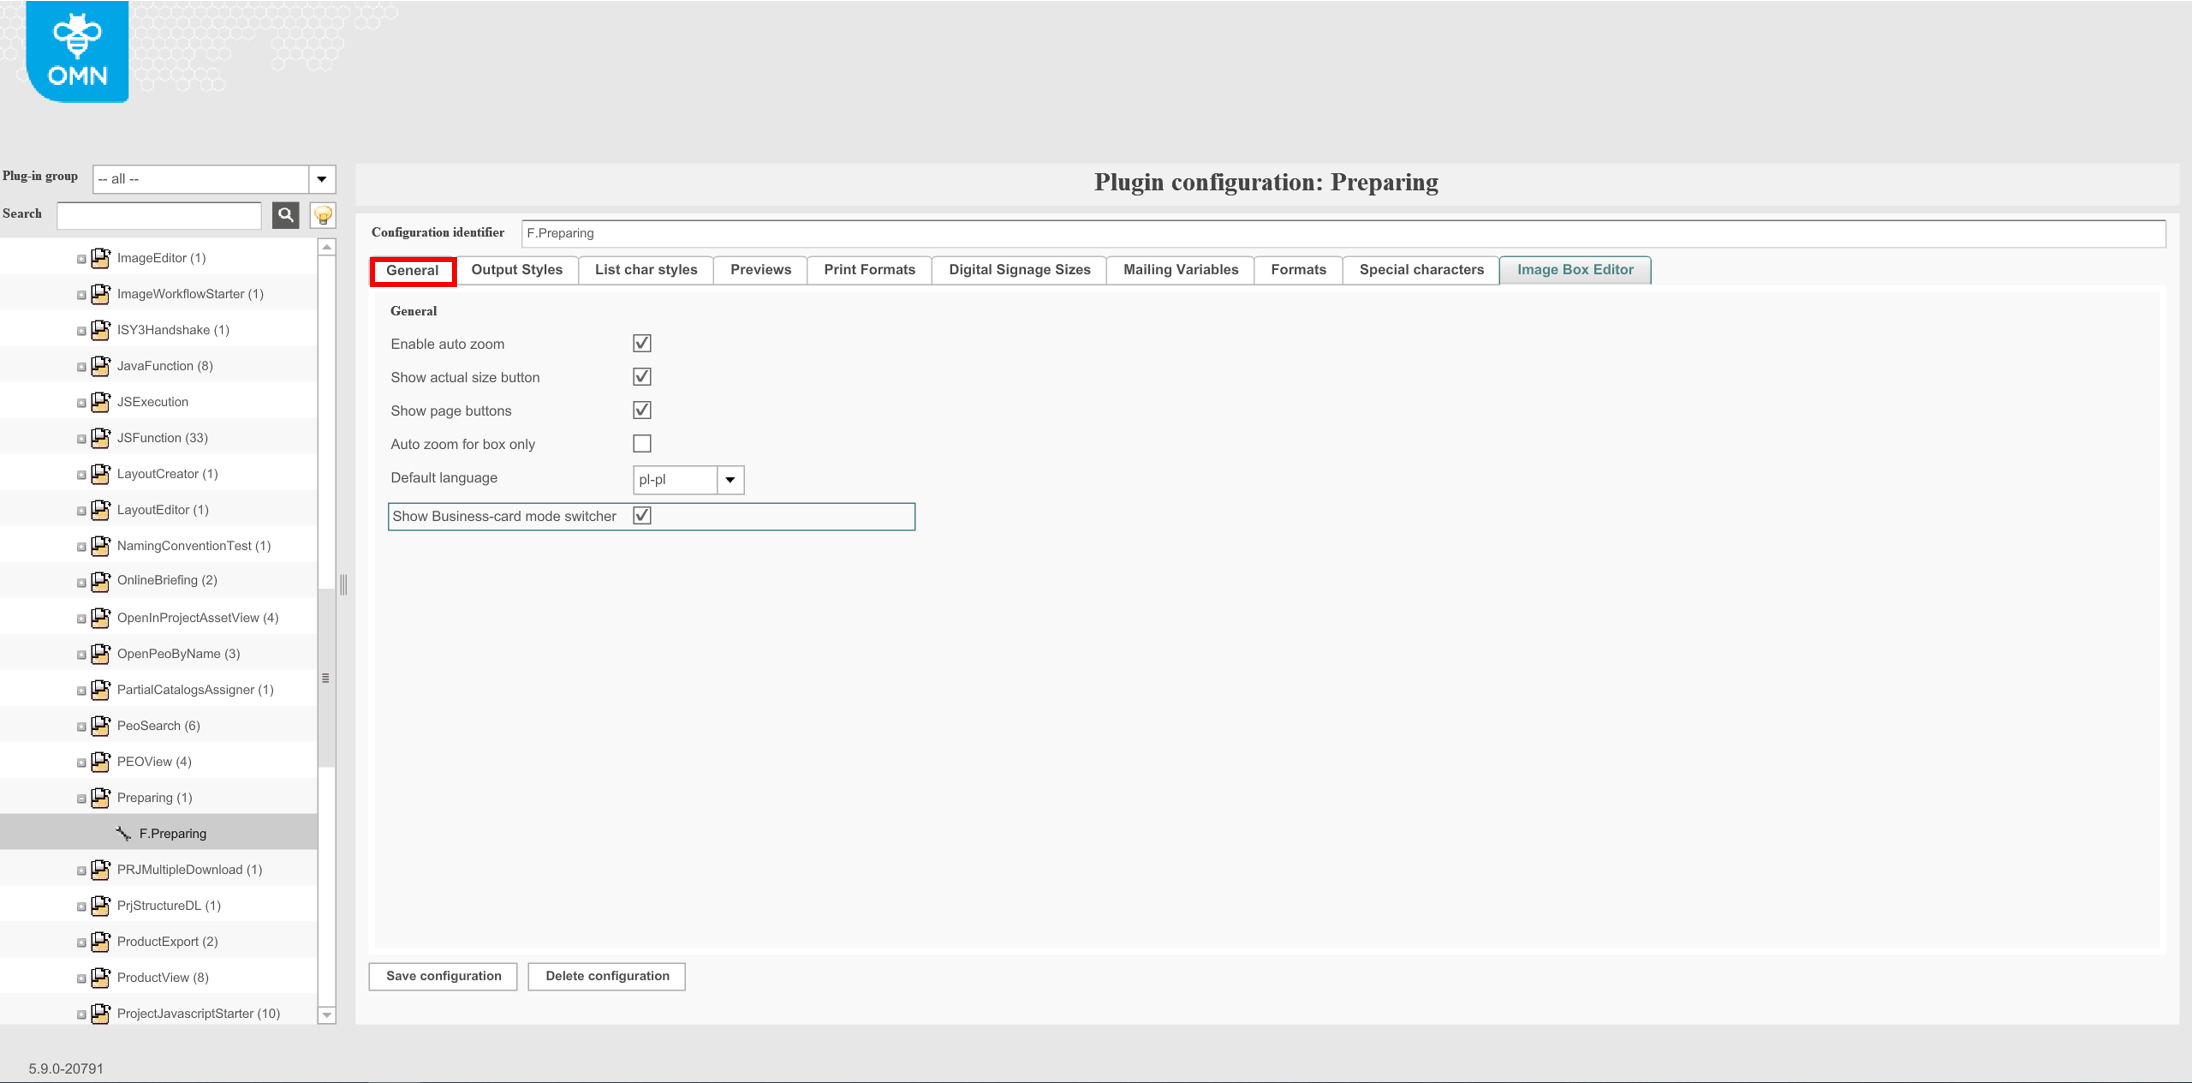
Enable auto zoom: Enables or disables the auto zoom to selected boxes. It is recommended to activate this functionality so the user can see the details of the current box.
Show actual size button (old client only): Enable or disable this option to view the size (percentage) value in the Frontend.
Show page buttons (old client only): If enabled the page buttons are visible in the Frontend allowing the user to switch between page views. The option is enabled by default on opening the tab.
Auto zoom for box only (old client only): Defines whether after zooming to a box the whole document is re-rendered or only the chosen box. Enabling this functionality causes a great performance boost but has one disadvantage: after changing some text and pressing "refresh", the text is shown on a white background. Reason for this is the behaviour of Adobe InDesign server. To avoid this, this parameter must be disabled.
Default language: This is only for old client. Spell checker is always activated , but it does not work if the OMN server has no language dictionaries. These dictionaries are located in the folder /usr/local/omn/dictionary and they are zipped by default. So these should be unzipped to work in the old client.

HTML client has no spell checker in CKEditor5 yet (if the user has no browser extension like "Grammarly")
Show Business-card mode switcher (HTML5 only): Defines if the 'Business card enabled' checkbox is available in 'Information' tab in the right panel on the frontend client.
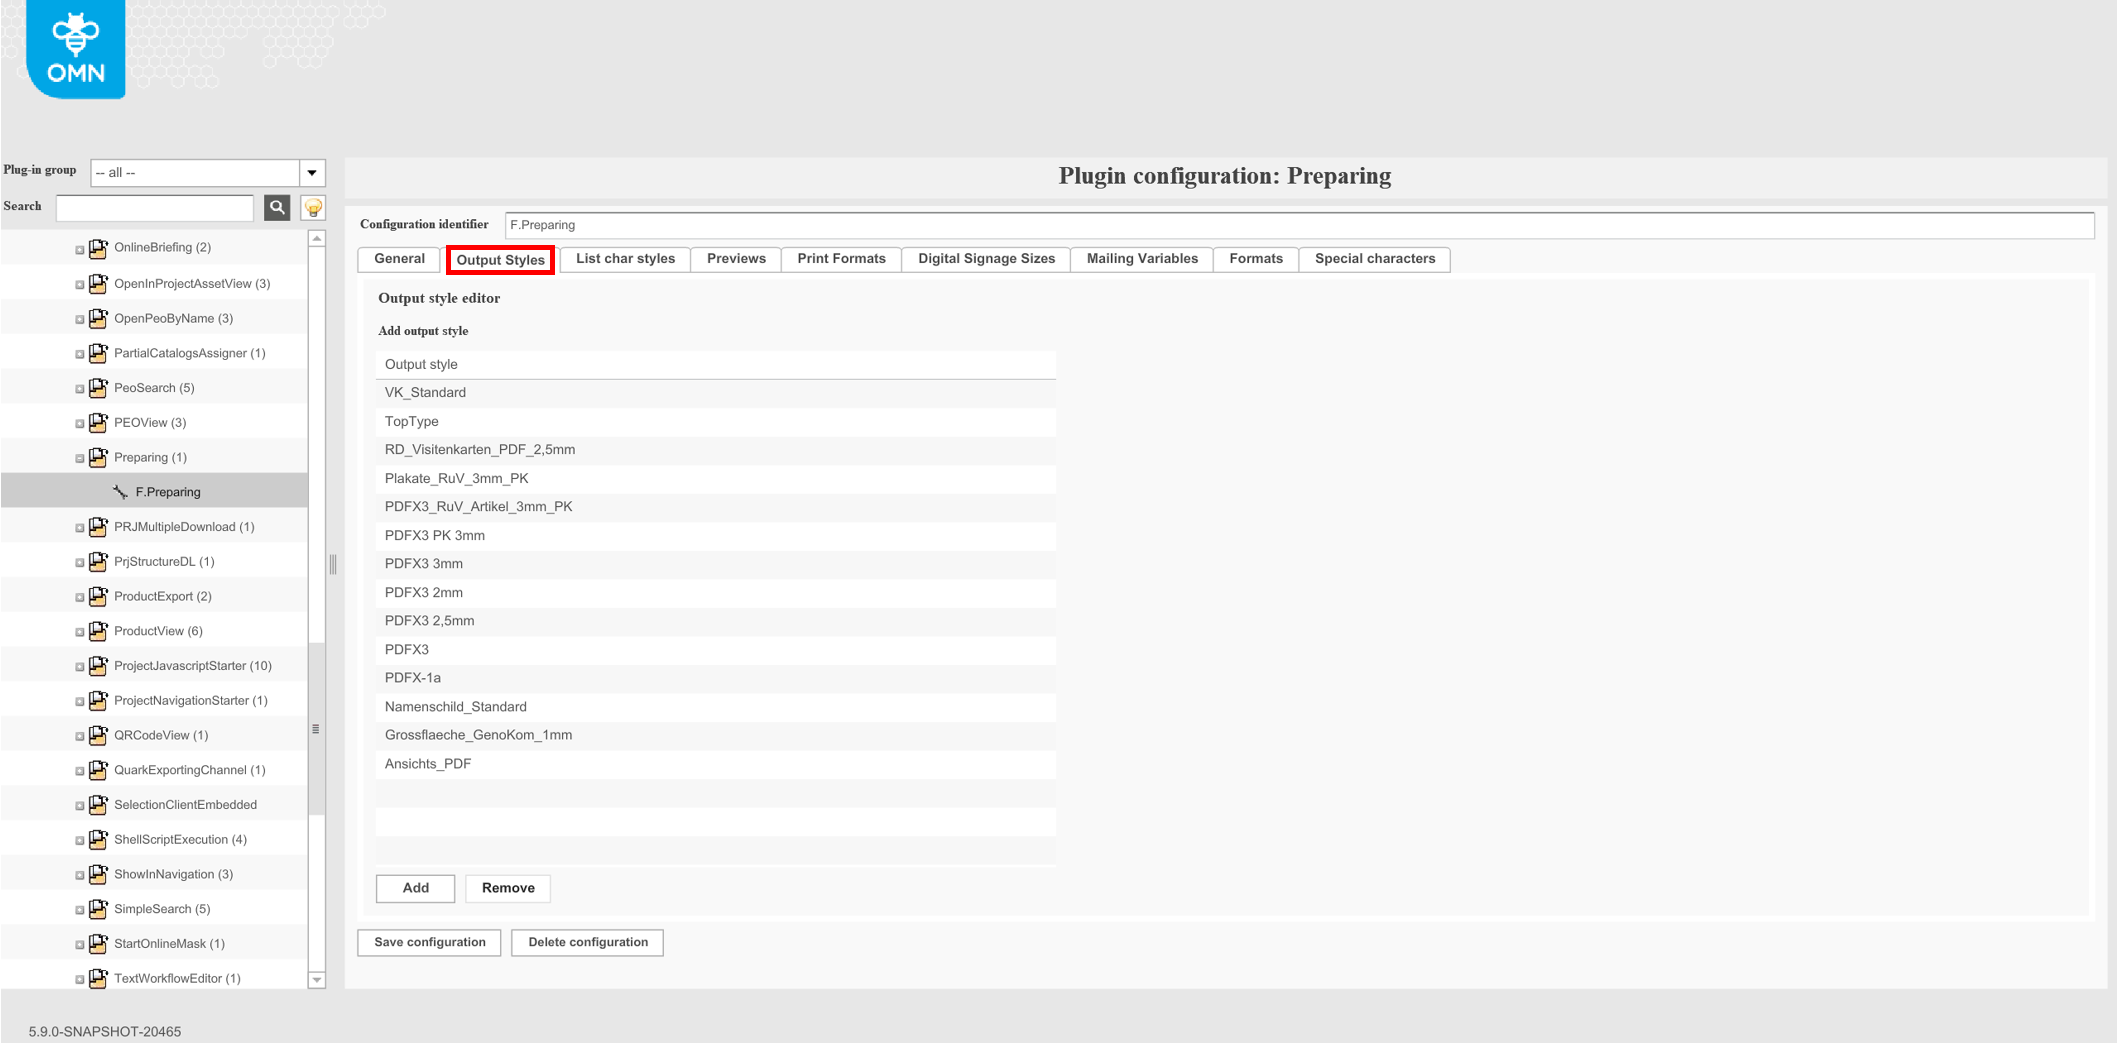
"Output Styles"-Tab
In this tab you can enter output styles which have been created in Quark XPress to generate PDF documents.
| The configuration here refers to QuarkXPress output styles only. InDesign output styles will be supported in a later version. |
Output styles is predefined properties for downloaded files (PNG or JPG). Output file formats are configured in DocEdit plug-in. (DGV specific)
The "usual" use case for output styles is an export of the project as a PDF file, it is a Quark feature and addresses a style configuration there. Output Style settings in Quark do NOT contain option to change file format (e.g. in JPEG)
Configurable by the admin in QuarkXPress by "Edit"→"Output Styles" / in the OMN Backend, Plugin configuration of Preparing, Tab Output Styles
Configurable by the editor in Preparing for each article which output styles should be selectable by the end user.
Currently the output style from Preview Descriptor overrides output style from Preparing.
"List char styles"-Tab
QuarkXPress
The tab allows configuring different styles referring to the use of enumerations that shall be available in the Frontend for editing text boxes.
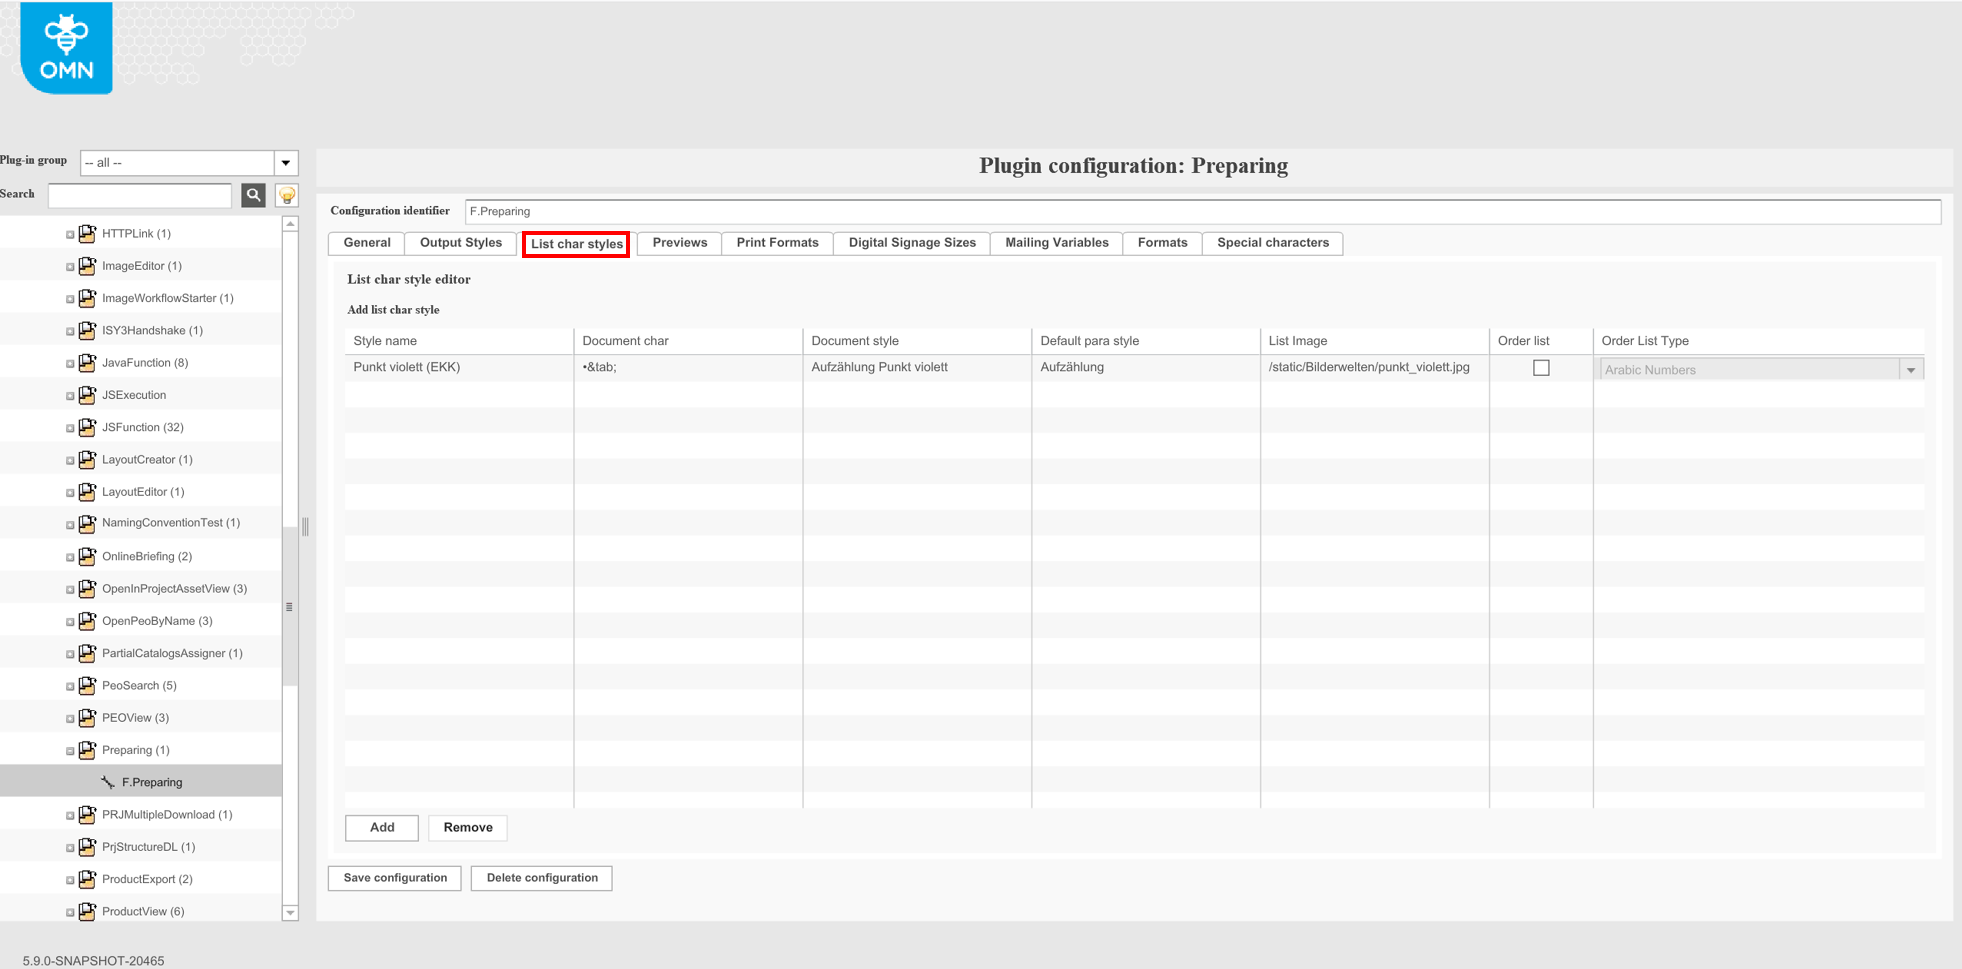
Click the "Add"-button to create a new row.
Style name: name of char style configuration, which will be displayed in frontend for this style.
Enter any style name.
Document char: for ordered lists template should contain '{0}' substring (this substring will be replaced with order symbol, arabic number or letter). Also it is possible to use tab symbol in template: tab will be placed instead '&tab;' substring. Other symbols will be displayed as is. For unordered lists template should contain bullet of a character set (used in InDesign or Quark Xpress document) that shall be used for an enumeration. The character set must be available on the InDesign or Quark Xpress server.
Enter the bullet of a character set (used InDesign or Quark XPress document) that shall be used for an enumeration. The character set must be available on the InDesign or Quark XPress server. The bullet itself must be placed in braces.
Document style: character style of a document, which will be applied to this bullet or numbering style. If character style doesn’t exist for edited document, then bullet or numbering style wouldn’t be available for this document.
Enter the character style used by InDesign or Quark XPress document for lists.
Default para style: paragraph style that will be applied to edited list by default. Like character style, specified paragraph style should exist for document. Available characters and paragraph styles for document can be found on 'style' tab of text box in Preparing client. It’s not necessary that these styles should be active for box to have possibility to select list style that use this paragraph and character styles, it’s just required that such styles should exist for document.
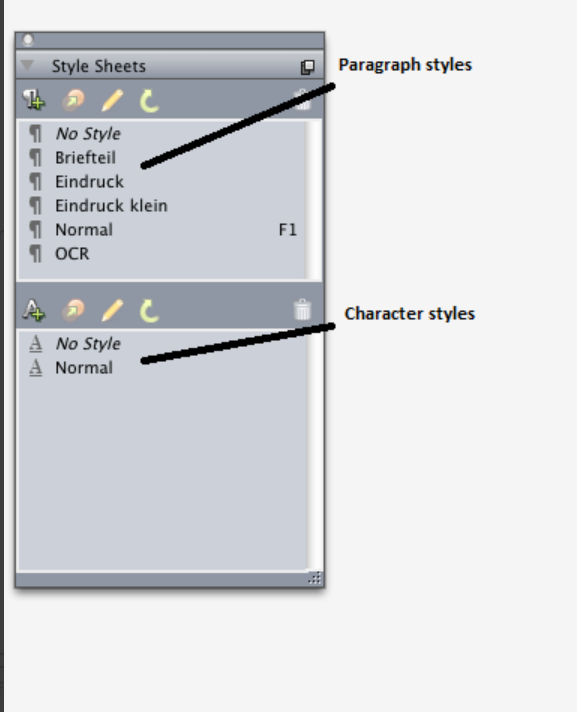
From InDesign list of available character styles:
List of available paragraph styles:
From Quark Xpress list of available paragraph and character styles:
This configuration fields (Style name, Document style and Default para style) are common for both ordered and unordered modes. Other configurations can be optional for different modes.
Enter a default paragraph style here used by original InDesign or Quark XPress document for lists.
List image::en@ Enter the name of the image that shall be used as alias for the bullet in rich text editor in Frontend. Bullets cannot be typed in the editor.
Order list: Mark the checkbox to be able to define the order of list type in the next column.
Order List Type: The selection list is only available if the option "Order list" is enabled in the previous column. From the selection list choose if the bullets shall be of alphabetical order or arabian/roman numeration.
InDesign
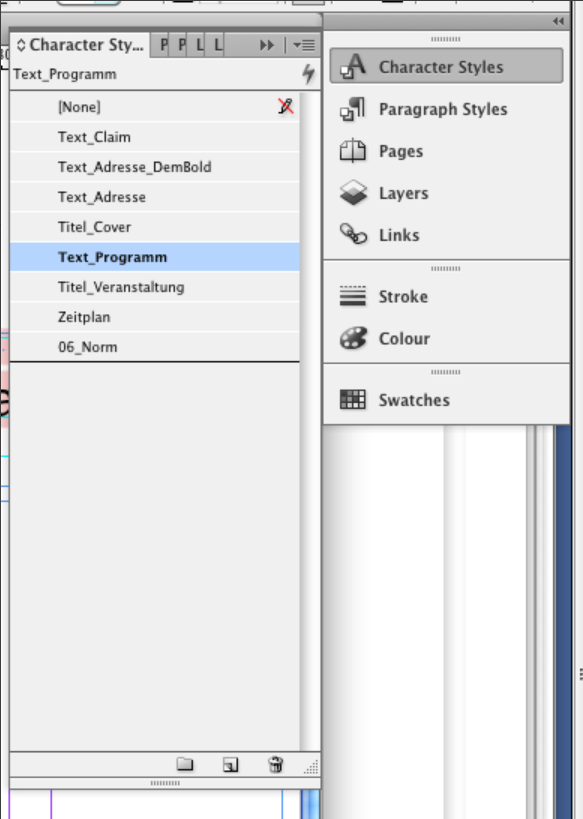
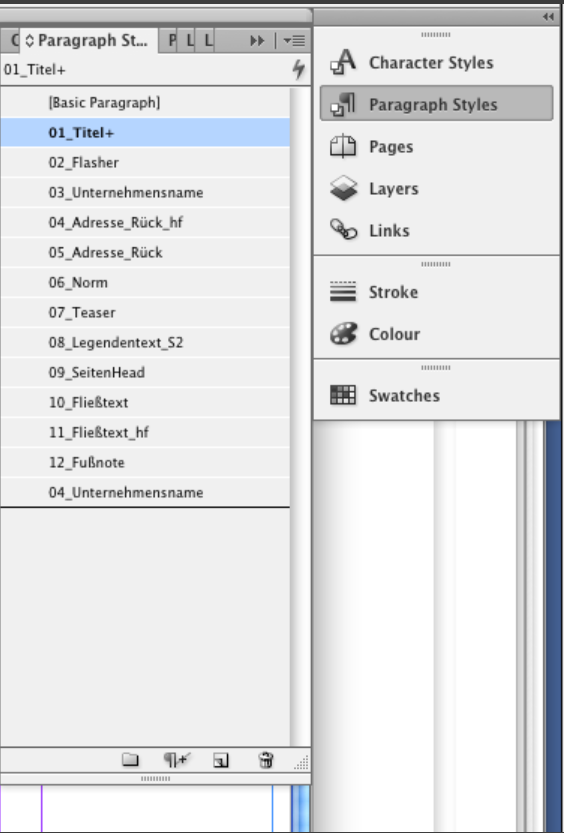
In order to change the paragraph styles in an indesign-document, open the indesign-document in InDesign and click on "Type" → "Paragraph Styles". A modal will appear. In this modal, select the tab "Paragraph Styles". Double-Click on "Basic Paragraph".
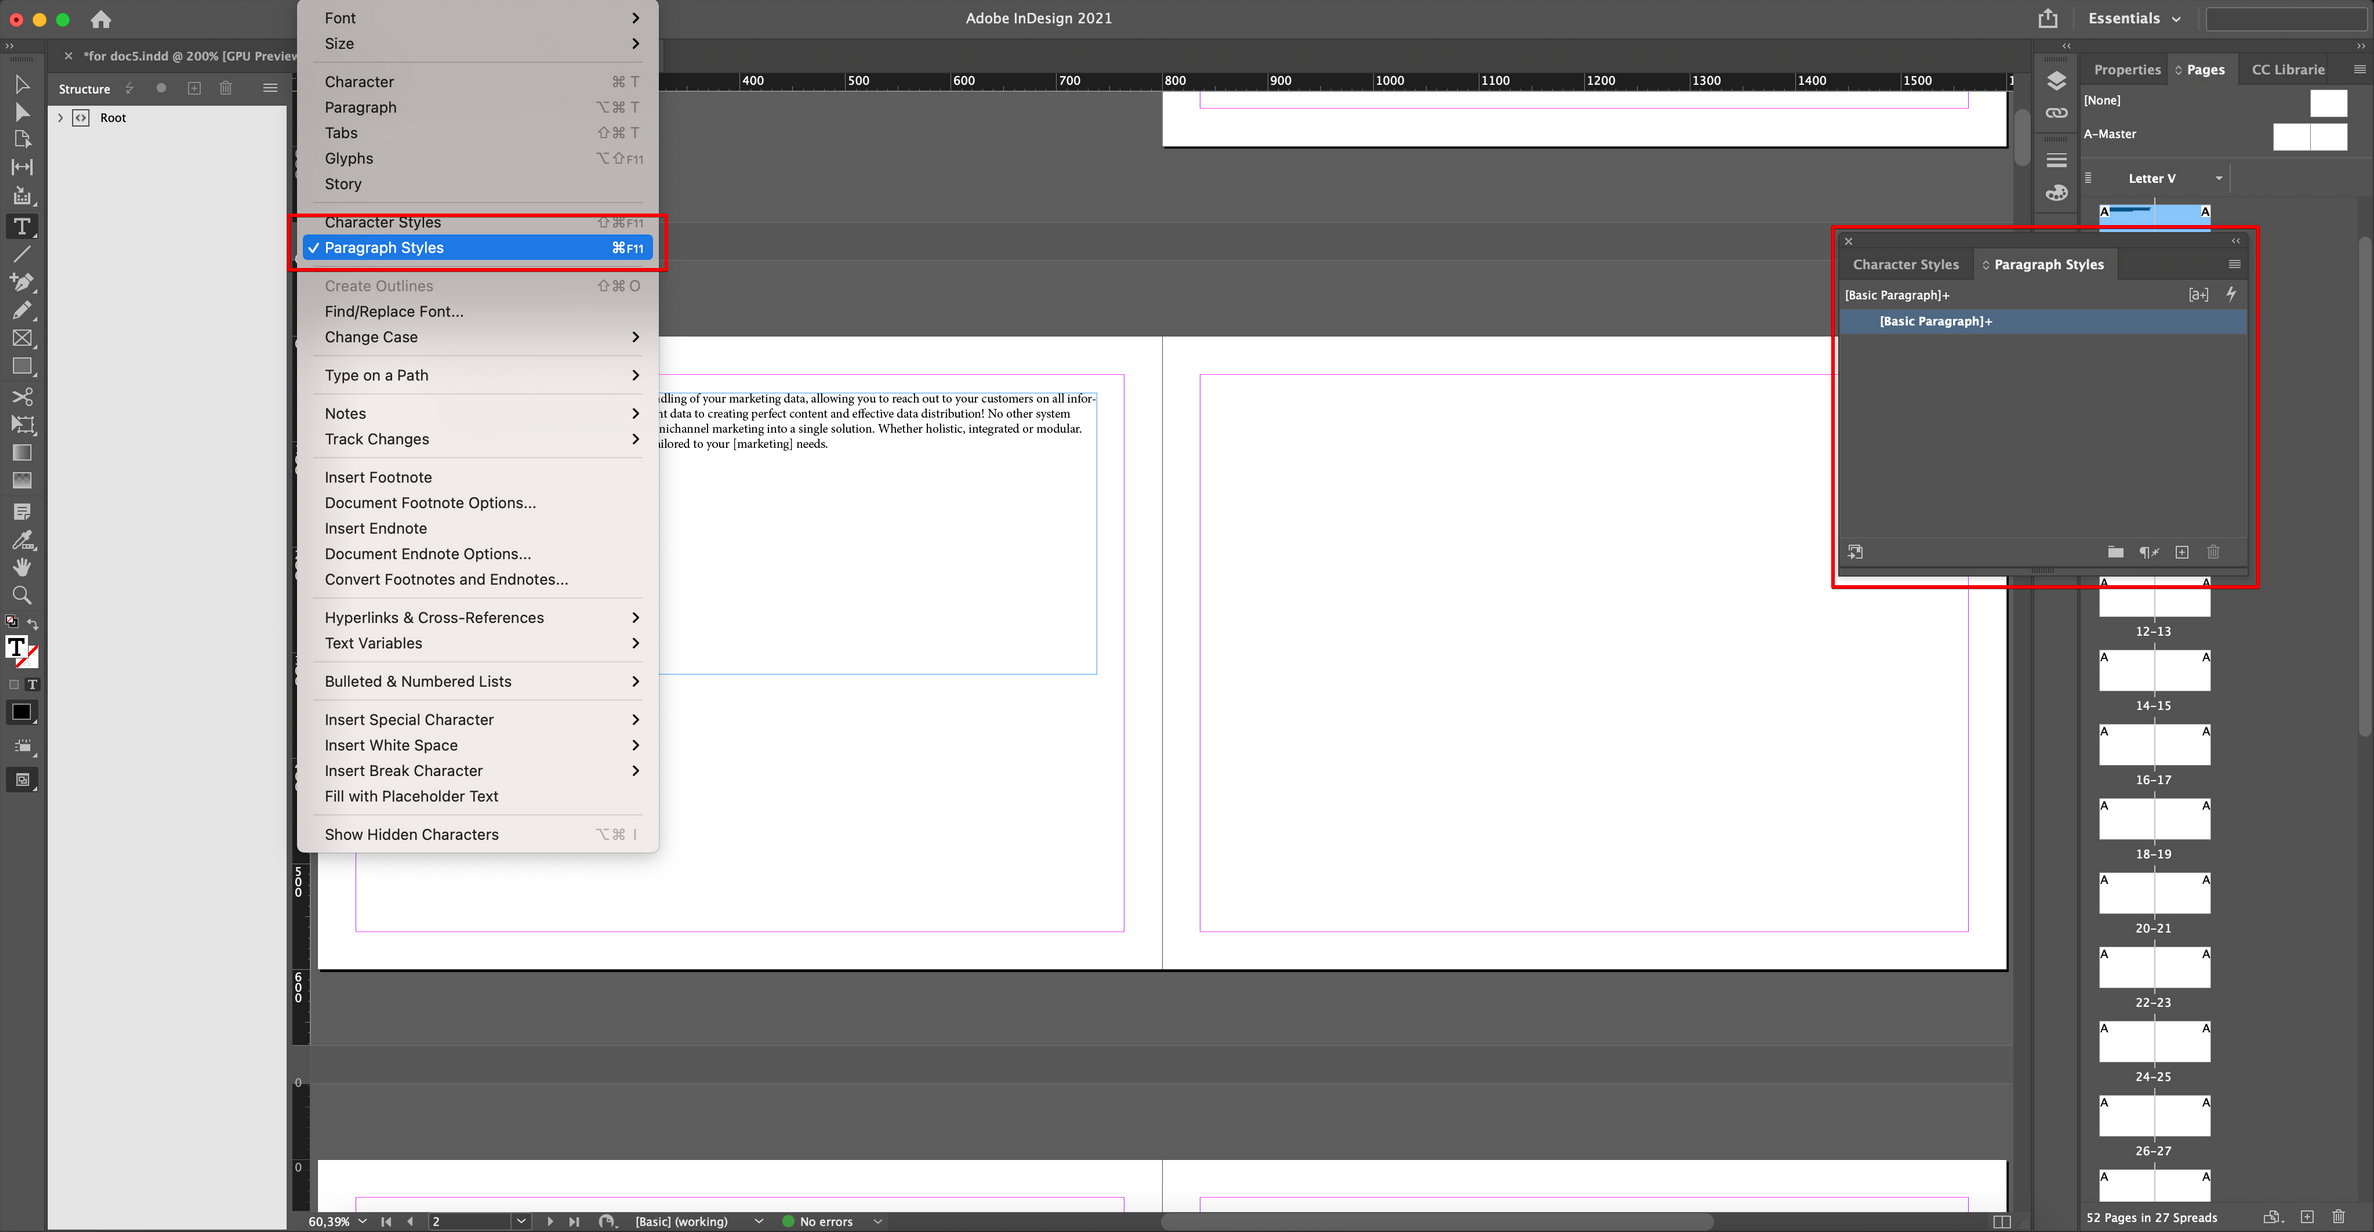
In the upcoming window "Paragraph Style Options" click on "Bullets and Numbering". There the List Type can be selected.
When choosing "Bullets", different settings regarding the bullet points can be set.
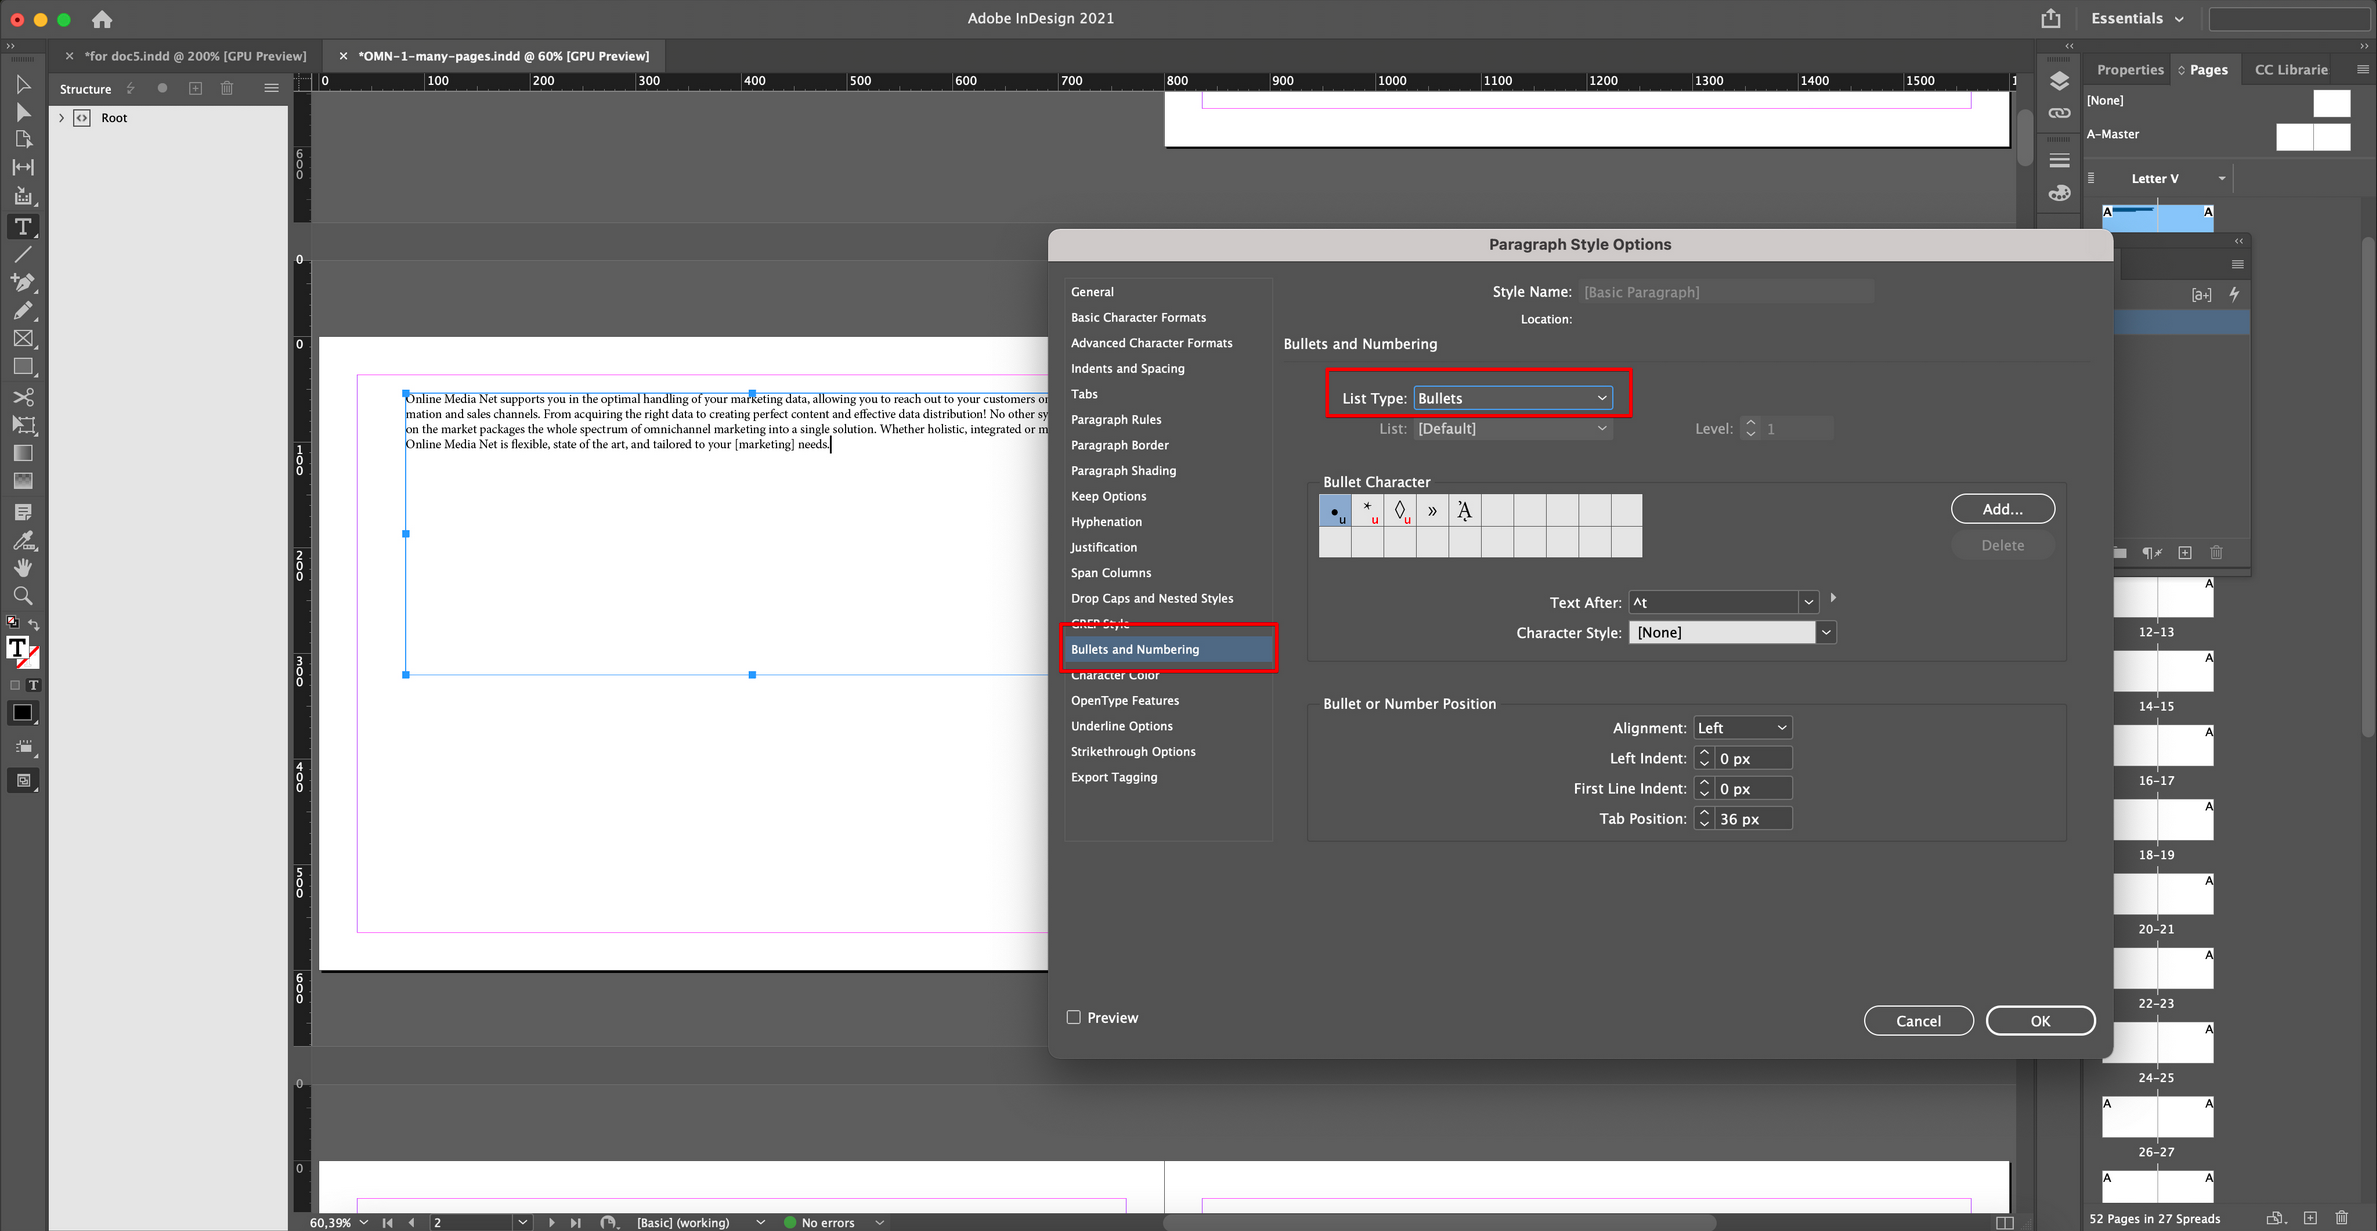
When choosing "Numbers", different settings regarding the numbers can be set.
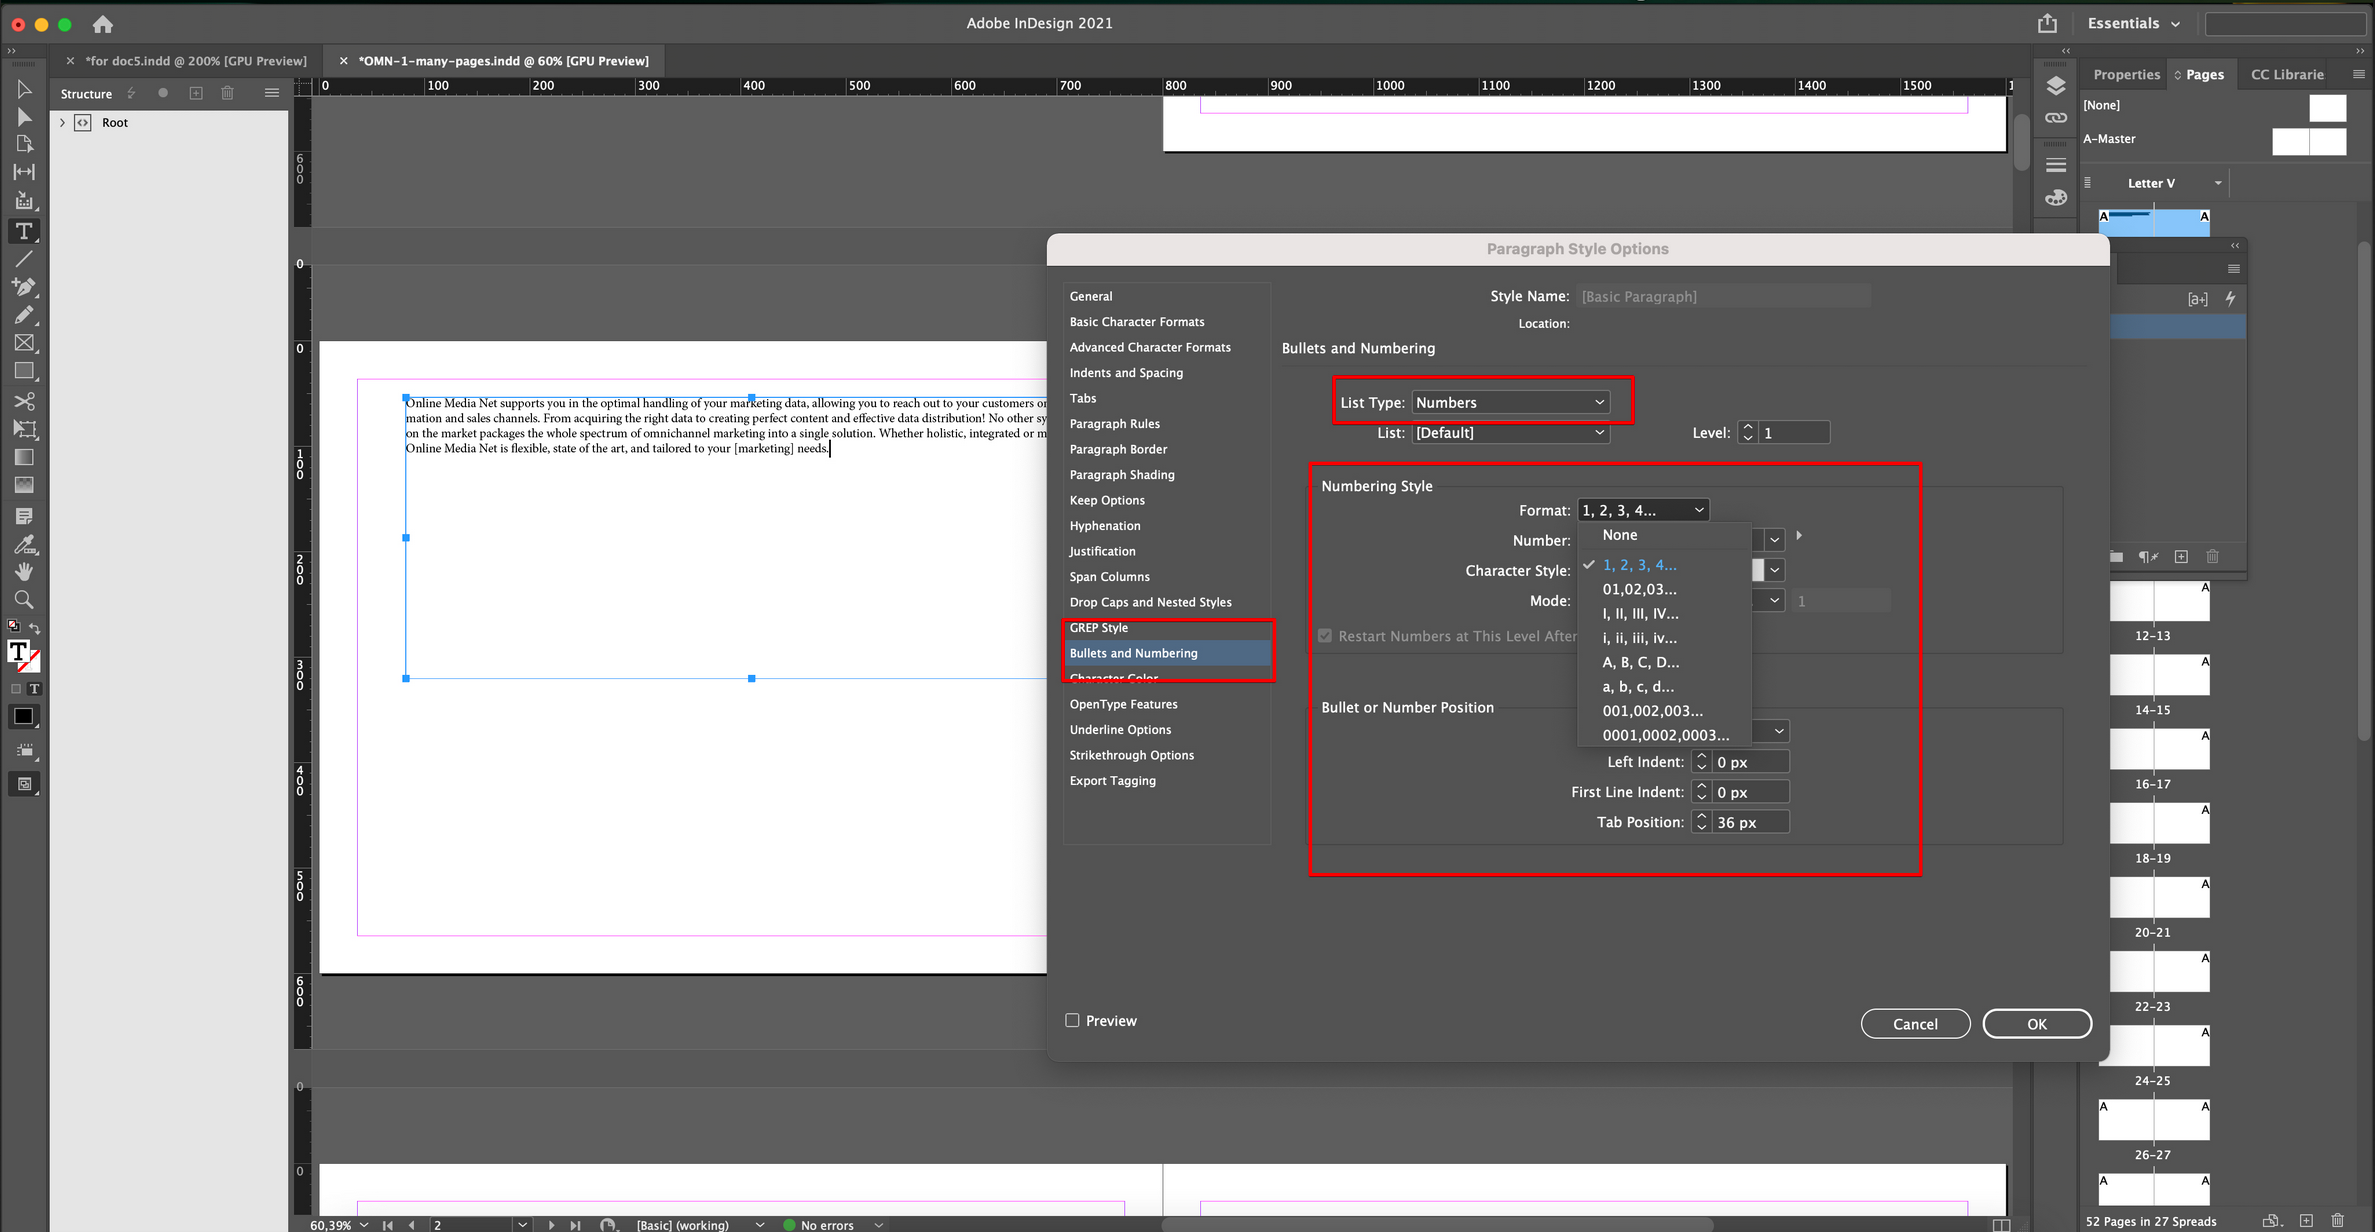
After the settings were changed, click on the "ok"-button.
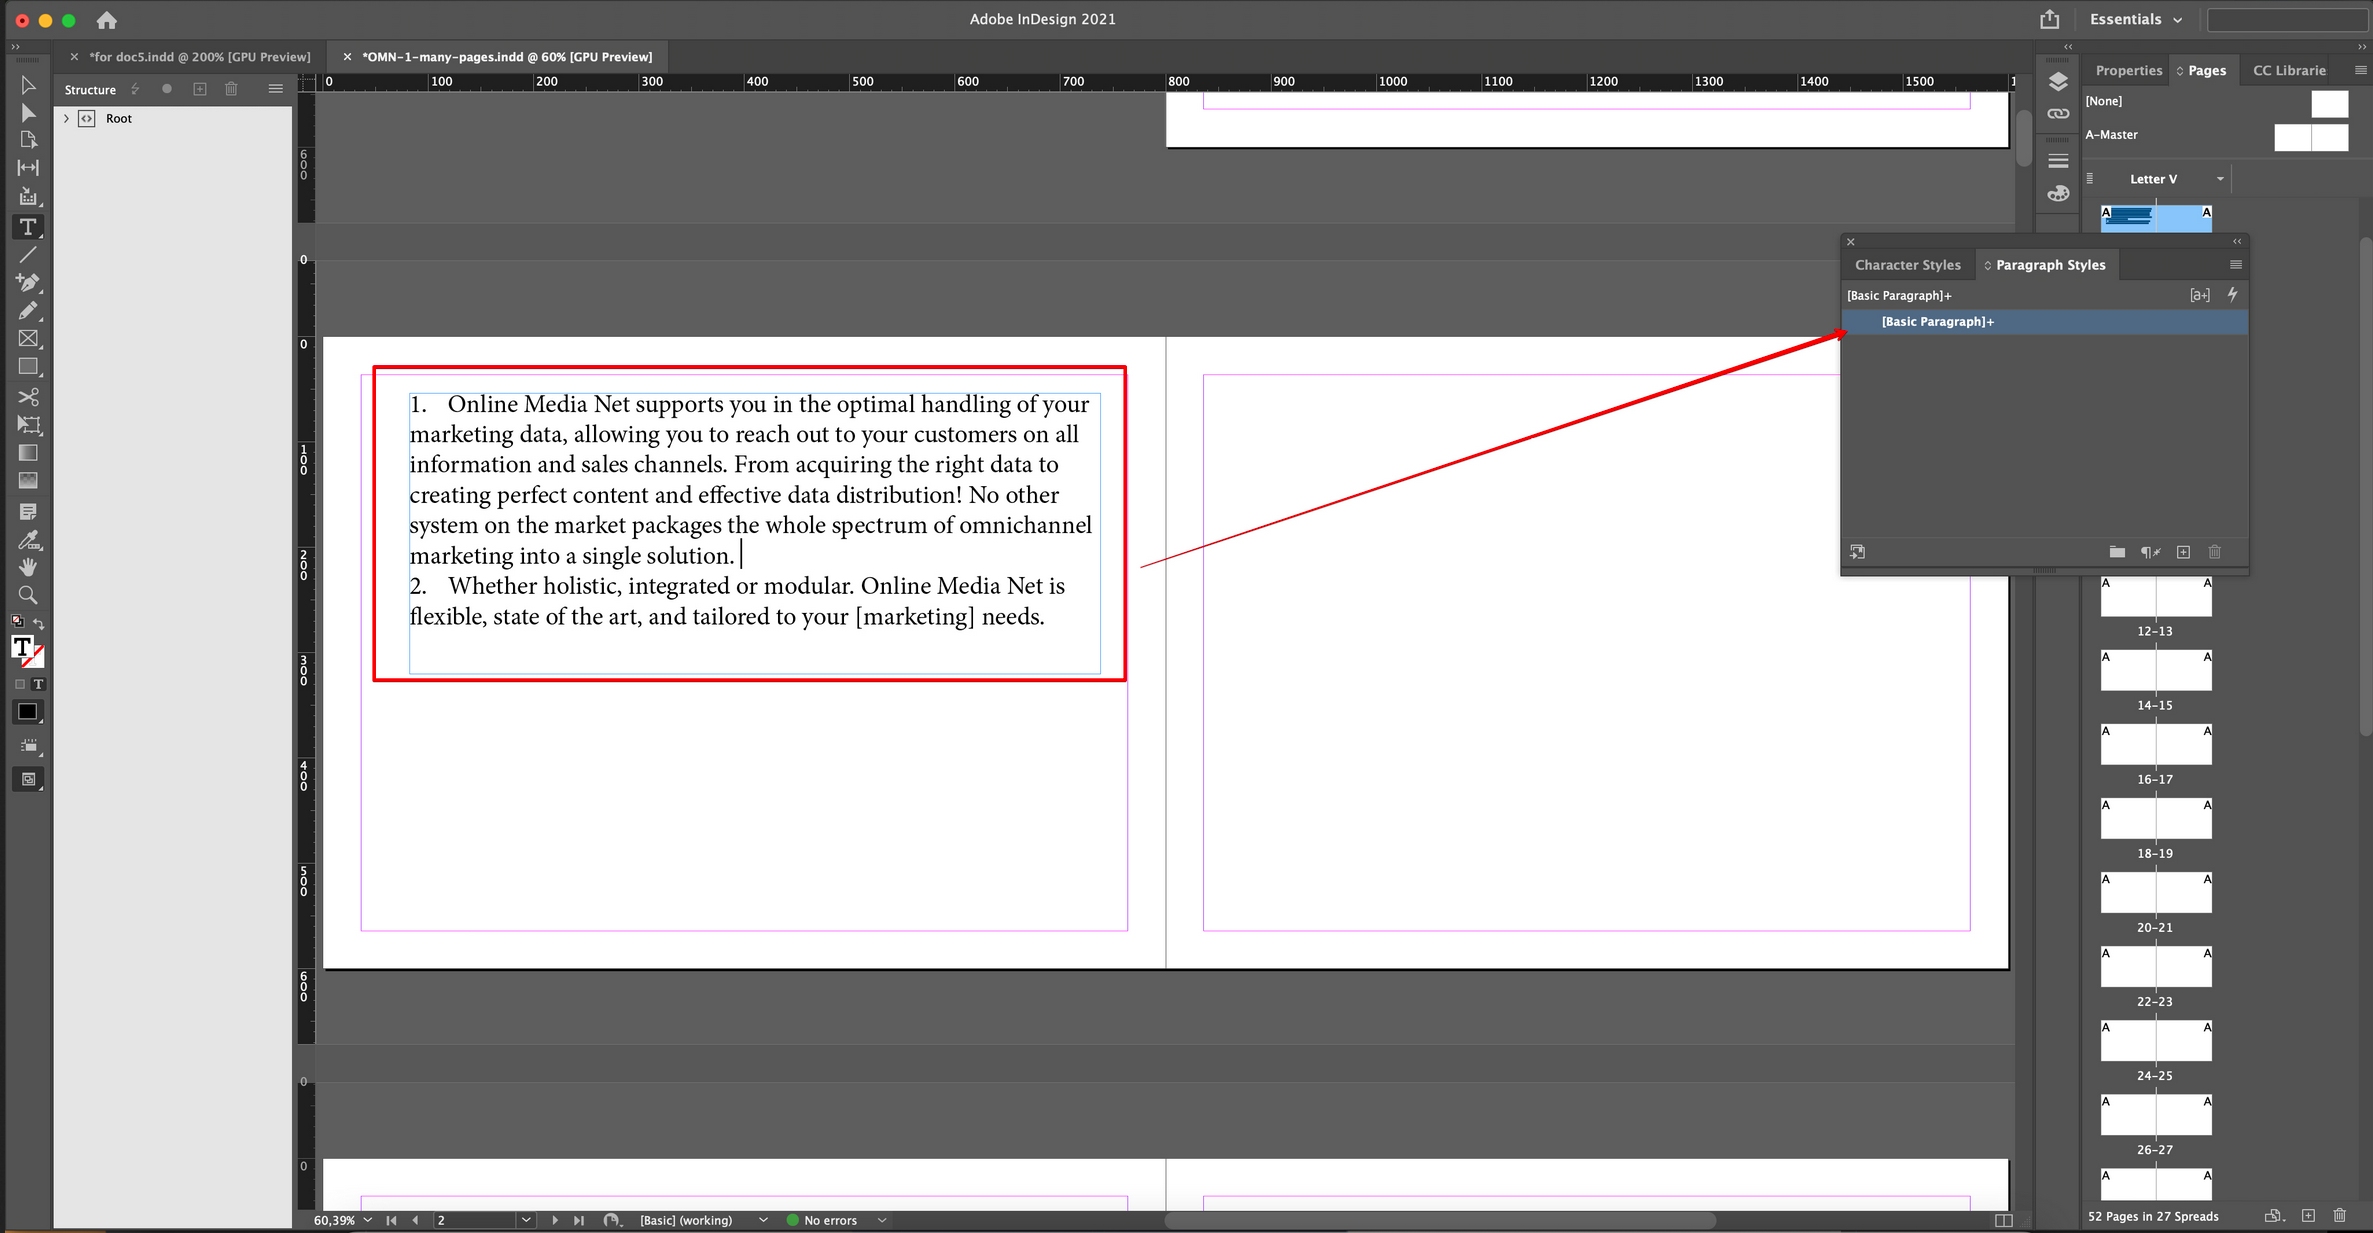
In the following picture, you can see how the document changes when choosing the "Numbers"-option.
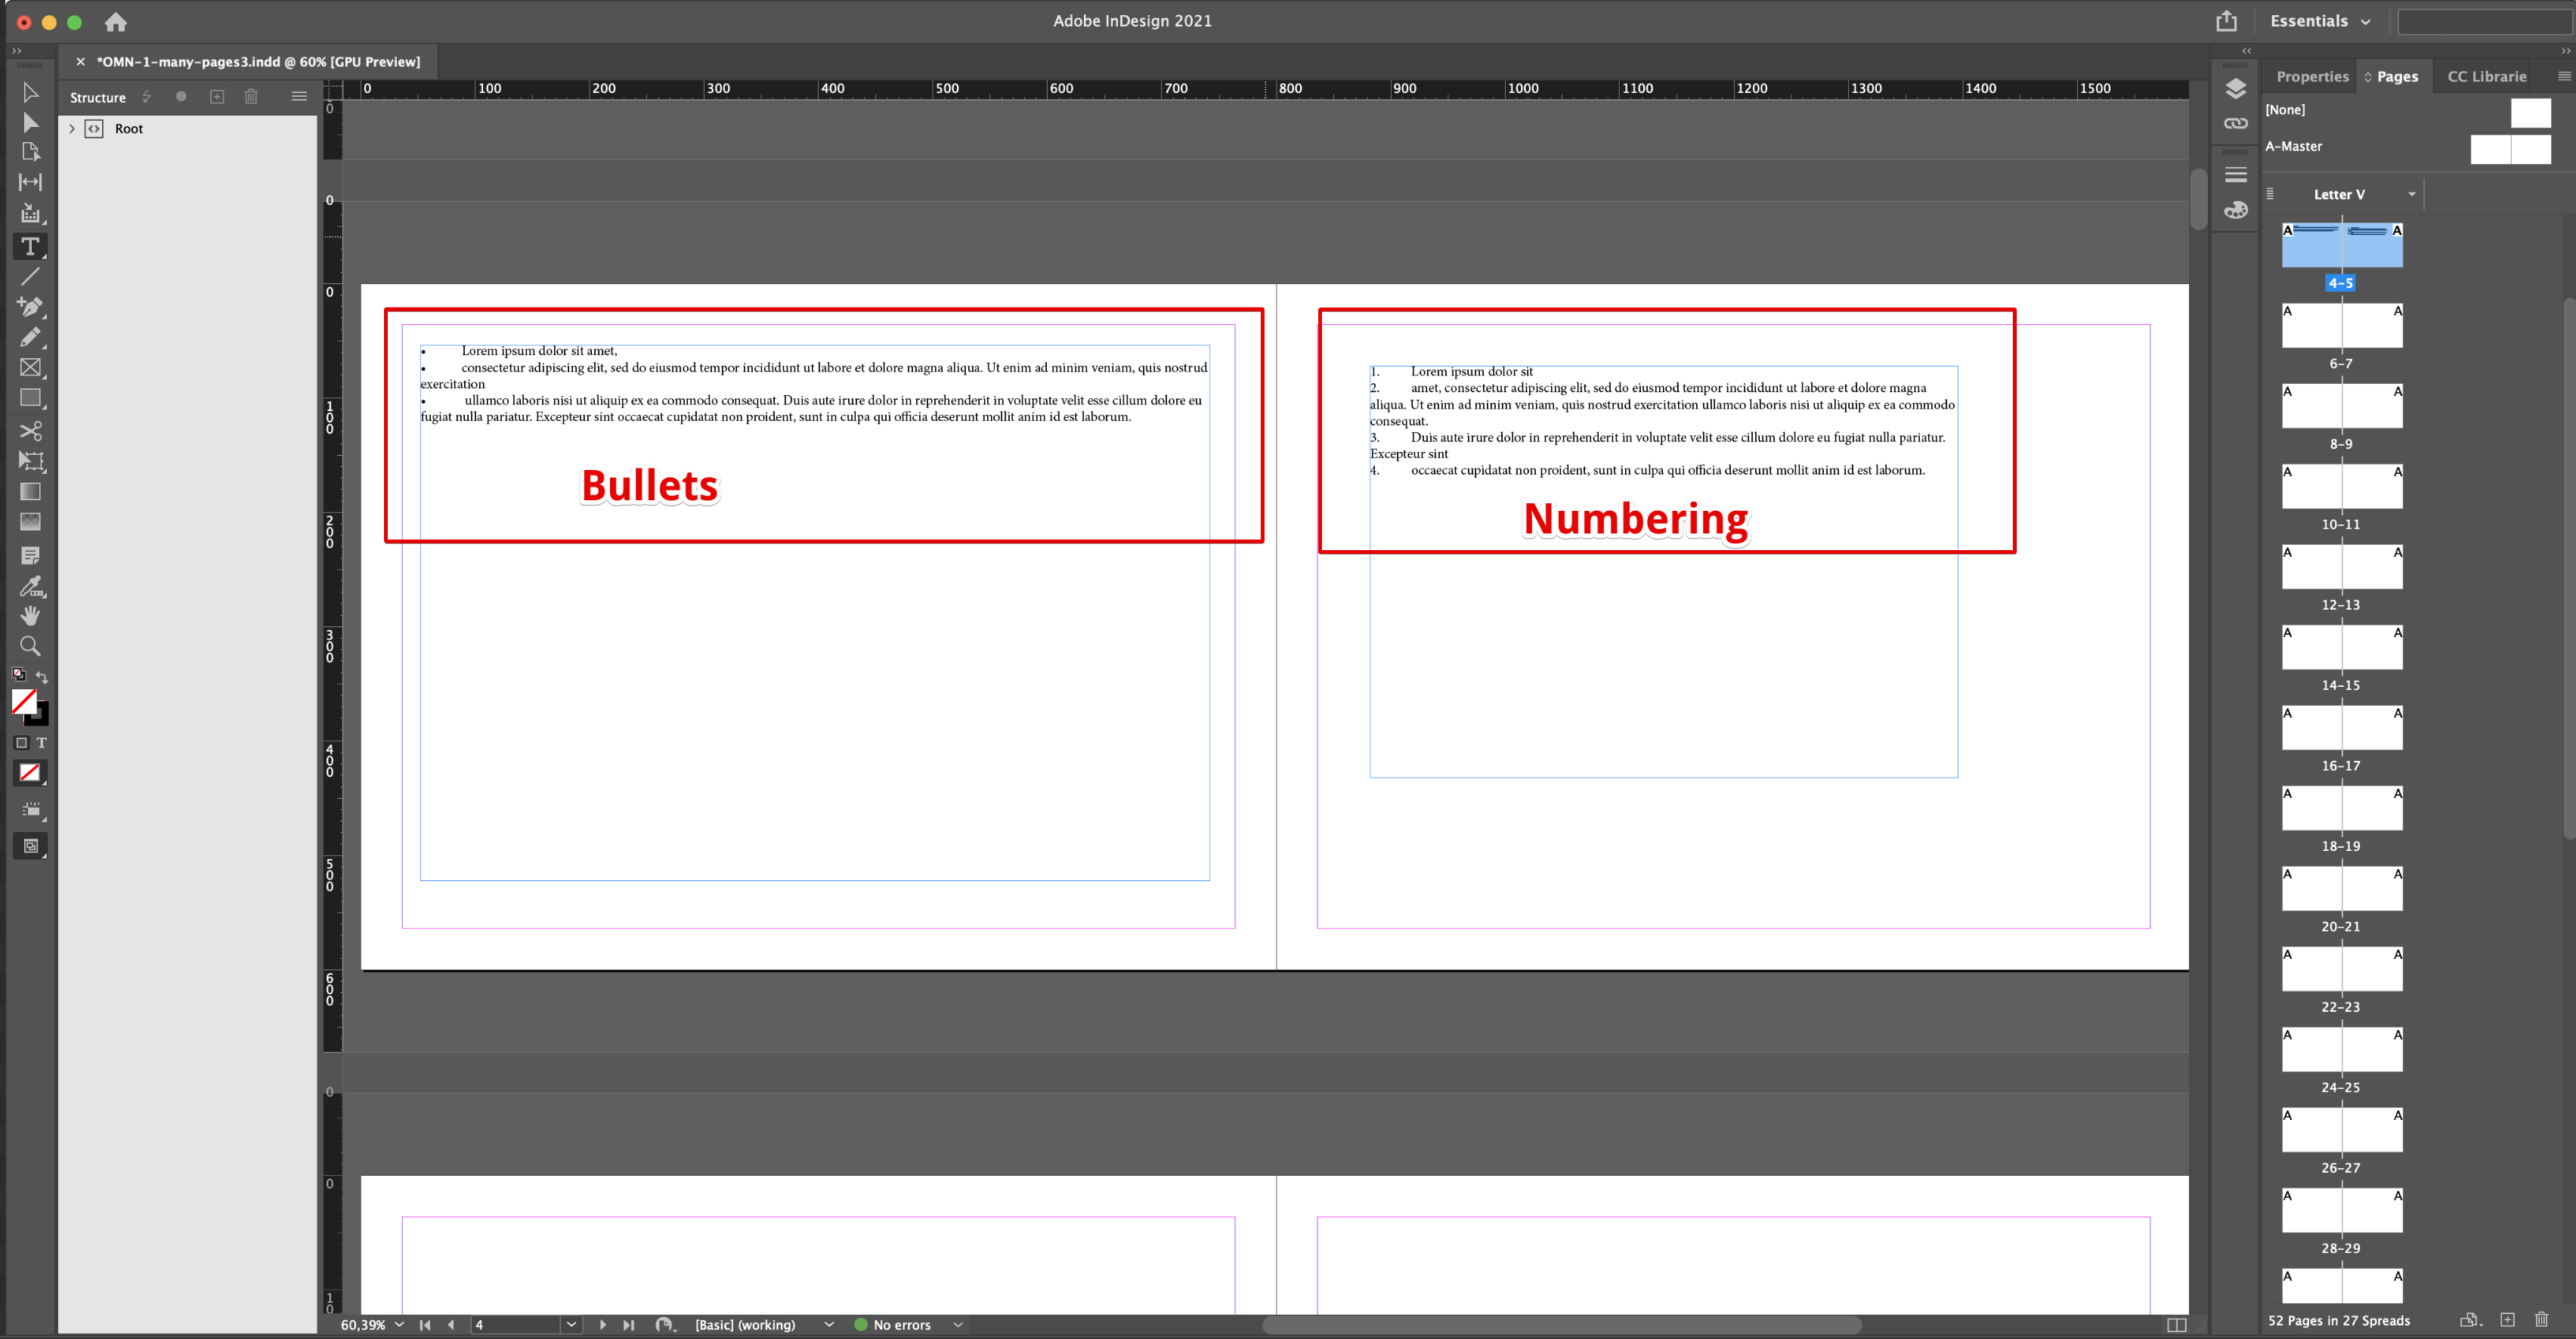
On the following picture all changes were done to the indesign file.
After the changes are done, the indesign-document must be saved and can then be uploaded to OMN.
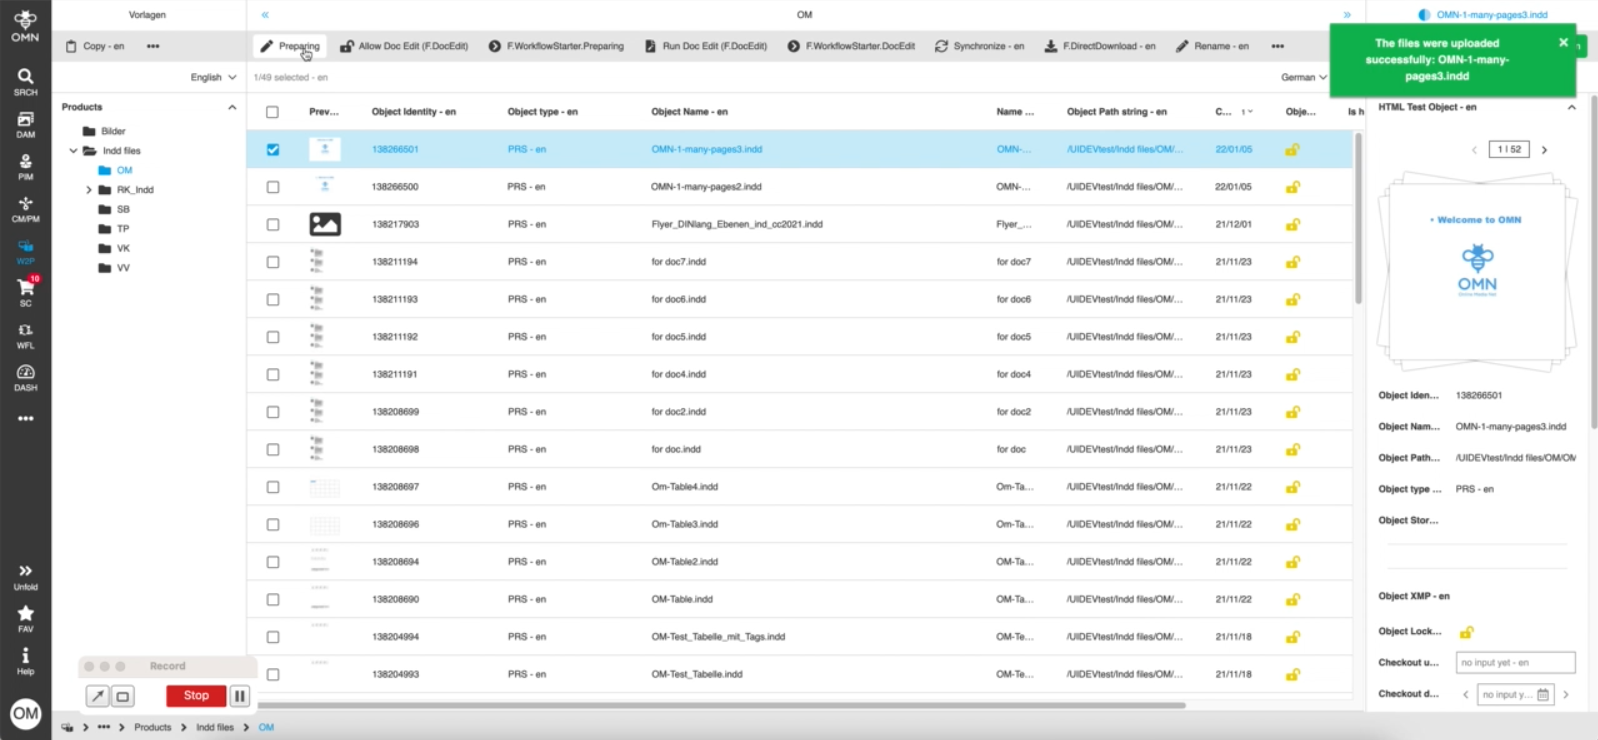
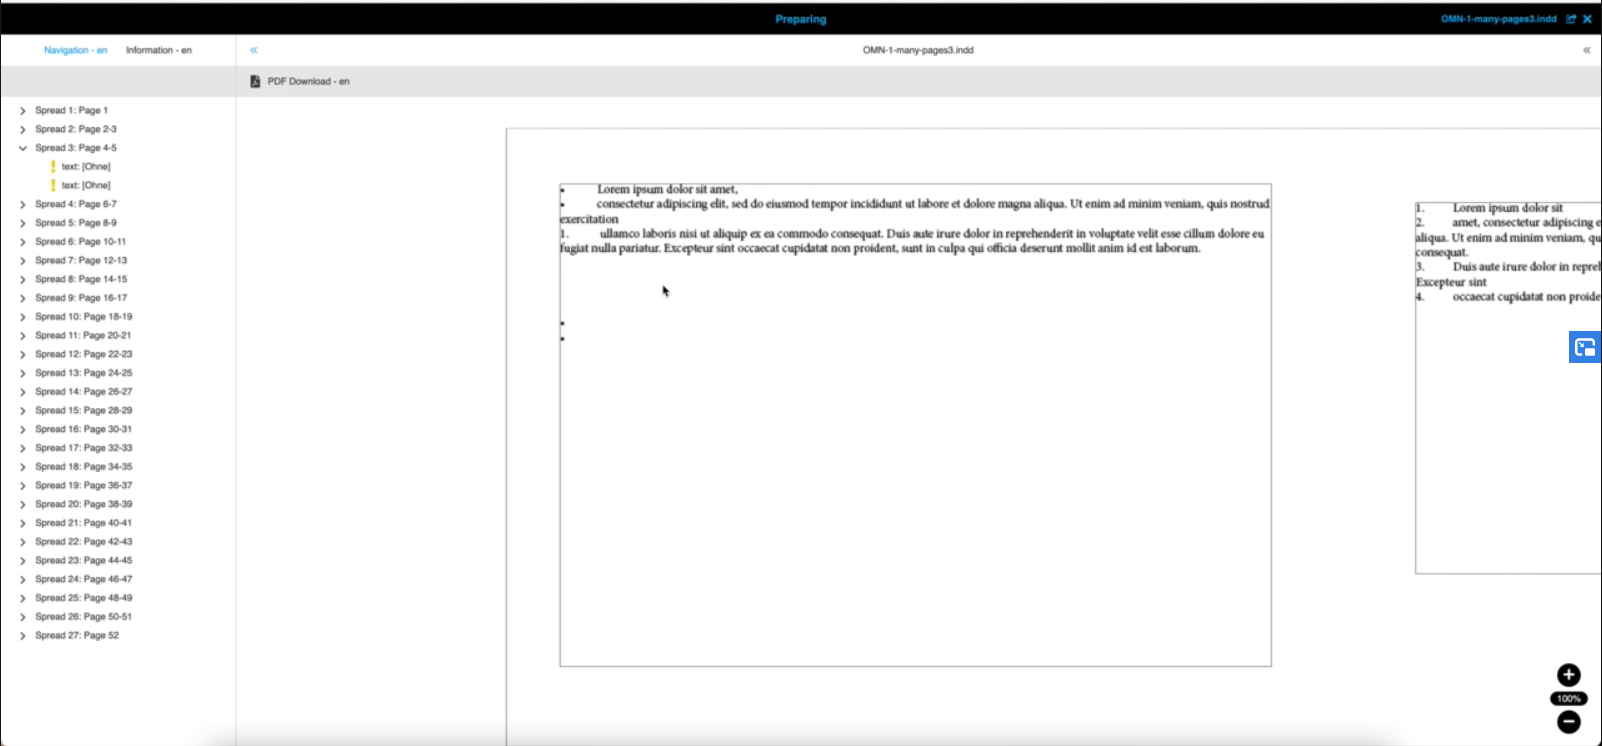
In OMN the file can then be opened with the function "Preparing".
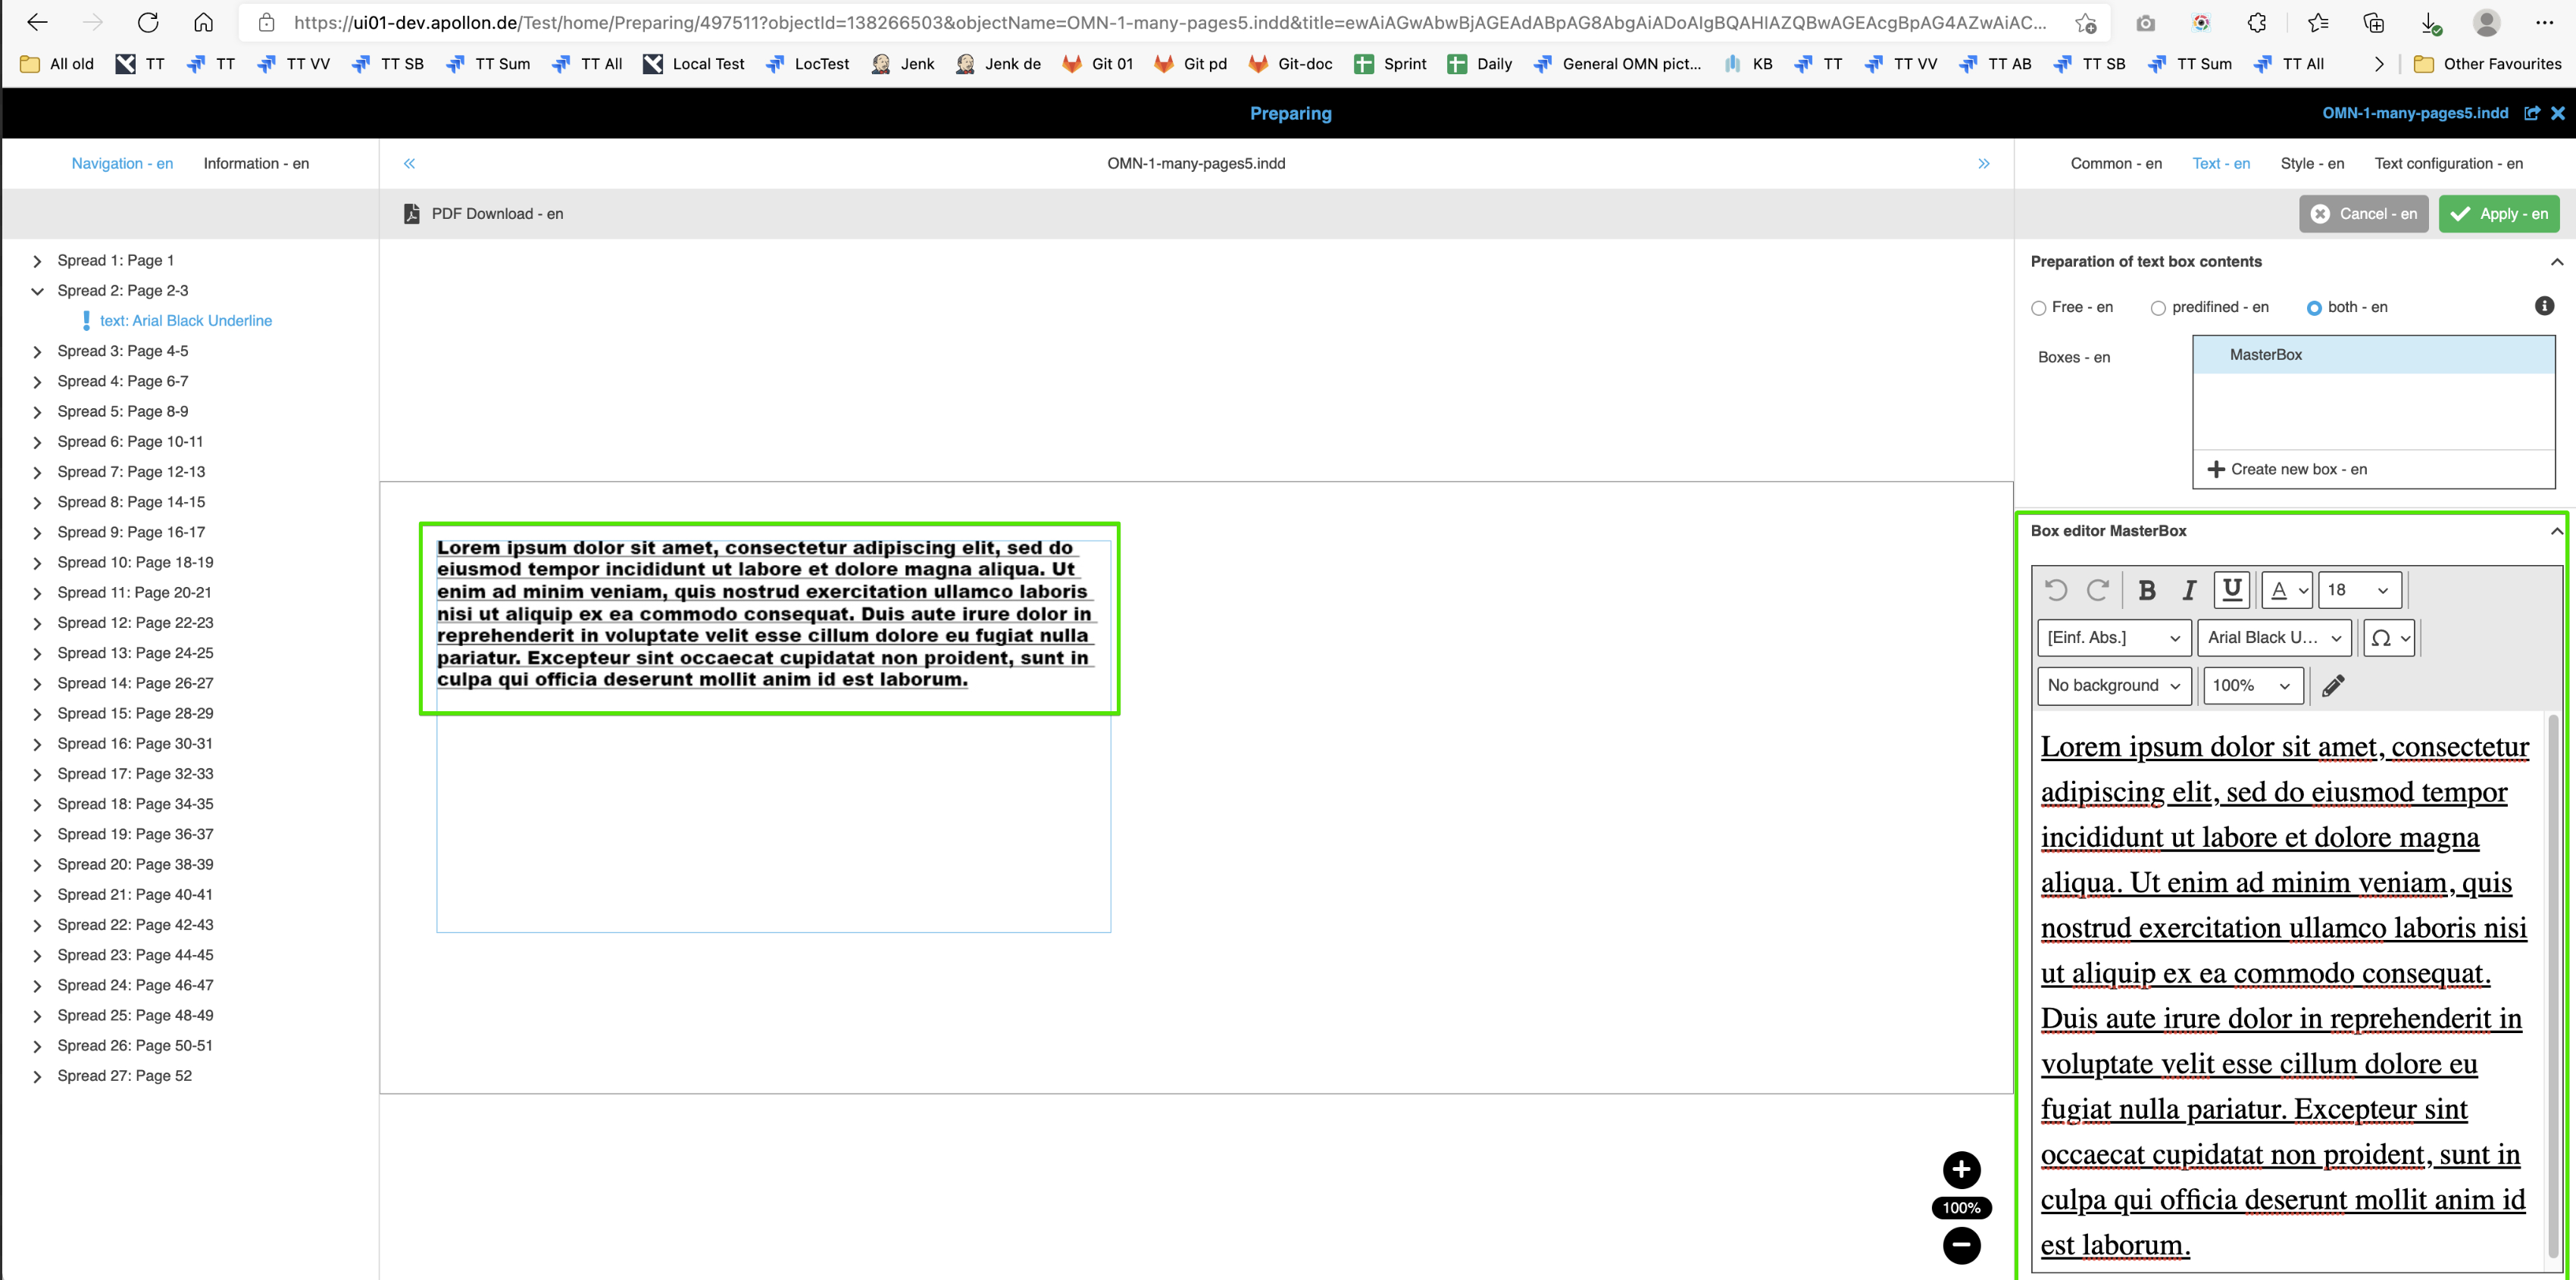
In order to change the character styles in an indesign-document, open the indesign-document in InDesign and click on "Type" → "Character Styles". A modal will appear. In this modal, select the tab "Character Styles". Double-Click on "Name".
The window "Character Style Options" appears.
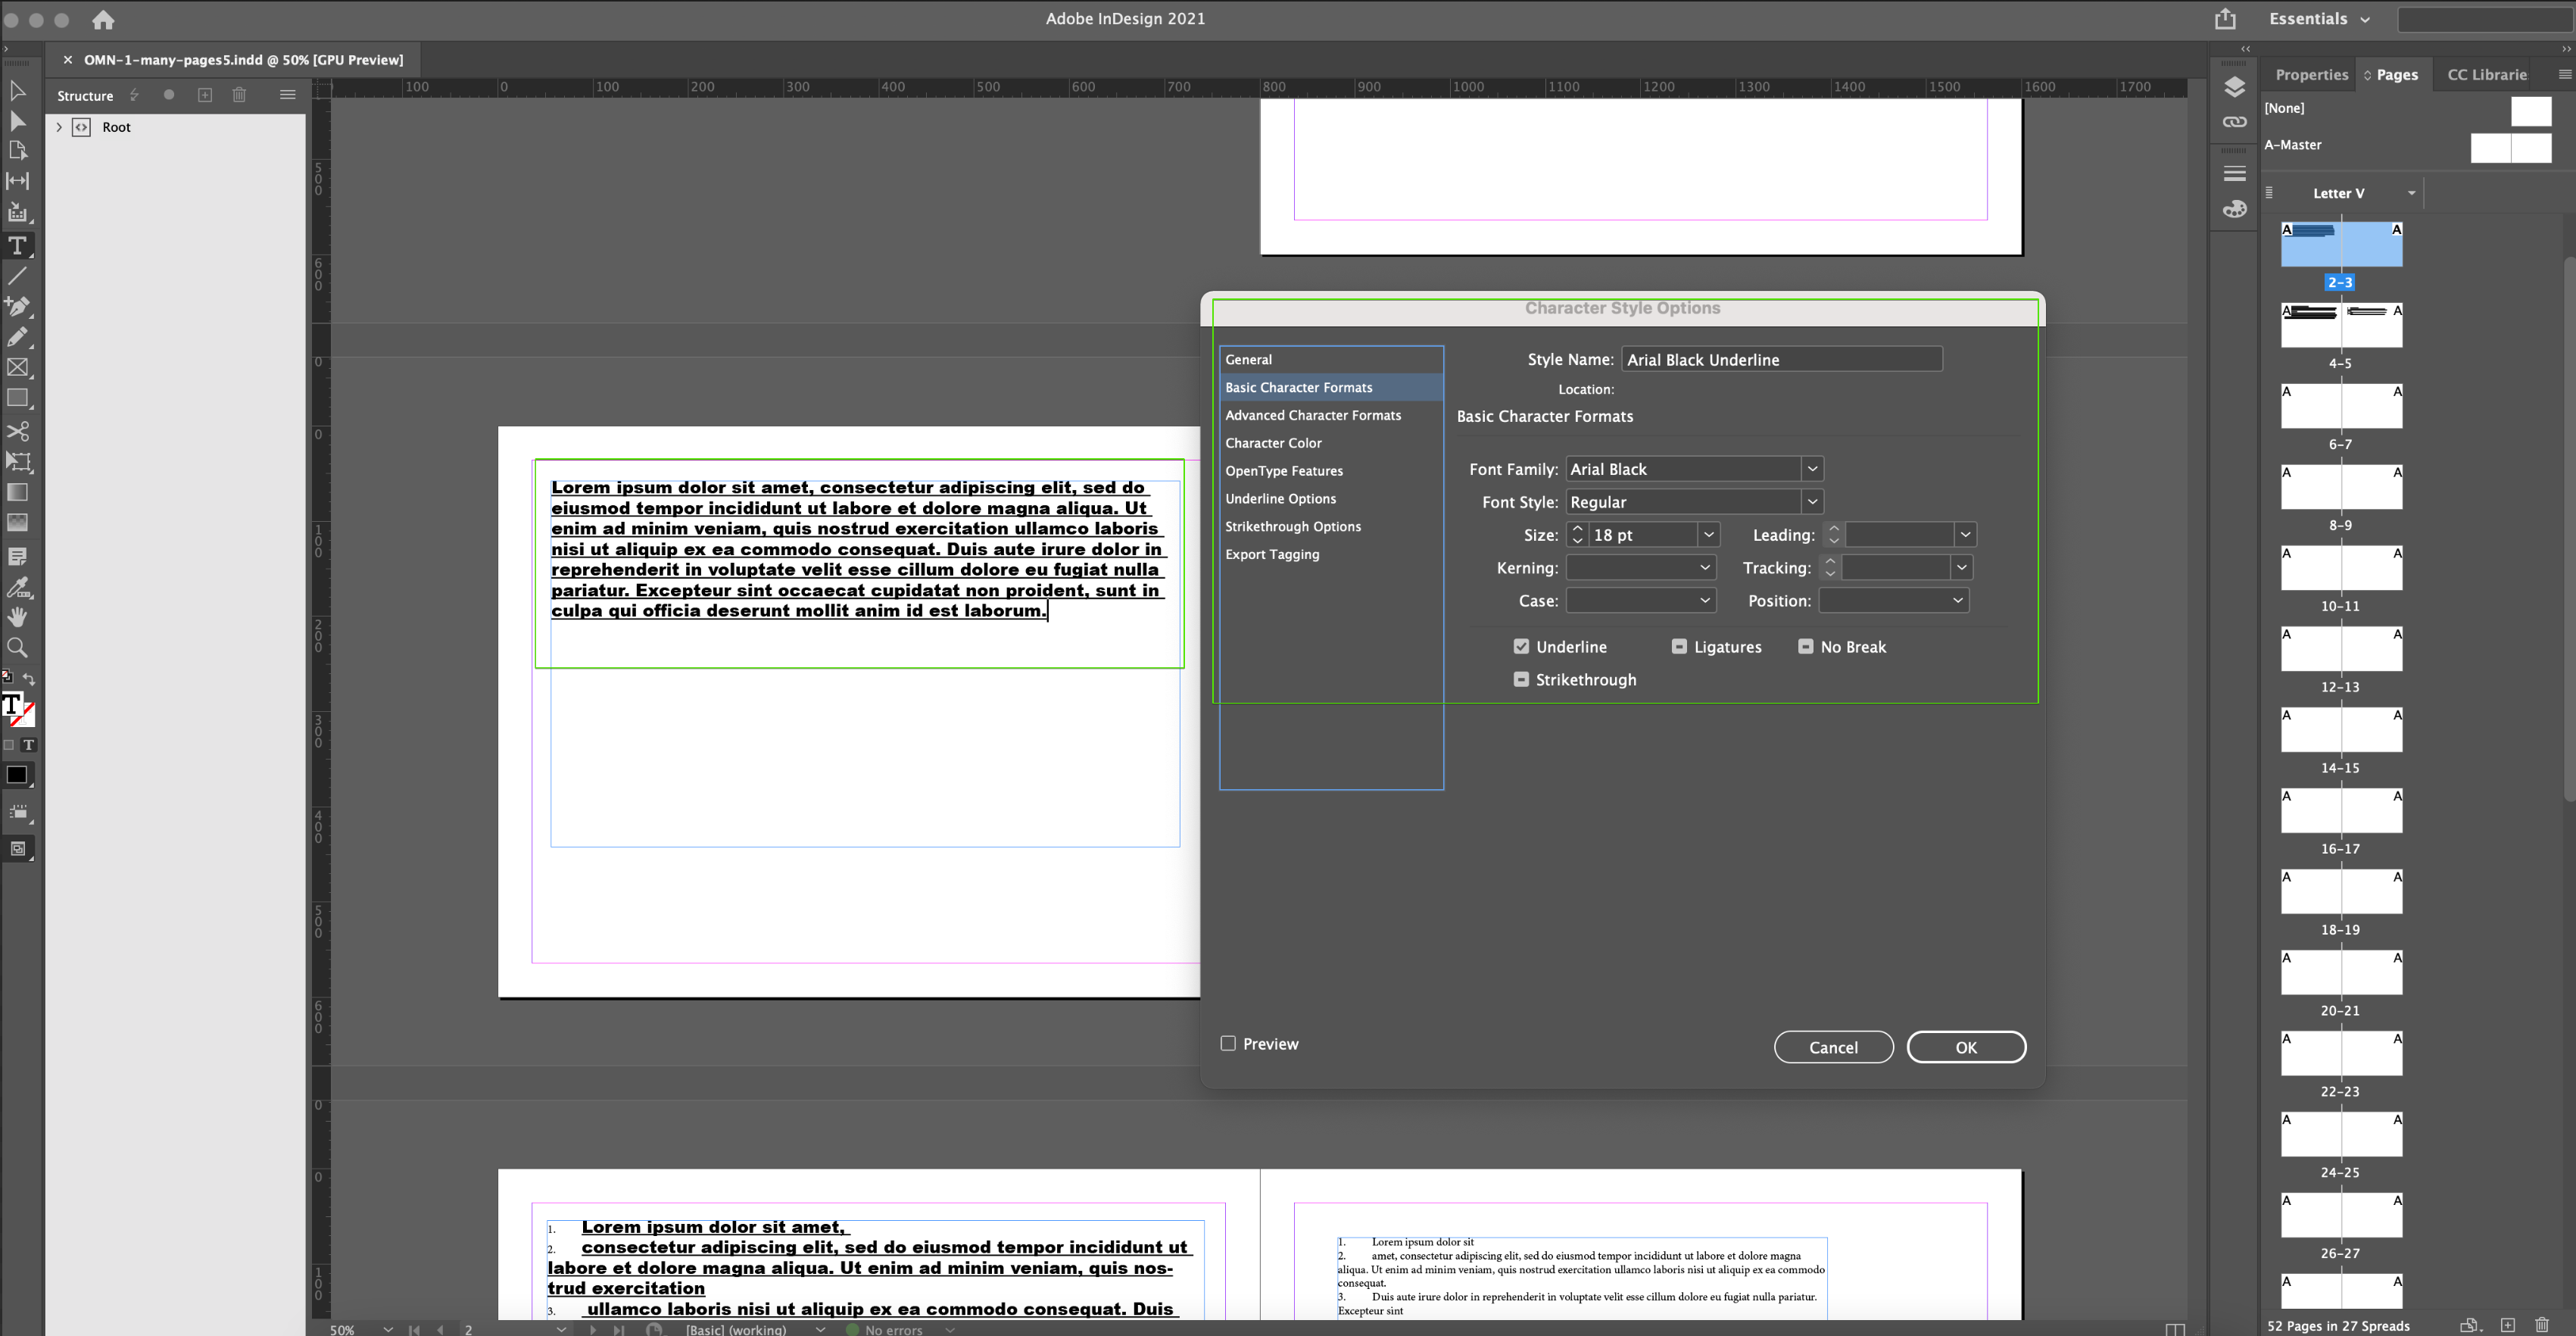
Click on "Basic Character Formats". There the character format can be changed. After the settings were changed, click on the "ok"-button.
Mark the content which shall be changed. Click on the created character style in the "Character Styles"-tab.
Save the indesign file and upload it to OMN.
In OMN the file can then be opened with the function "Preparing".
"Previews"-Tab
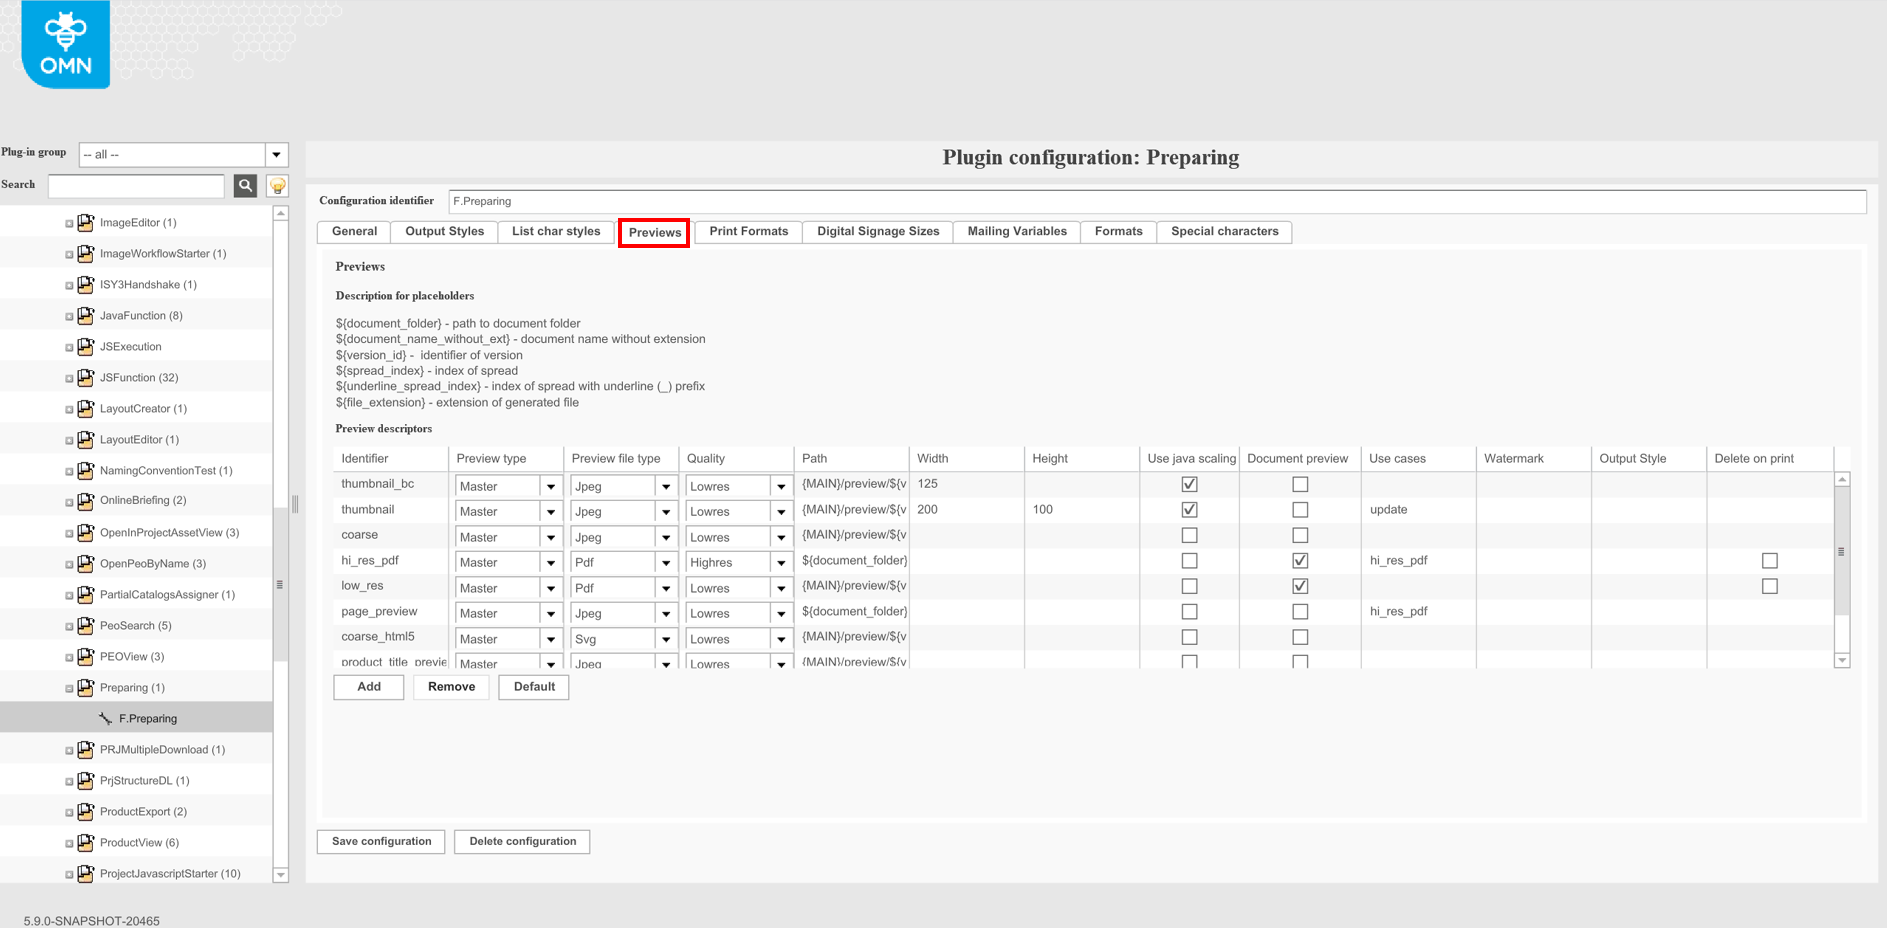
Preview descriptors: With the help of the preview descriptors the created previews for the different use-cases can be specified. Because of the complexity of this configuration it is recommended to use the default configuration as default and only slightly adjust it if this is required. Normally there is no need to change the default settings. The button "Default" creates default preview descriptors.
Identifier: unique name for preview descriptor
Preview type: "Preview type" of preview descriptor defines behavior of the preview generation.
-
"Master" defines the preview doesn’t include the changes that was done in DocEdit. It means that preview is equal to preview of prepared document in the Preparing.
-
"Transformed" defines the preview includes the changes of DocEdit only. Prepared values of boxes in Preparing are not rendered on the preview.
-
"Combined" defines the preview includes the changes of DocEdit and Preparing so that DocEdit changes overwrite Preparing changes.
Preview file type: "Preview file type" of preview descriptor defines the file type of the preview.
-
"Generic" means that file type is defined during preview generation automatically dependent on digital signage settings. This type is supported for 'hi_res' and 'low_res' preview descriptors only.
-
Other types define file type according to the own name.
Quality: This option sets the quality of images for the Quark API. By different commands there is the possibility to differ LowRes PDF and HighRes PDF, LowRes JPEG and LowRes PNG by the attribute Quality in the OMN Backend
Path: path of preview file
Width: Defines the size (in this case the width) of the downloaded preview
Height: Defines the size (in this case the height) of the downloaded preview
Use java scaling:
-
Option is used only for images and can be used for small previews, because quark server has scaling problems - preview will be scaled by this option
-
if preview should be <200 px Quark Server has problem to render this preview.
-
In this case Quark server will create standard preview, store it to a temp folder and scaling is done in a post process
-
-
Option is not used for digital signage functionality
Document preview:
-
Responsible for generation of pdf with all pages
-
Enable "PDF contain all pages" in download function of doc edit
-
Option is not used for digital signage
Use cases: Initial idea of this configuration: set triggers, when preview will be generated. Triggers are coming from hardcoded list
Watermark: text from this field is shown on the document (on canvas + on download file)
Output Style: To have possibility to generate different previews with different output styles, previews configuration for DocEdit and Preparing plugins were extended, and 'Output Style' field was added.
Delete on print: The config client option doesn’t influence checkbox visibility on the client side. It is related to preview descriptors that are used for the generation of the preview and means that boxes, marked as 'delete on print', will not be presented on the preview.
"Print Formats"-Tab
This feature affects the size of the downloaded pdf file.
It helps to choose the required size.
The page format can be chosen in the preparing client (Frontend Preparing and Docedit/Size adaptions).
There is no connection between configuration of page formats and quark/indesign (page formats cannot be handled in Quark/Indesign directly)
Quark Server api can only work with a ratio for scaling, which must be calculated before
Parameters are only used for post processing of pdf-files (generated from quark or Indesign)
Parameter is used by a component to manipulate pdf-files based on itext library
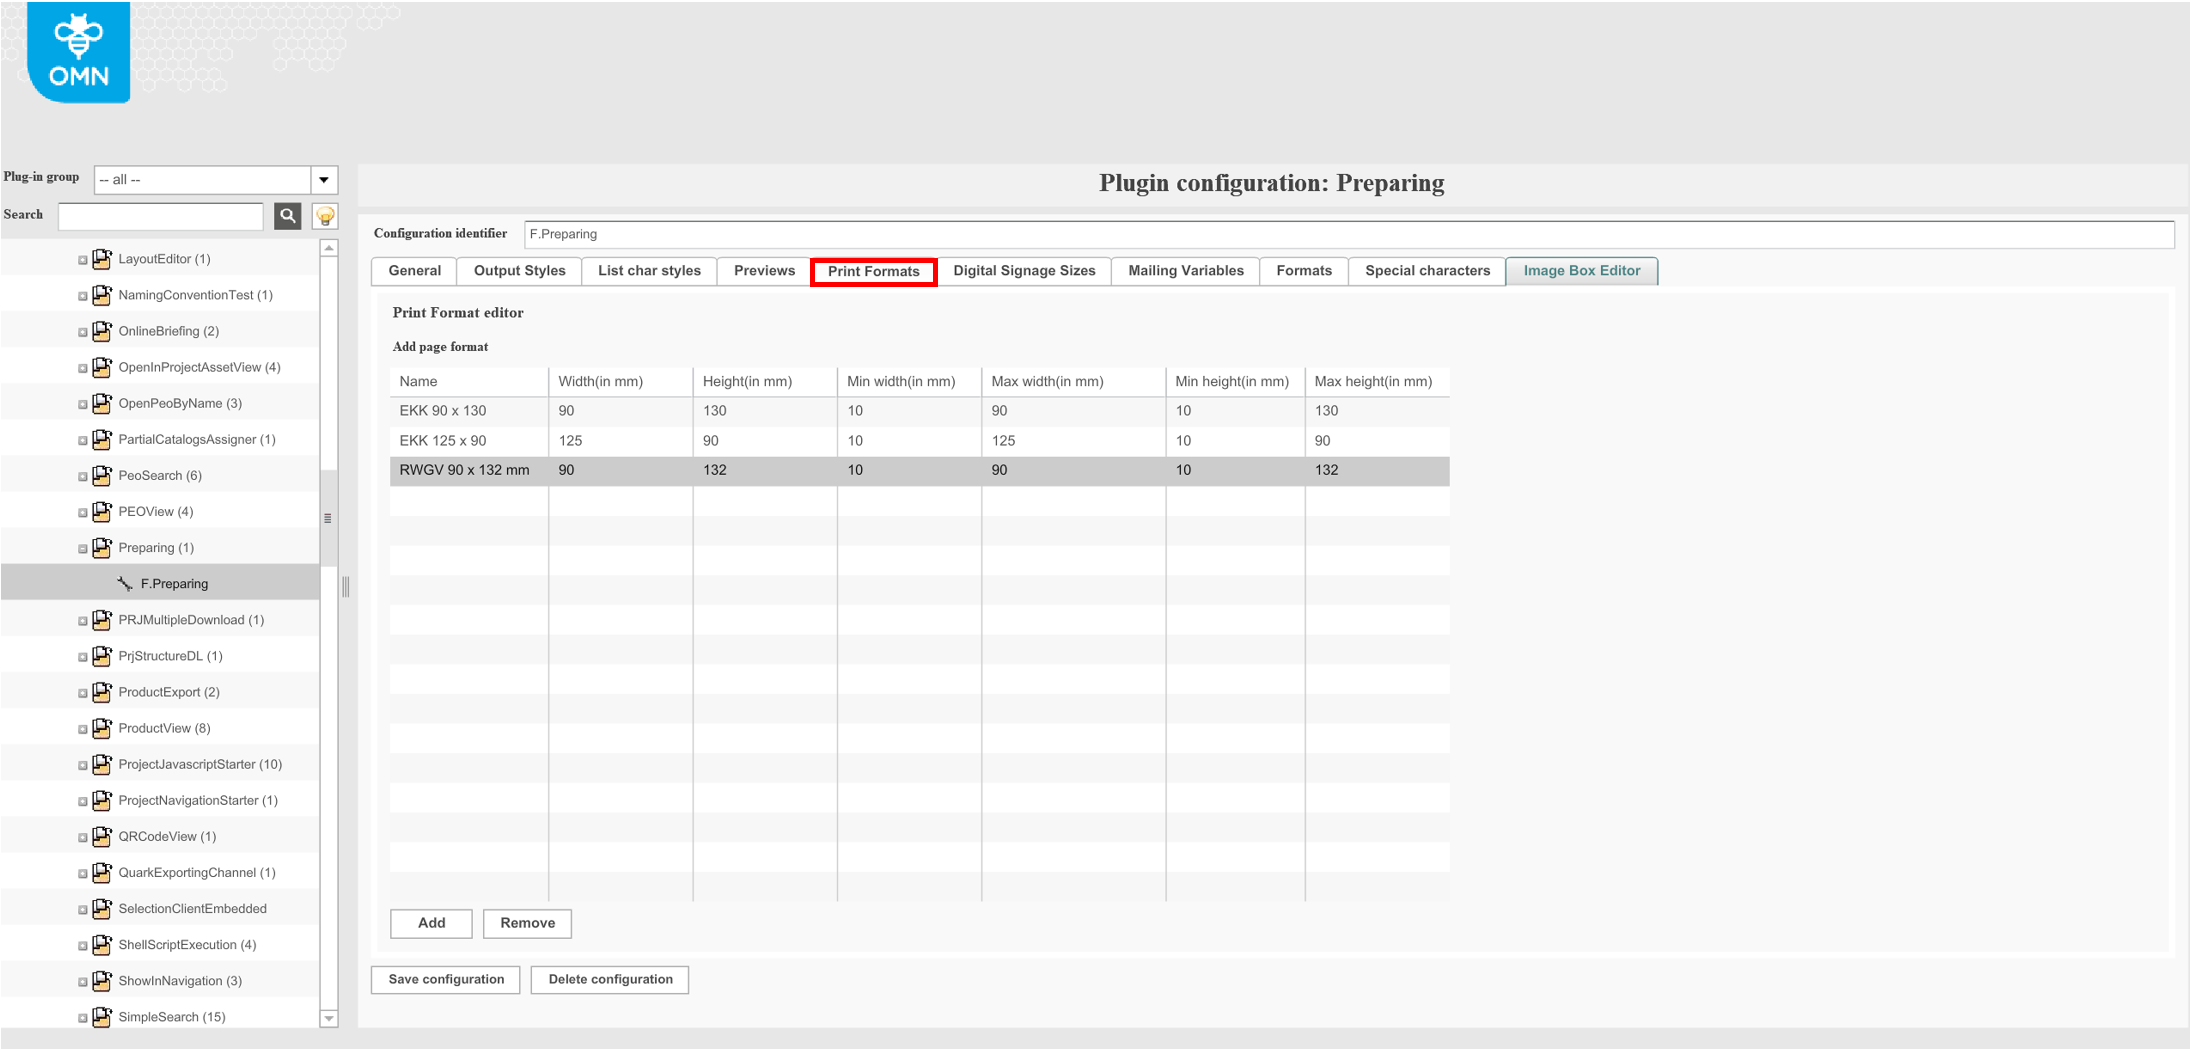
Click the "Add"-button to create a row to add formats. These formats will be available in the frontend for managing the size adaption of documents.
| When adding a row, the value 10 is default in all columns. Be aware that you modify the maximum values first, otherwise you cannot change the value for "Width"/"Height". |
All width/height options can be configured for the size of the downloaded file.
Manual changing is always available when user selects any size from the dropdown. The range for required values is defined by the size itself: for all incorrect input values there are error messages under the field.
Name: Name of the page format
Width (in mm): Width which is used, when the print format is chosen
Height (in mm): Height which is used, when the print format is chosen
Min width (in mm): Minimum width which can be reached, when the user is manually changing the format
Max width (in mm): Maximum width which can be reached, when the user is manually changing the format
Min height (in mm): Minimum height which can be reached, when the user is manually changing the format
Max height (in mm): Maximum height which can be reached, when the user is manually changing the format
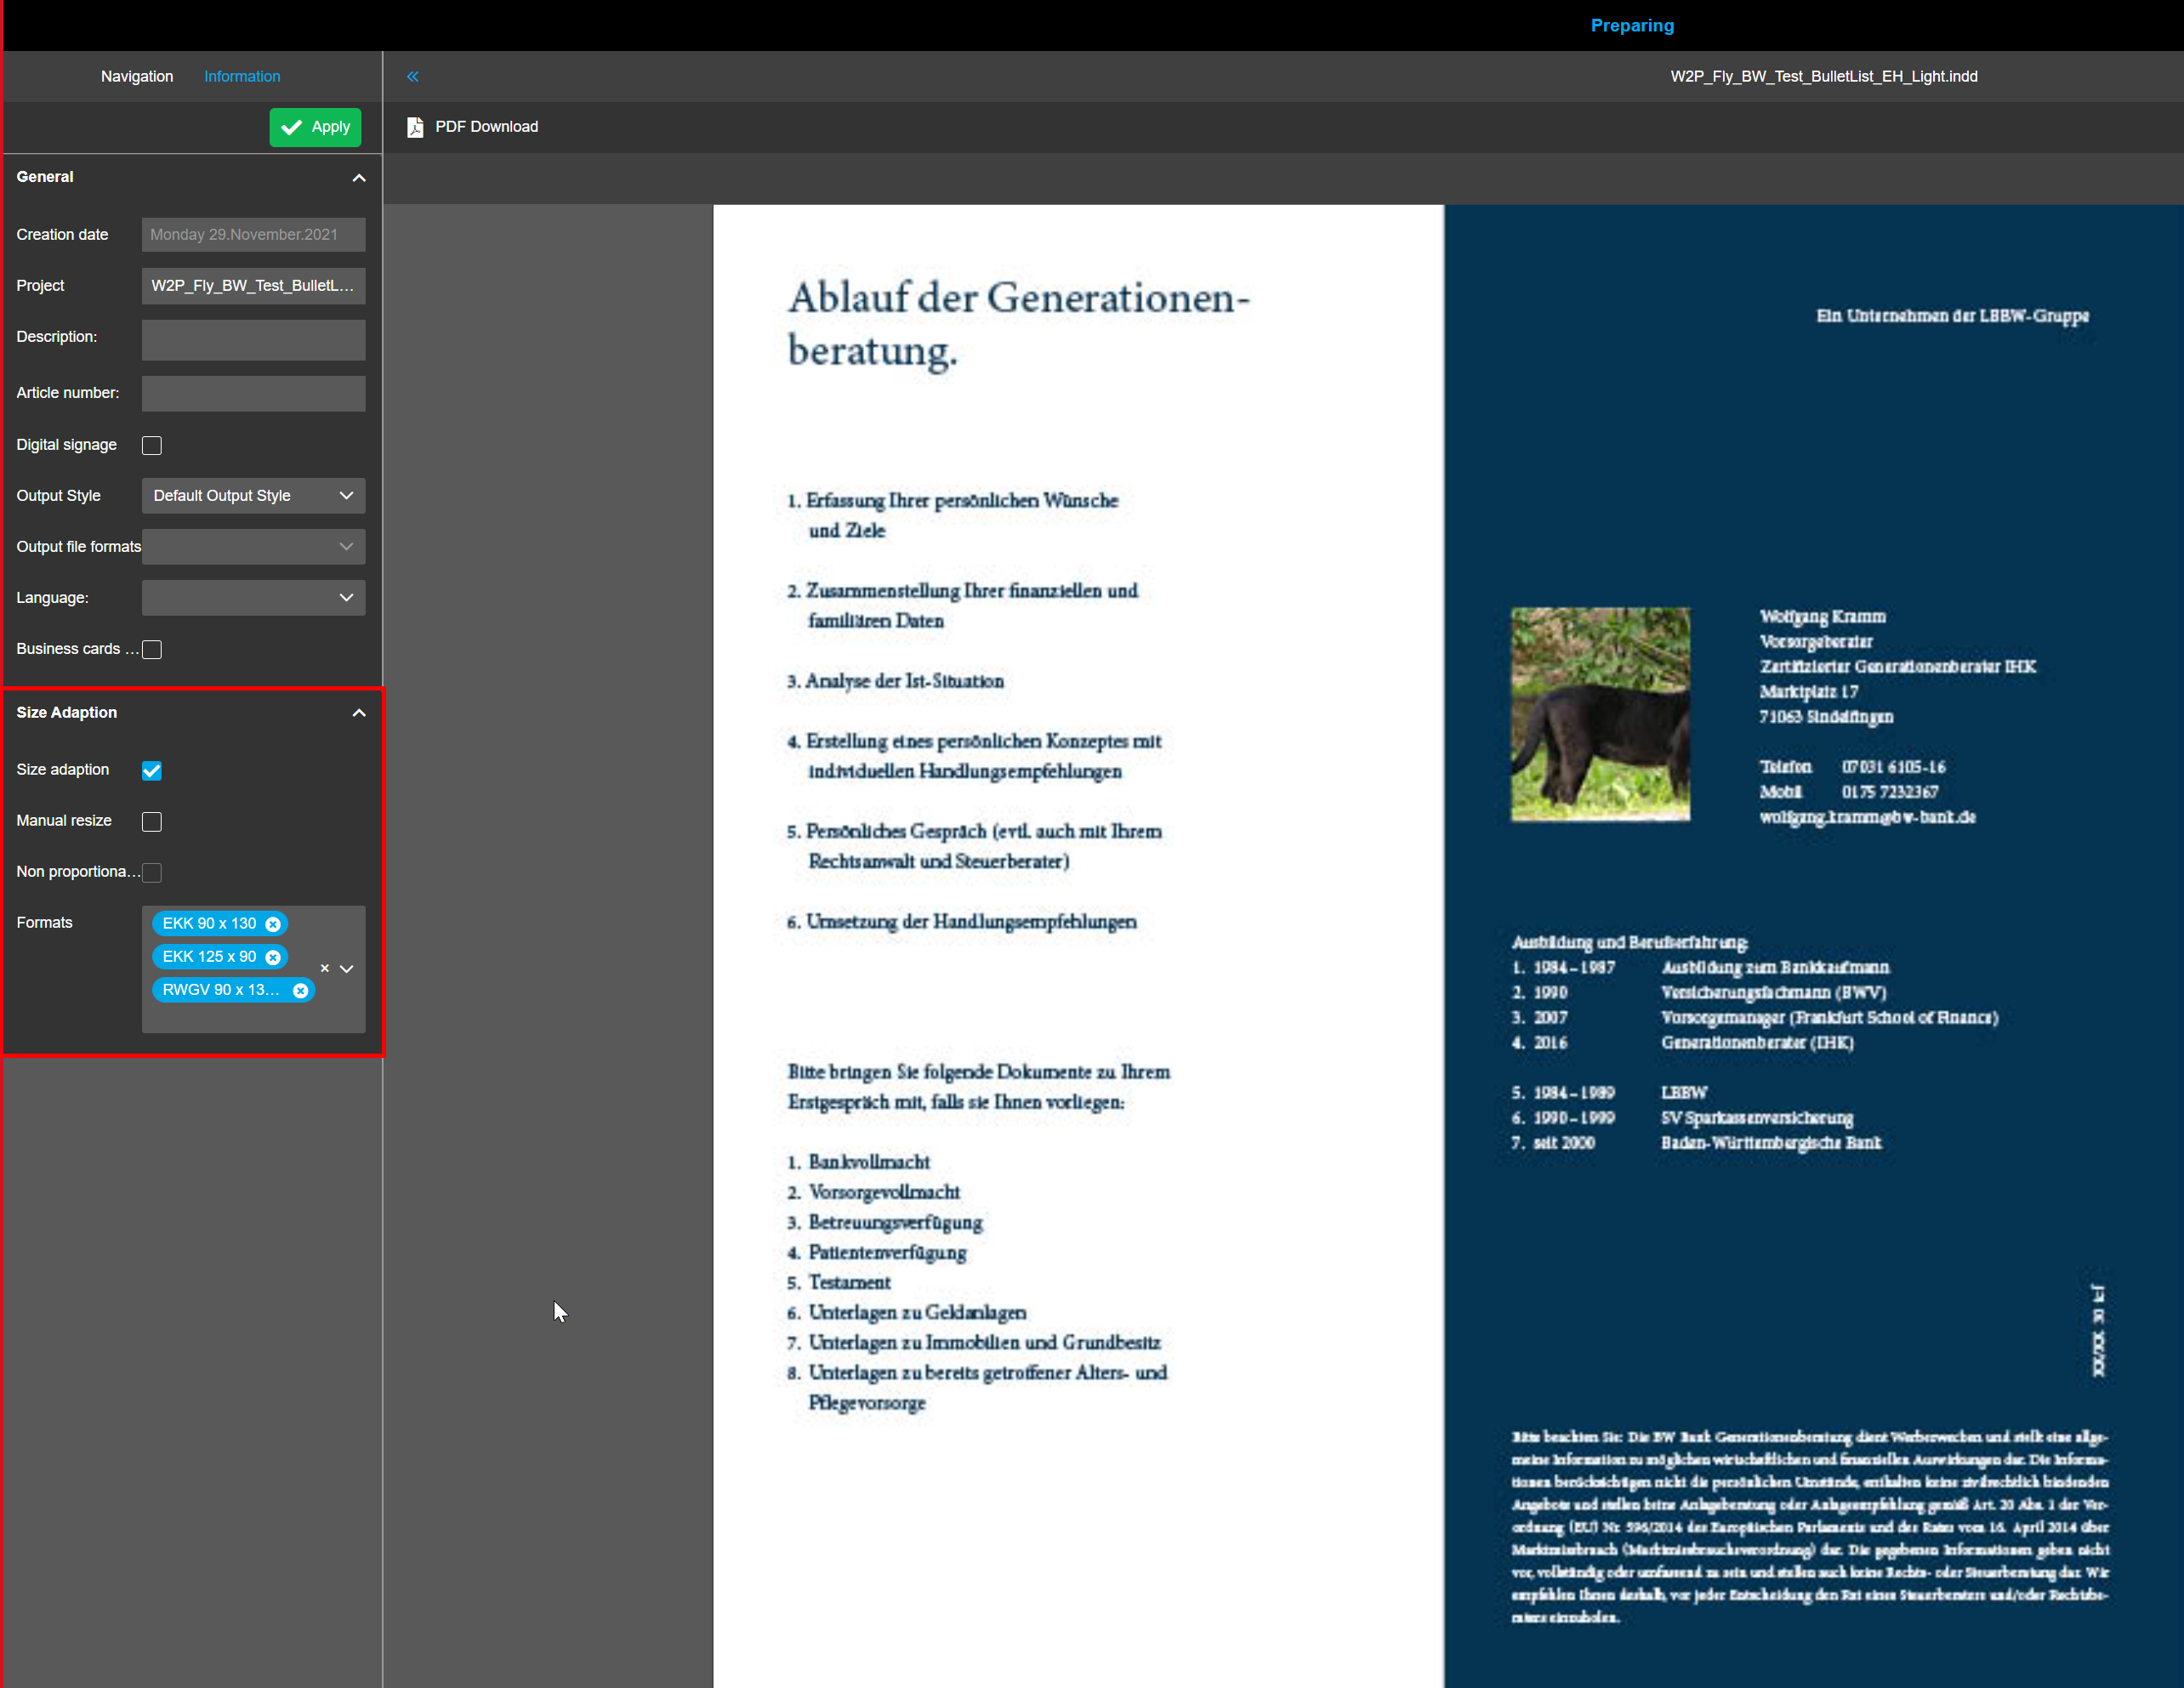
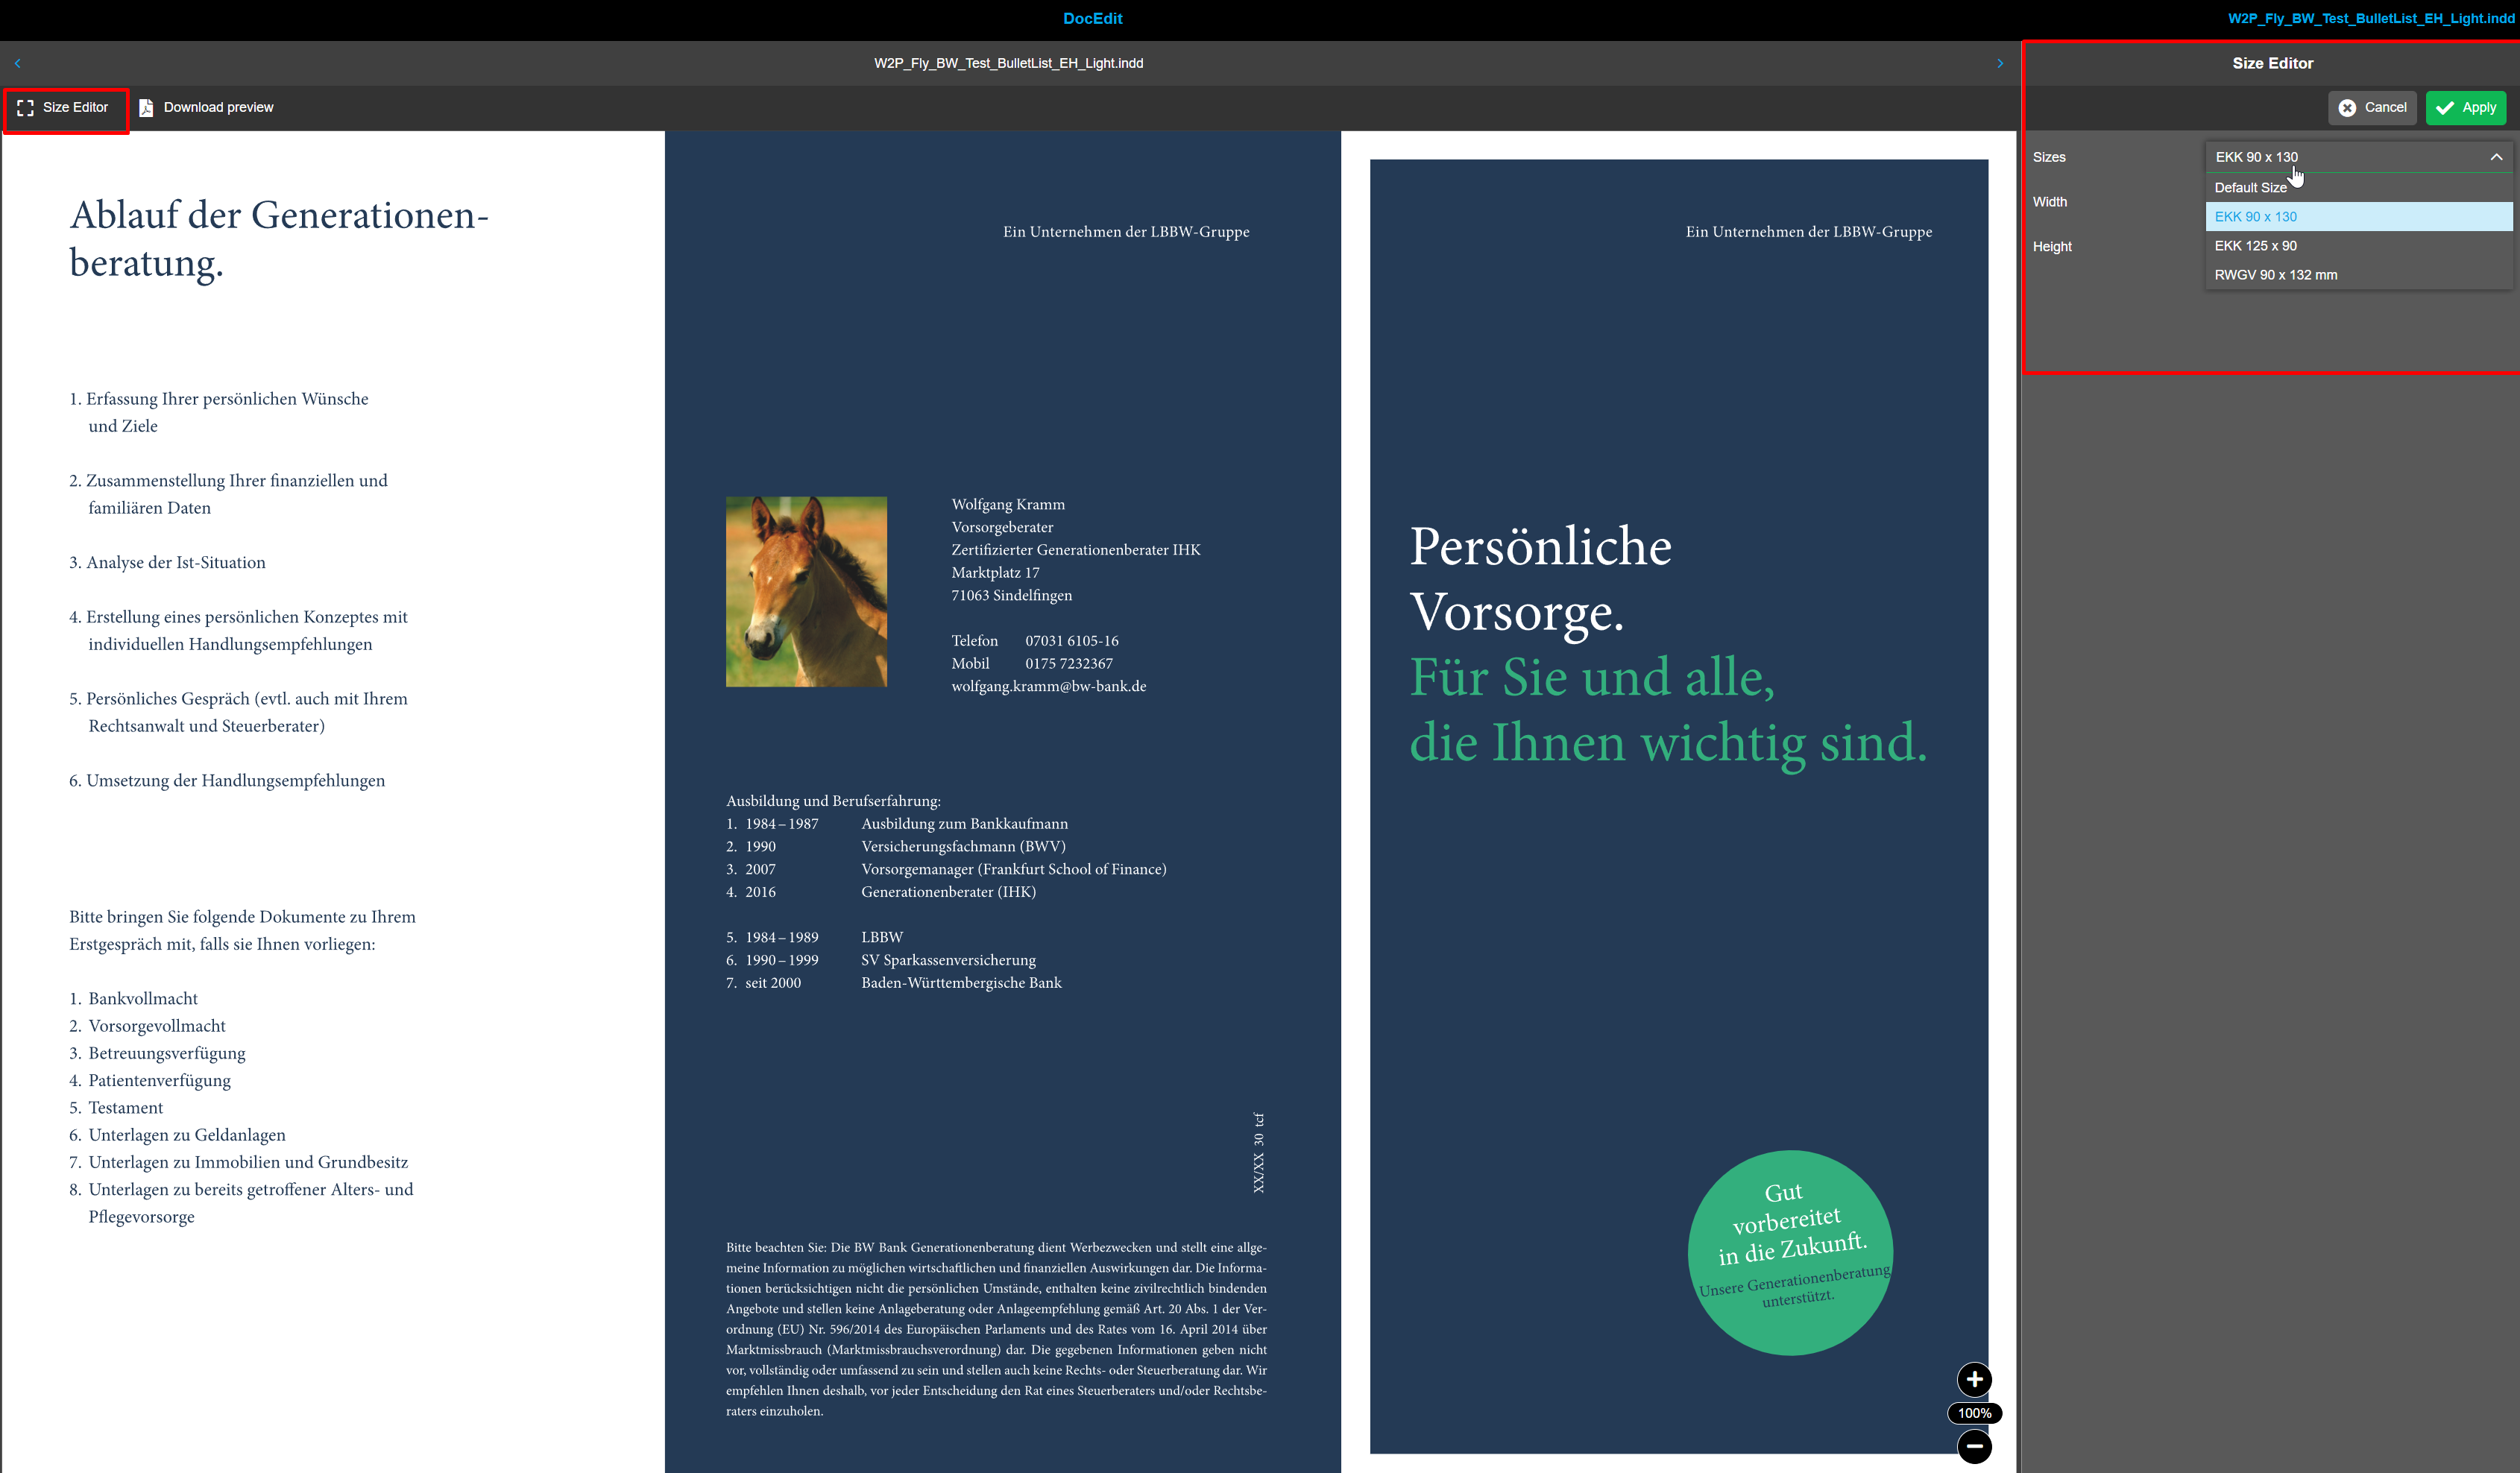
Size adaption editor can be opened from the DocEdit, but size adaption should be configured beforehand in Preparing. When it is configured, special button is available for opening Size adaption editor.
In the Preparing plug-in, the page formats can be chosen, which will then be available in the Size Editor in the Docedit plug-in.
"Digital Signage Sizes"-Tab
This feature affects the size of the downloaded jpg or png file.
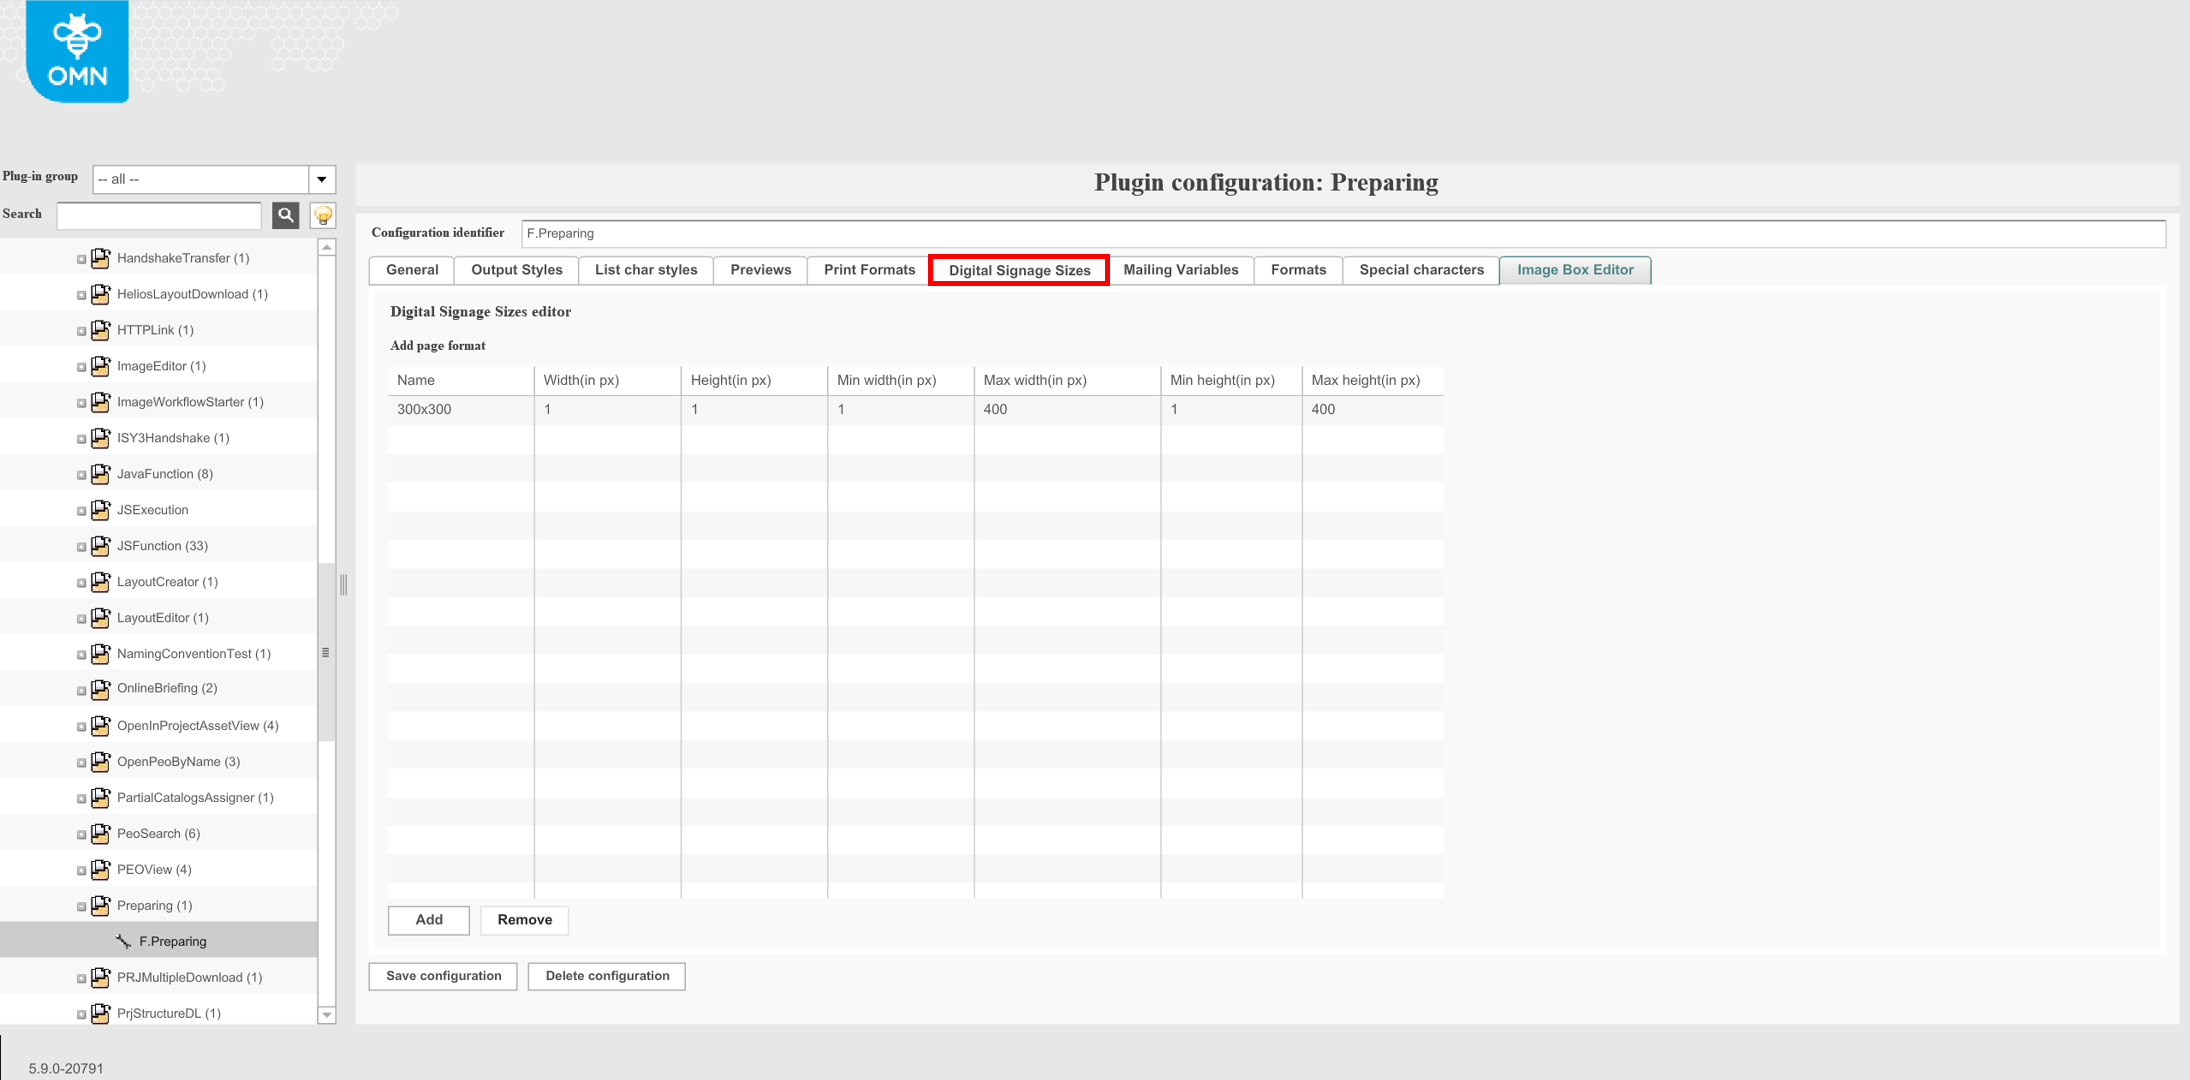
Click the "Add"-button to create a row to add formats. These formats will be available in the frontend for managing the size adaption of documents.
| When adding a row, the value 10 is default in all columns. Be aware that you modify the maximum values first, otherwise you cannot change the value for "Width"/"Height". |
All width/height options can be configured for the size of the downloaded file.
Manual changing is not available for digital sizes.
Name: Name of the page format
Width (in px): Width which is used, when the print format is chosen
Height (in px): Height which is used, when the print format is chosen
Min width (in px): Minimum width which can be reached, when the user is manually changing the format
Max width (in px): Maximum width which can be reached, when the user is manually changing the format
Min height (in px): Minimum height which can be reached, when the user is manually changing the format
Max height (in px): Maximum height which can be reached, when the user is manually changing the format
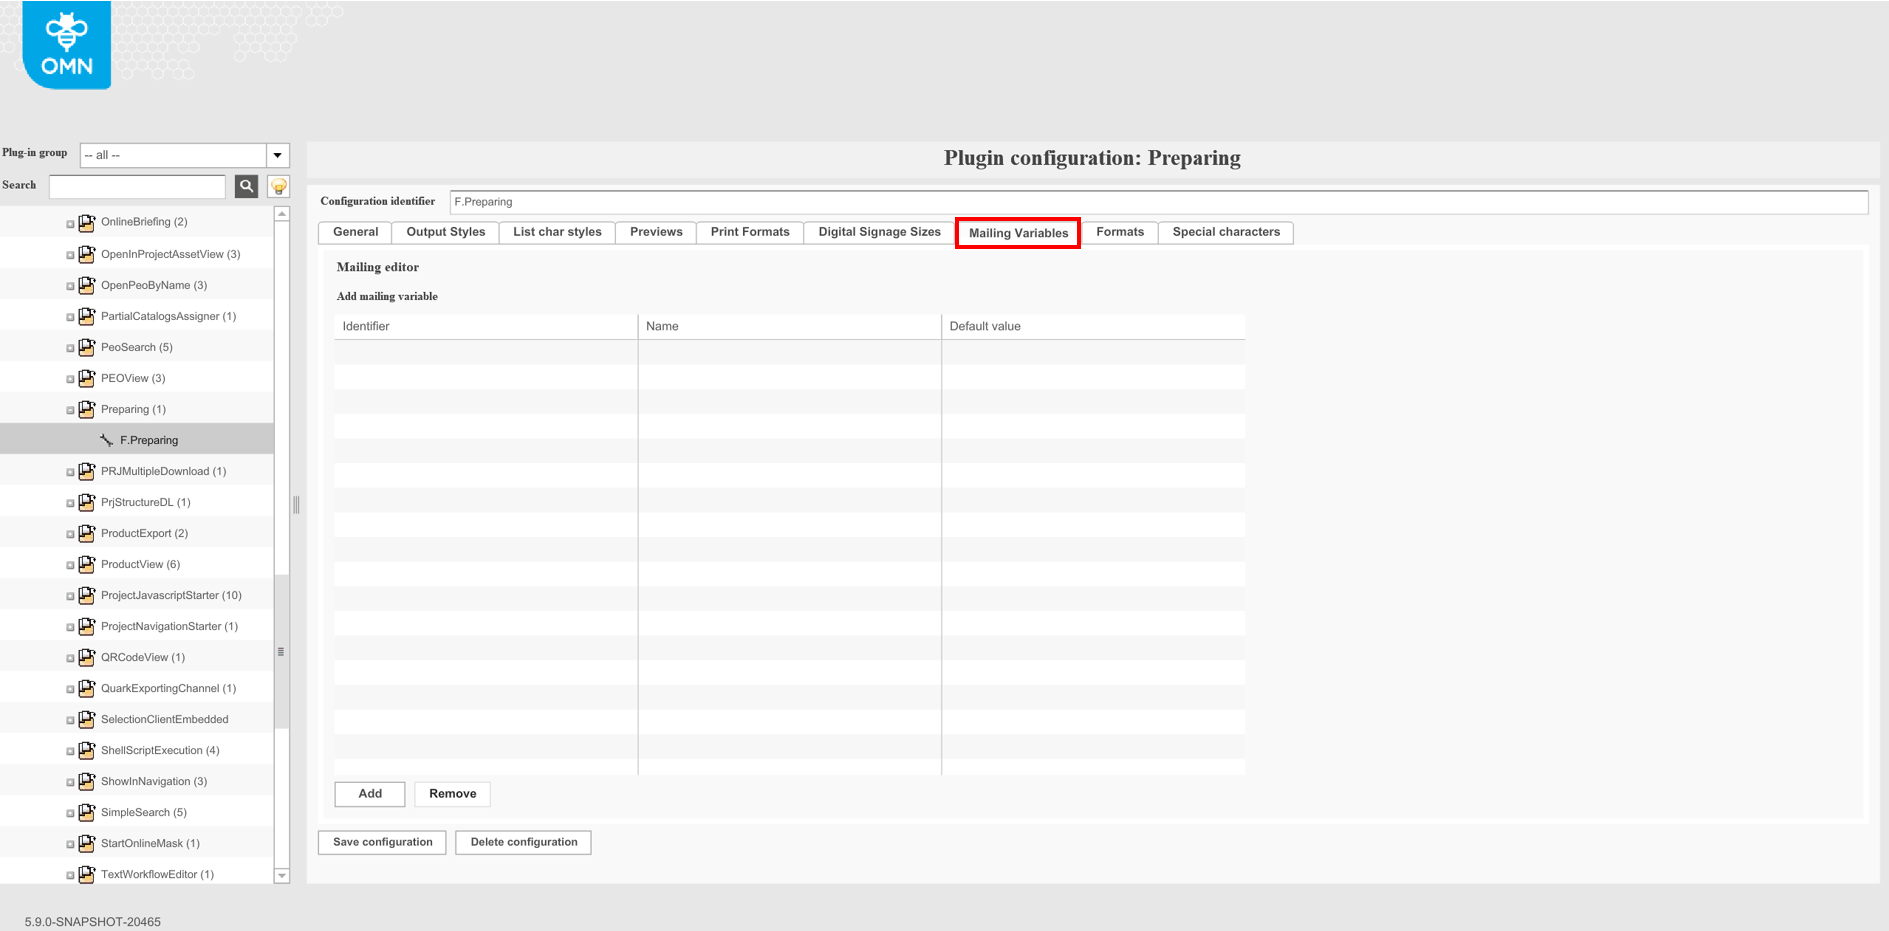
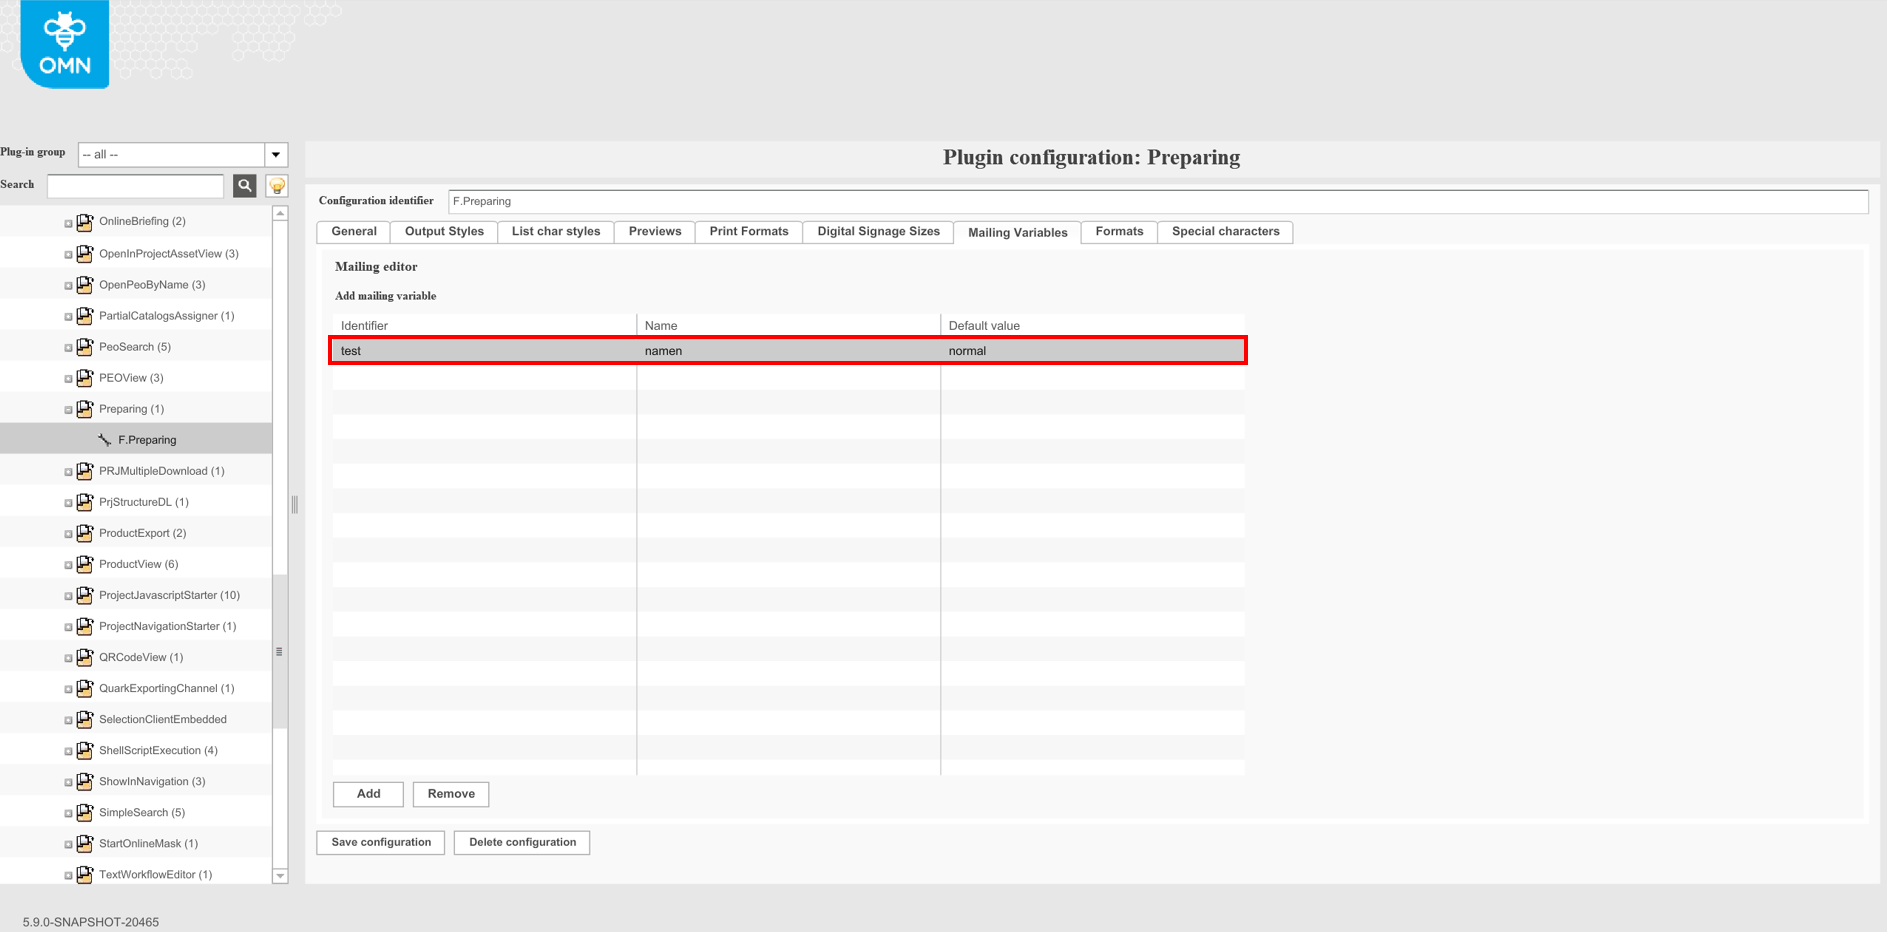
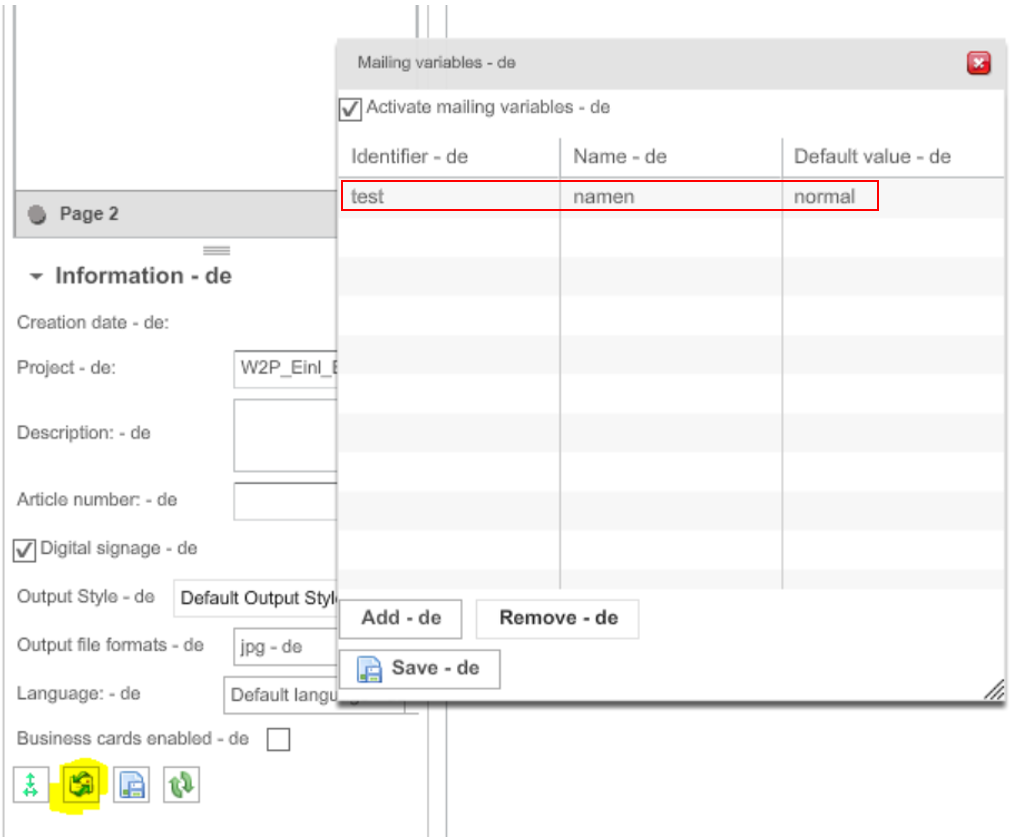
"Mailing Variables"-Tab
Mailing variables specify custom mailings for a document. In OG-904 it is stated that this will not be implemented.
Config client example:
Old client Frontend example:
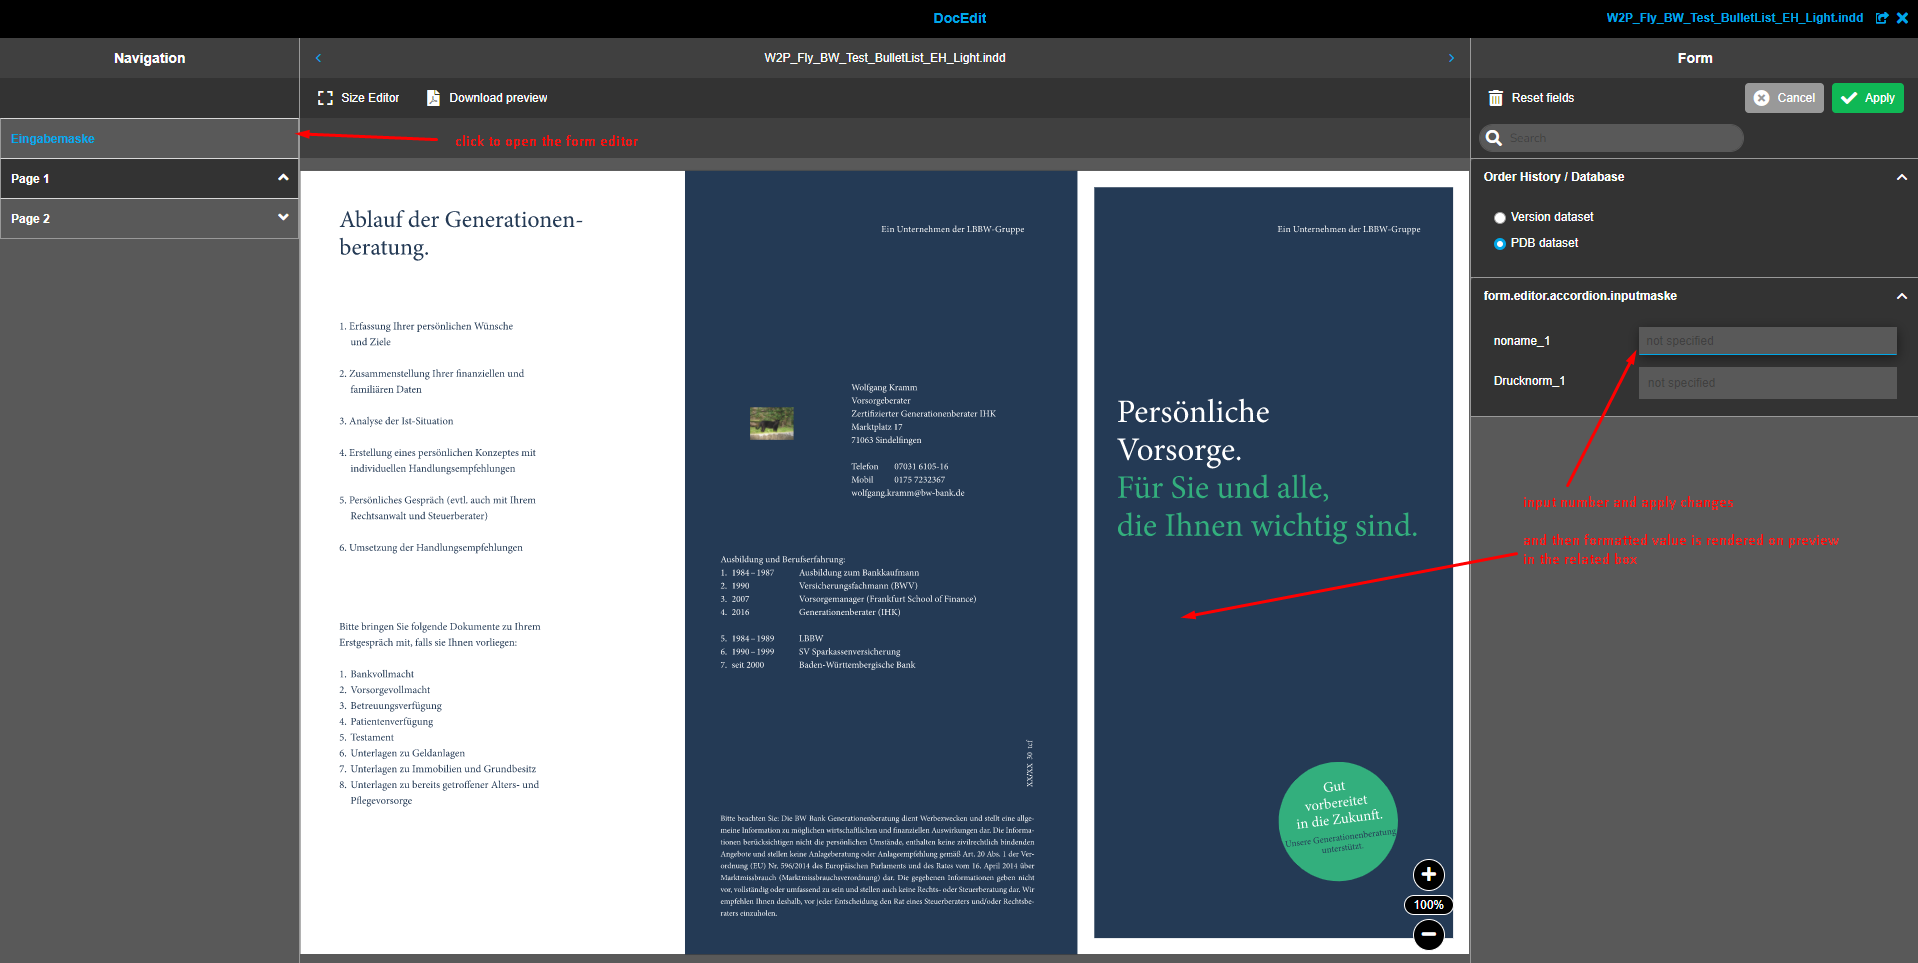
"Formats"-Tab
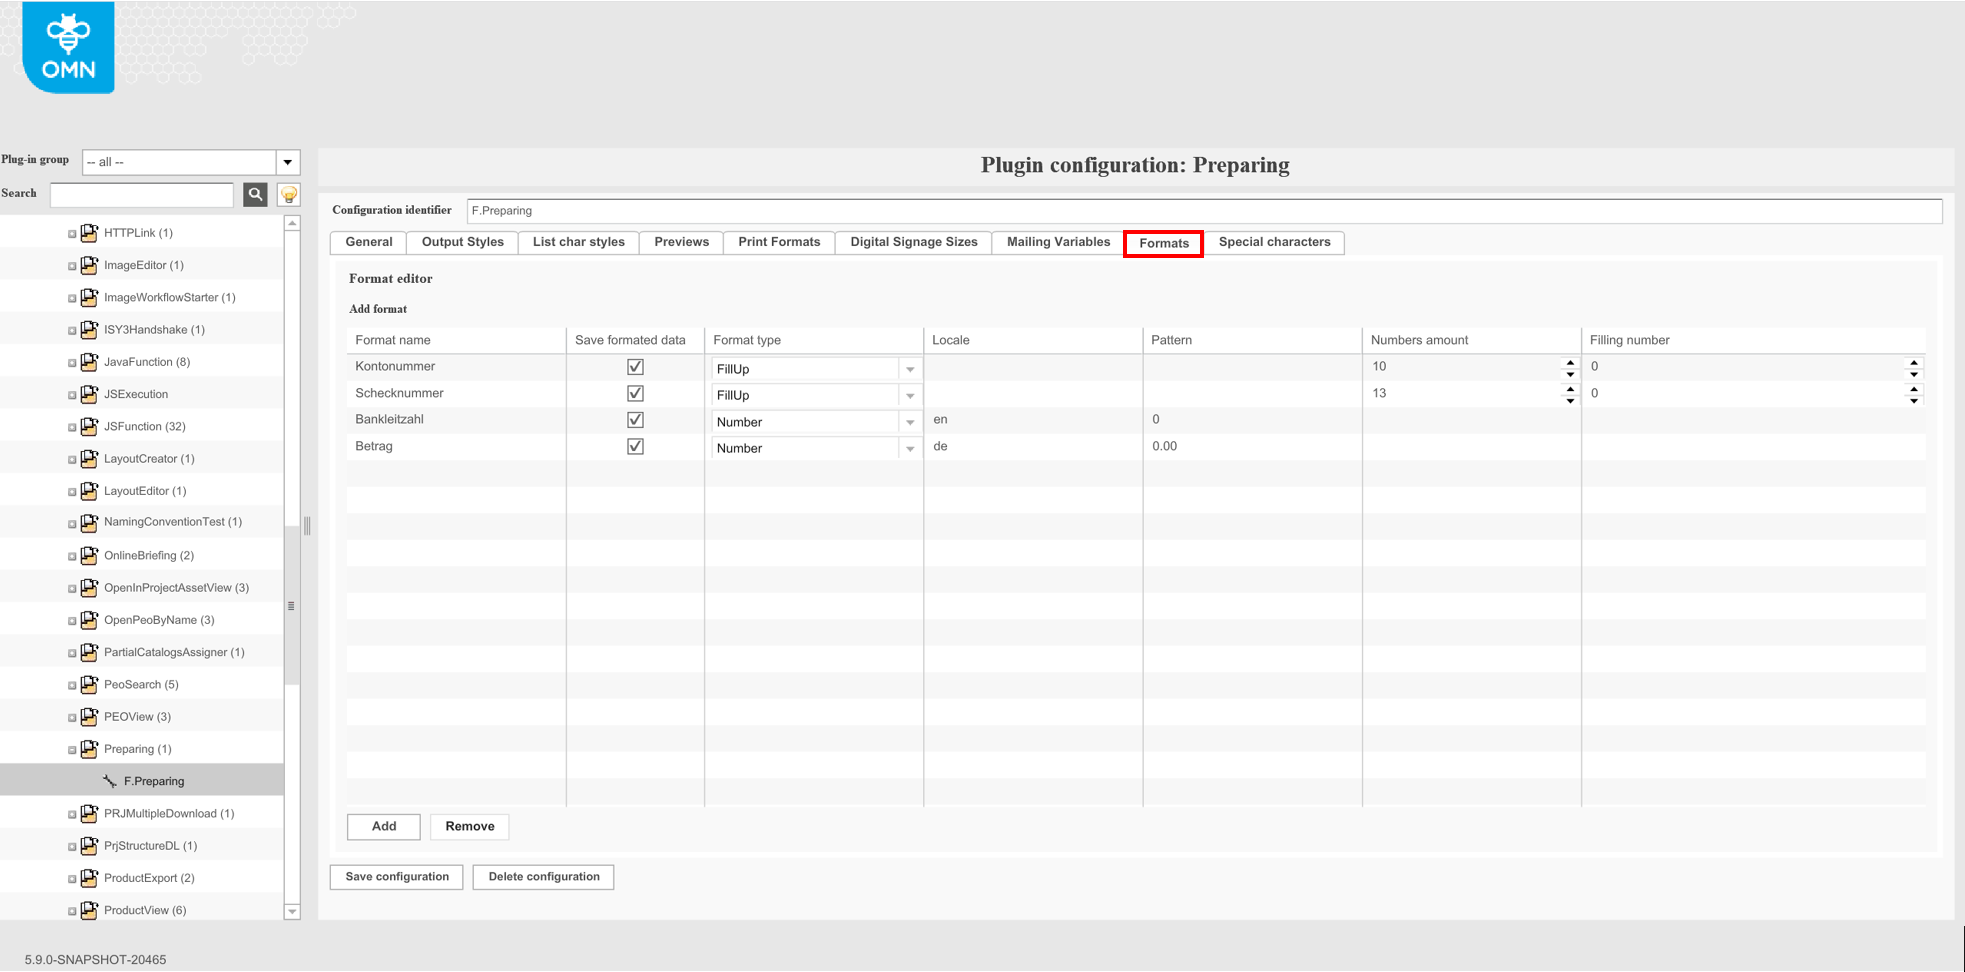
Format name: name of the format
Save formatted data: If active, the formatted value will also be saved into the order data, instead of only be carried over into the layout
Format type: Number or FillUp
Locale: language (for example, 'en', 'de') that is used for format number to a string. This defines the decimal separator.
Pattern: display pattern
Numbers amount: fills up a specific amount of characters. Example: number is 12, filling umber is 0, so the result will be "0000000012"
Filling number: specifies what number to use for filling up
These formats are used on the frontend in the field editor of Preparing.
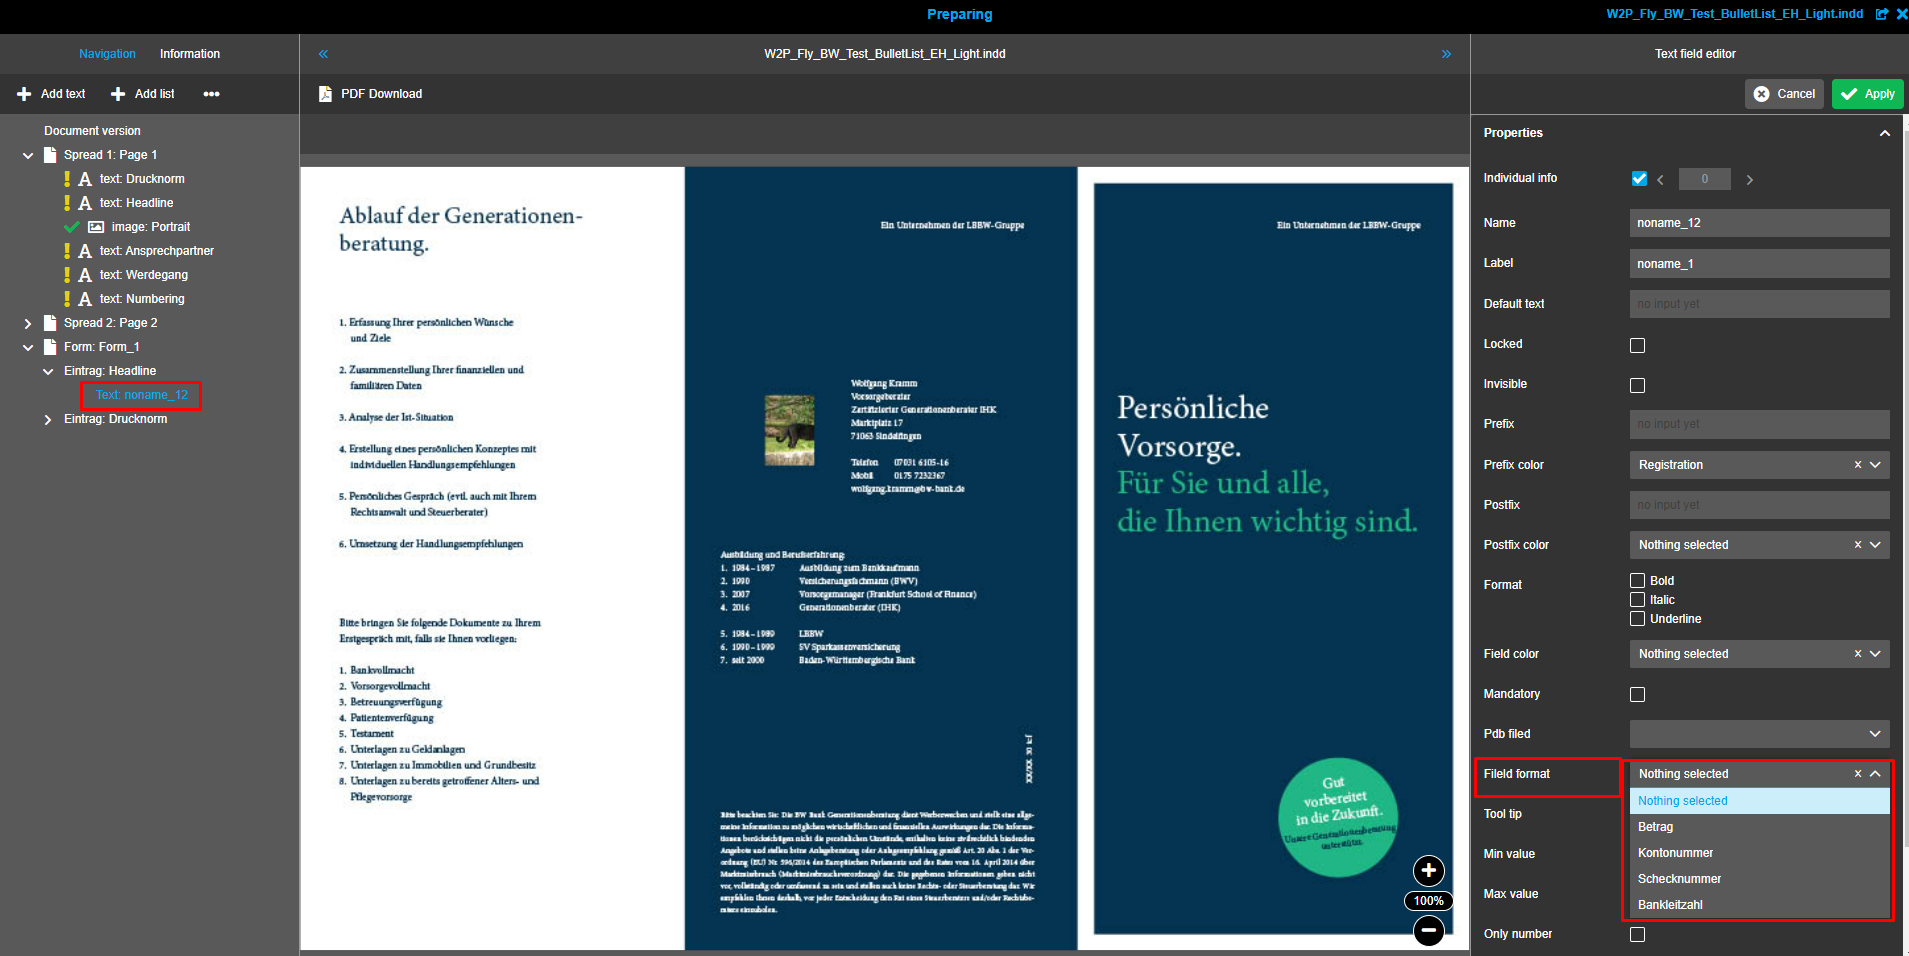
They affect the format of the number that the user inputs to the form editor in DocEdit.
"Special characters"-Tab

Displayed name: name that will be shown in text editor for special character
Group: logical group name for character (optional parameter)
-
if no groups specified, all characters will be displayed in single list, otherwise characters list will be split to the groups for easy navigation.
-
If there is any groups exist, all other ungrouped characters will be placed in 'other' group.
Server value: character representation code on server, this value will be passed to InDesign or Quark server.
Flex value: character representation on flex client editor, this character will see users in text editor.
Convert direction: specify when character should be replaced with server or flex value:
-
flex2server: replace all flex values with server representation when value is transferred from client to server
-
server2flex: replace all server values with flex representation when value is transferred from server to client
-
both: replace all values in both directions (flex to server values when transferred from client to server and server to flex when value is transferred from server to flex)
Type: type of character:
-
INDESIGN - character will be used for indd documents
-
QUARK - character will be used for quark document
Up/Down: move character up or down within current group
Group up/Group down: move group position within other groups position.
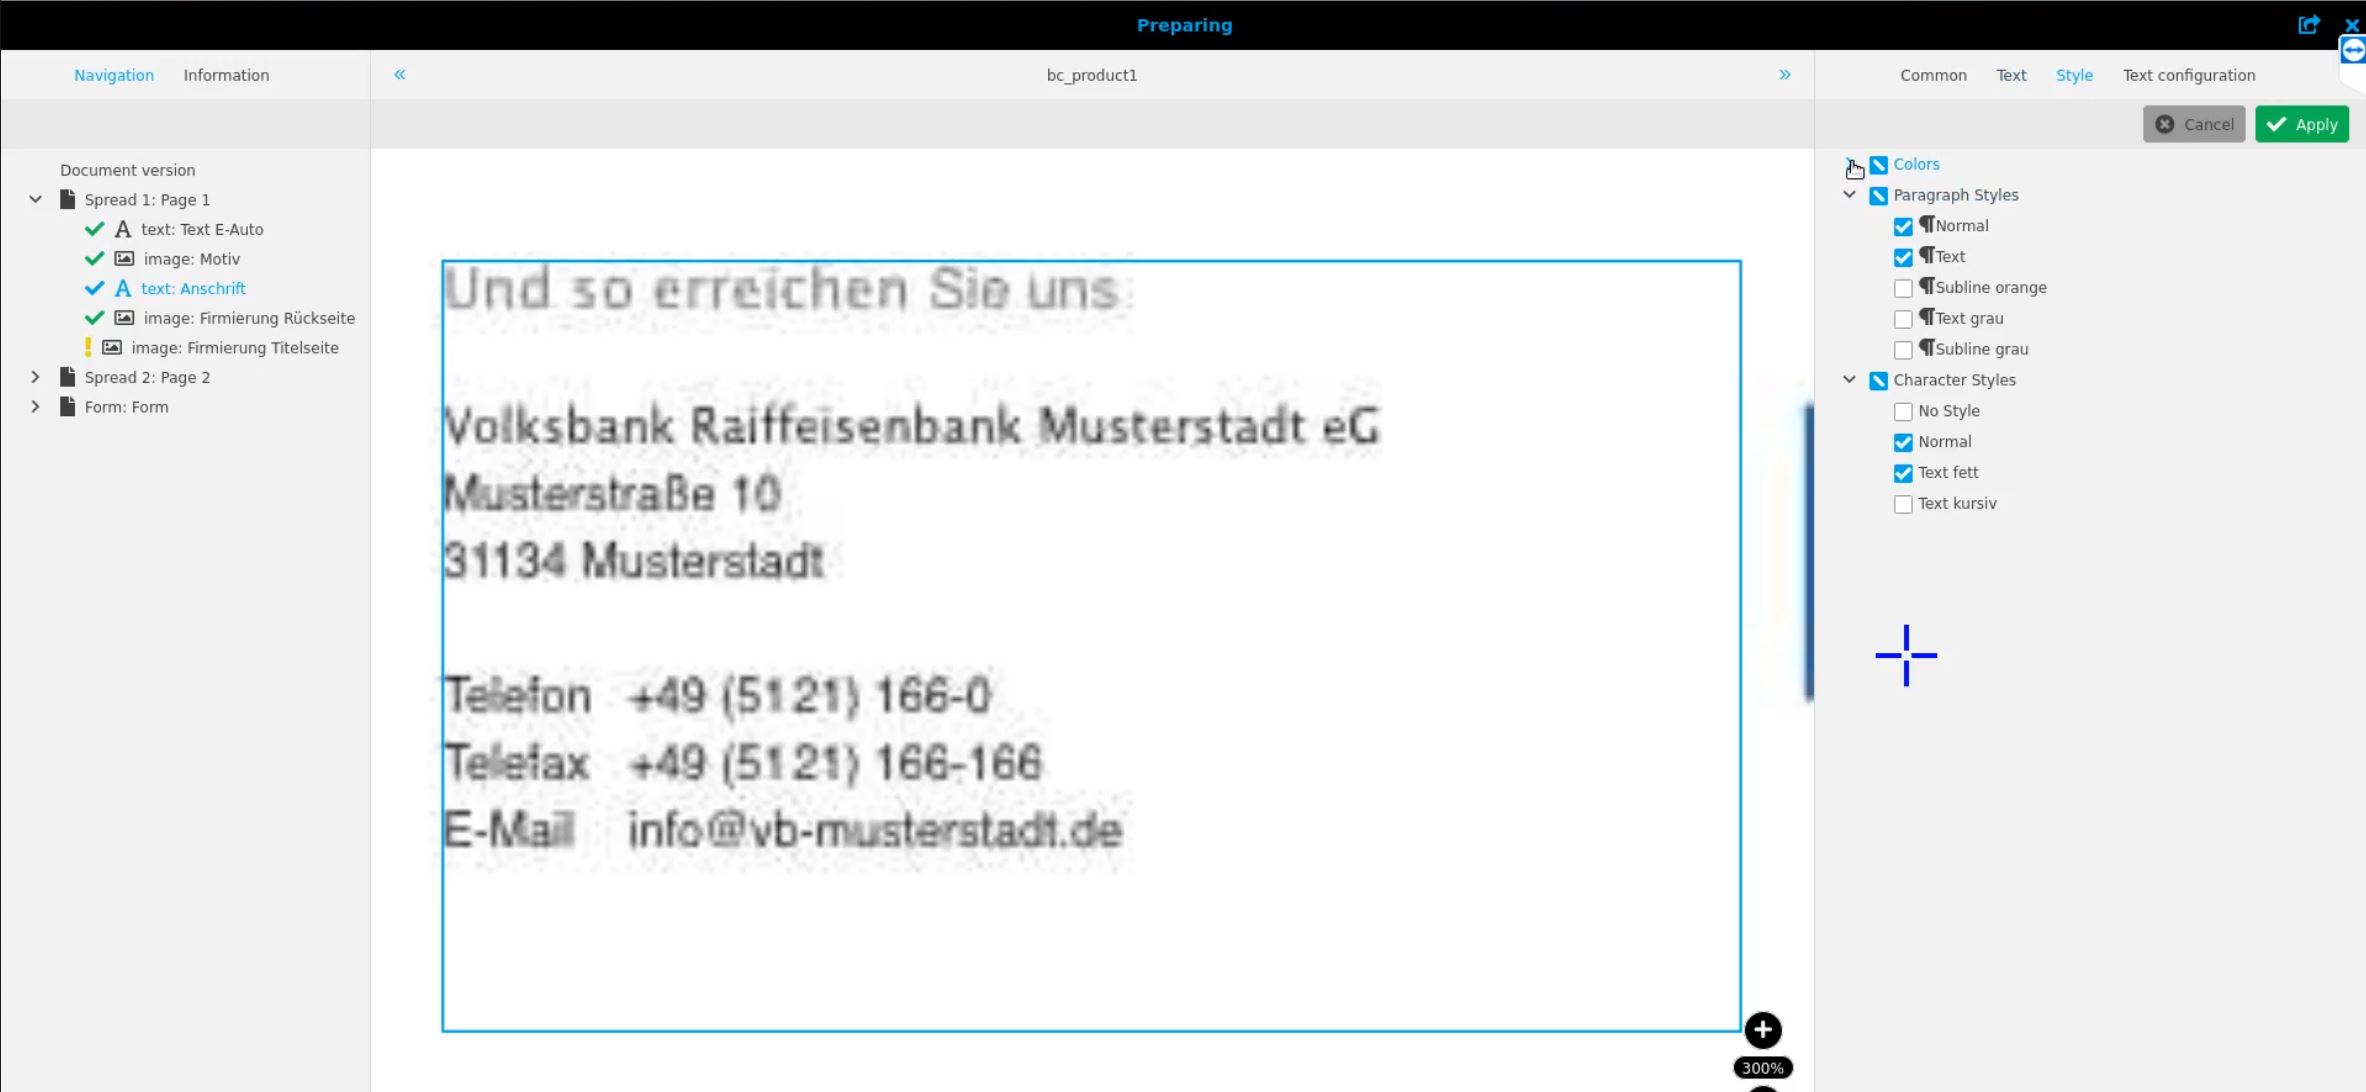
"Image Box Editor"-Tab
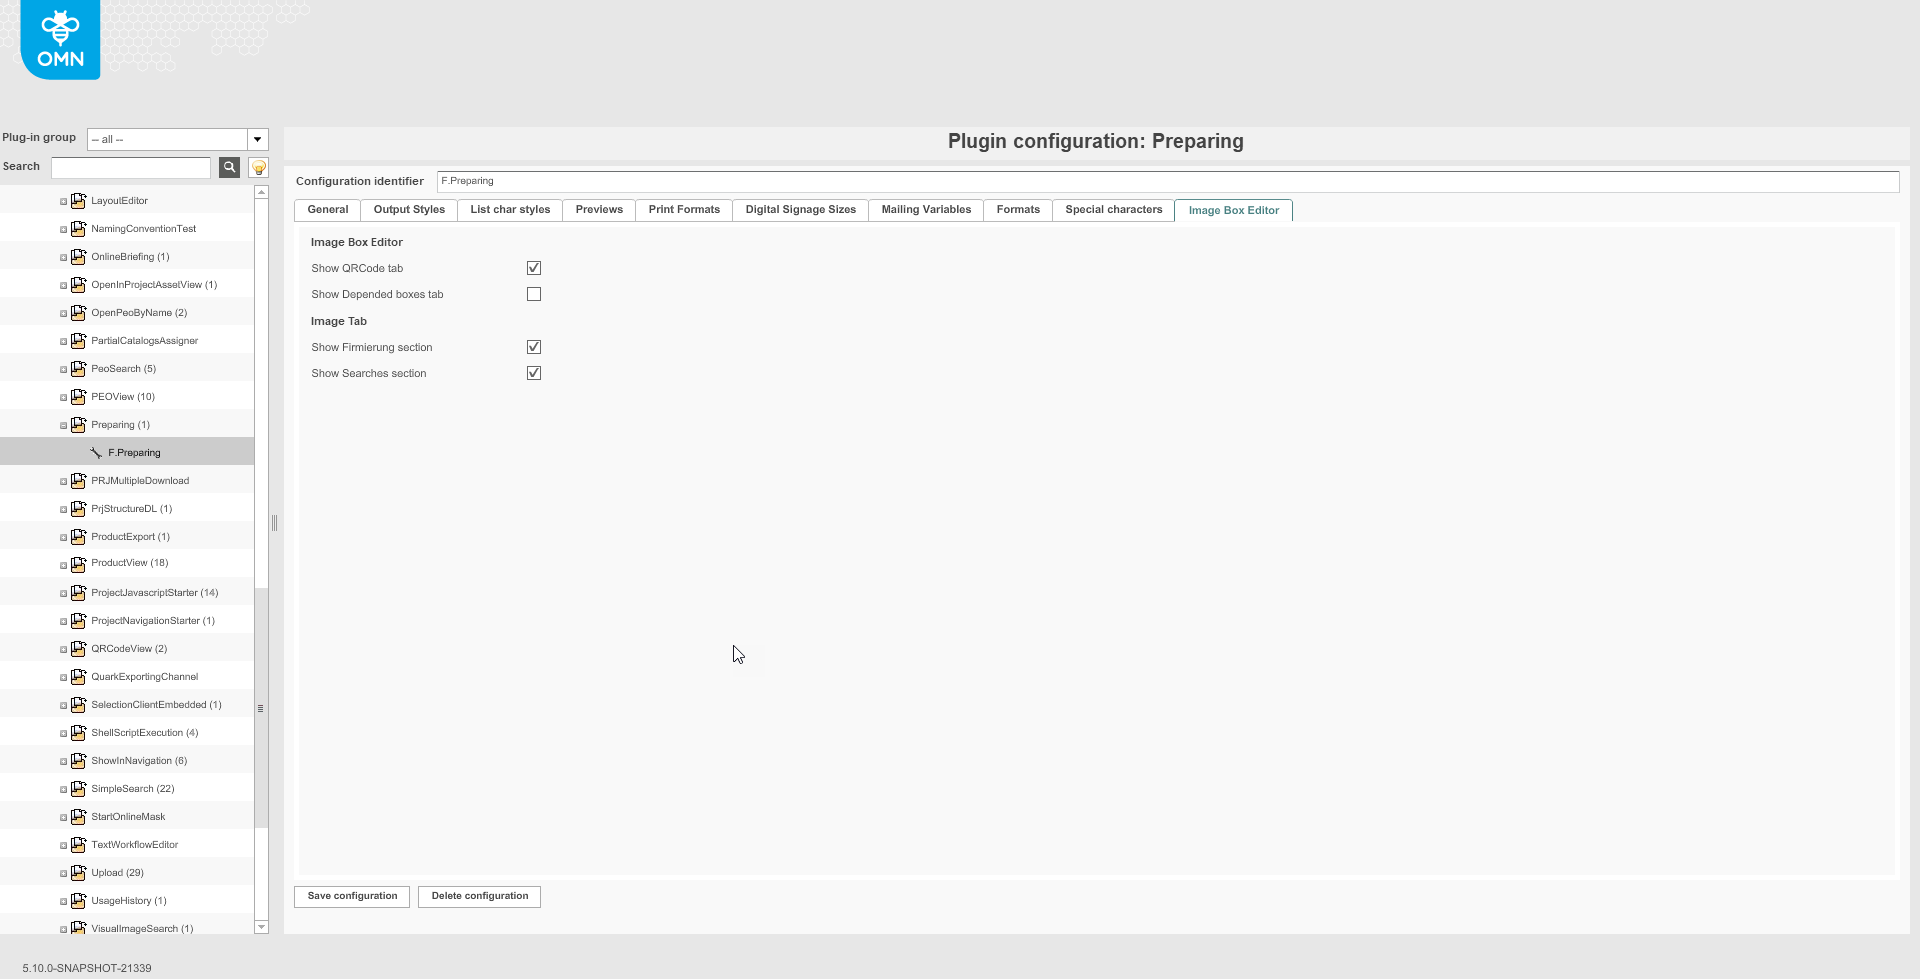
Show QRCode tab: Defines if the 'QRCode' tab is shown in image editors in Preparing in the frontend.
Show Depended boxes tab: Defines if the 'Depended boxes' tab is shown in image editors in Preparing in the frontend.
Show Firmierung section: Defines if 'Firmierung' accordion section is shown in the 'Image' tab of image editors in Preparing in the frontend.
Show Searches section: Defines if 'Searches' accordion section is shown in the 'Image' tab of image editors in Preparing in the frontend.
This is how the example configuration looks like on the frontend client:

"Text Box Editor"-Tab
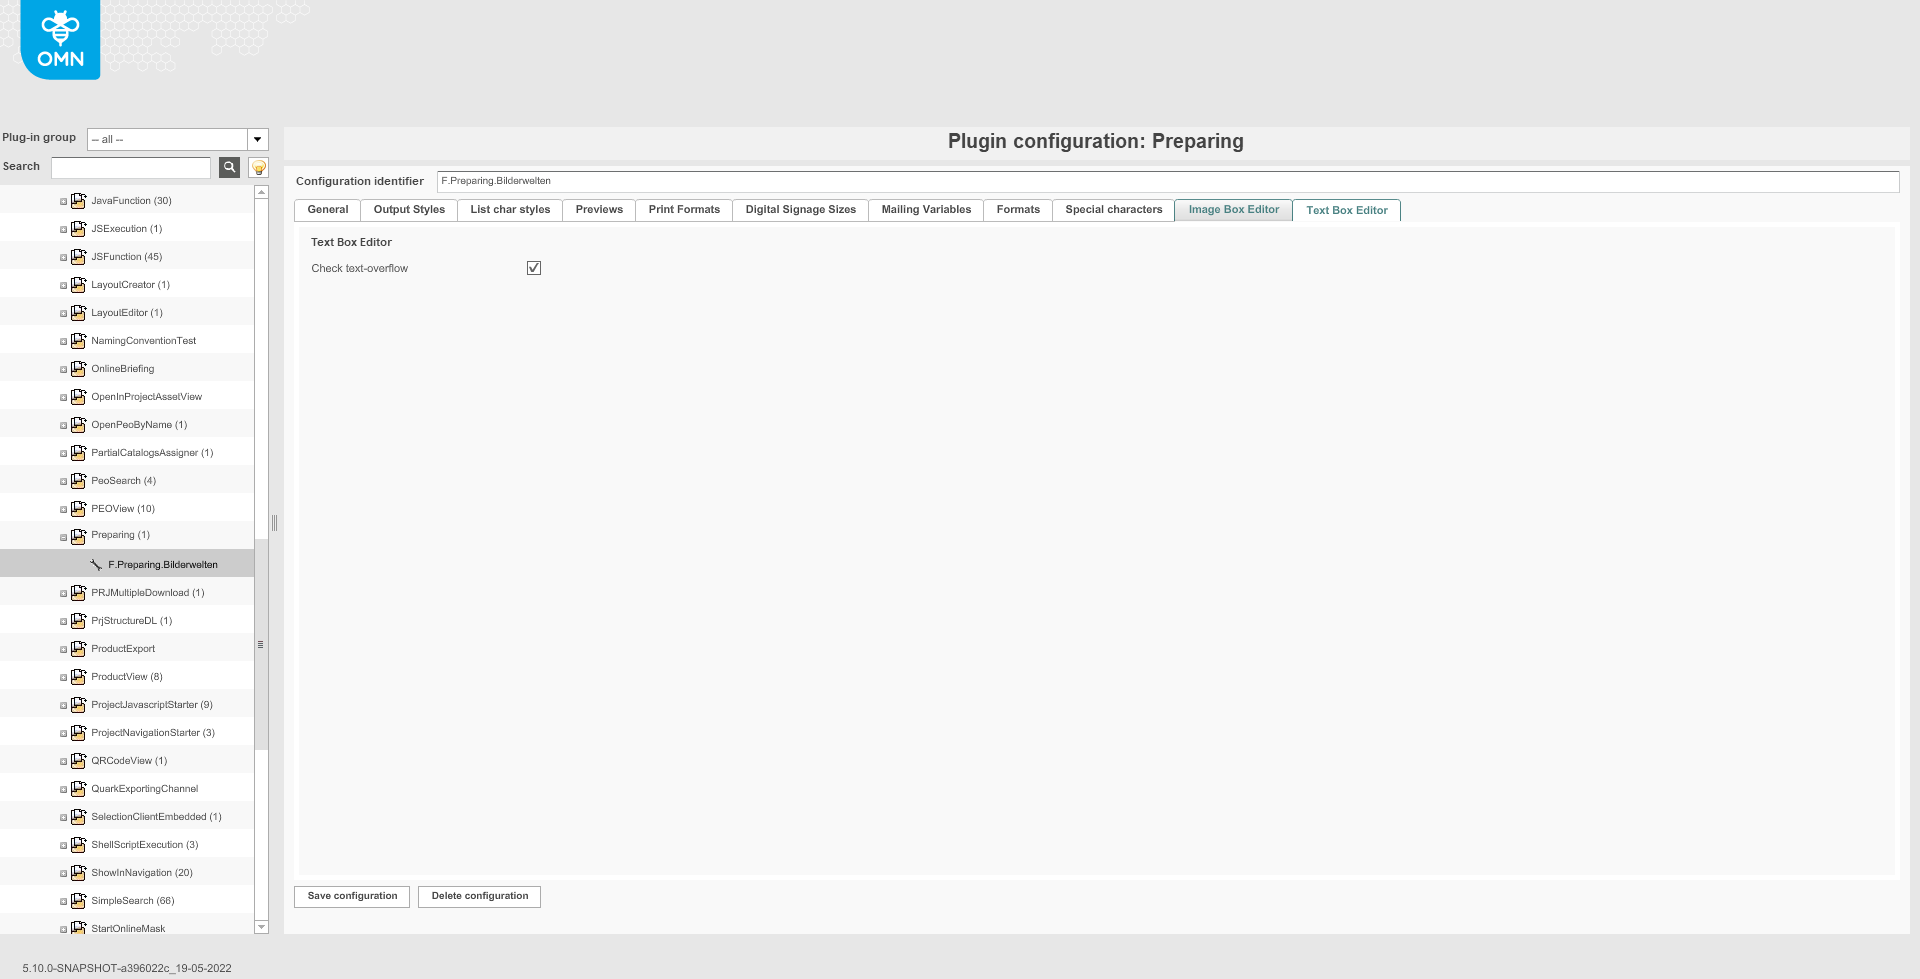
Check text-overflow: Defines if a separate function "Check text-overflow" is available in the toolbar of text box editor in the frontend. The function allows you to check if there is an entered text overflowing the text box borders before saving. The option is HTML5 client specific.