Asset slot columns
This page gives the possibility to configure additional slot columns, which are shown as columns in the Asset slots view in the UI of Article Briefing, so user can customize the shown information for the assigned assets.
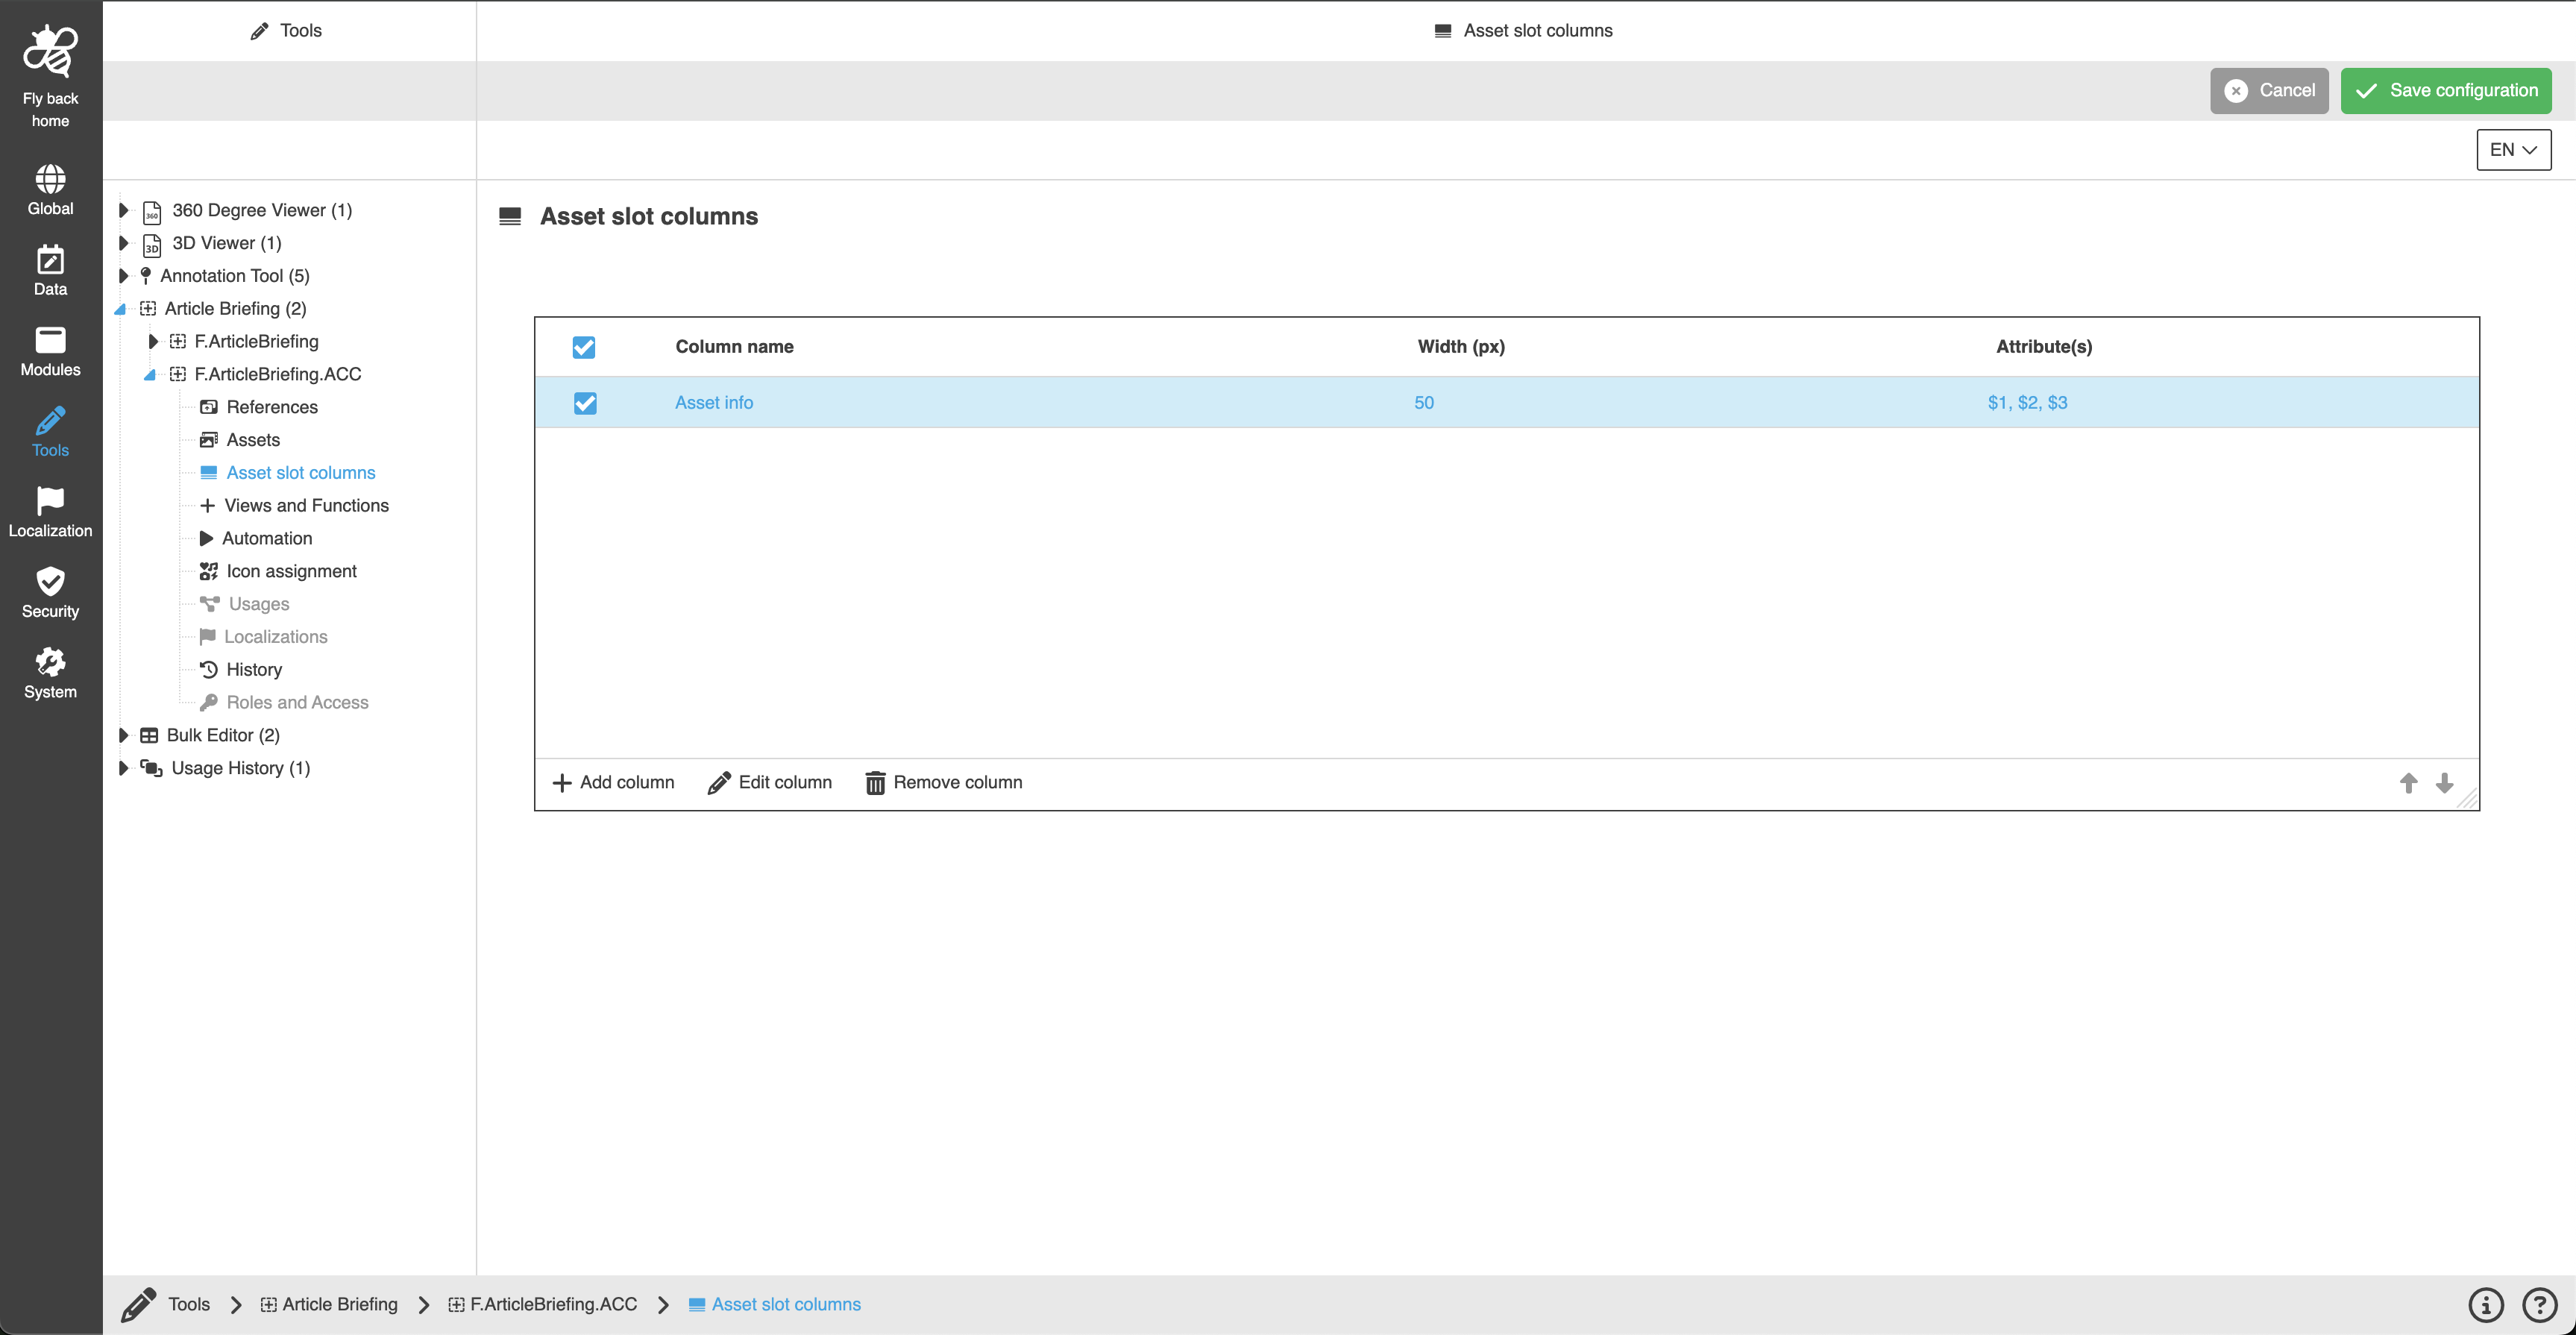
Table widget to configure Asset slot columns
Added reference types are shown in the Asset slots view and according to the configuration, the user can add assets to the product(s) and link them.
| Column name | Description | Note |
|---|---|---|
Column name |
The field is the name of the column that will be displayed as the label. |
The field value can be set in add or edit modals. |
Width (px) |
The field includes value which will be set as default width for configured column. |
The field value can be set in add or edit modals. |
Attribute(s) |
The field shows the list of the configured attributes, which can be configured within the modal in the same order as they have been defined in the pattern. |
The field value can be set in add or edit modals. |
The table contains:
-
the following functions:
Function name |
Description |
Note |
Add column |
Function to add asset slot column |
see 'Add column' |
Edit column |
Function to edit selected asset slot column |
see 'Edit column' |
Delete column |
Function to delete selected asset slot columns |
see 'Delete column' |
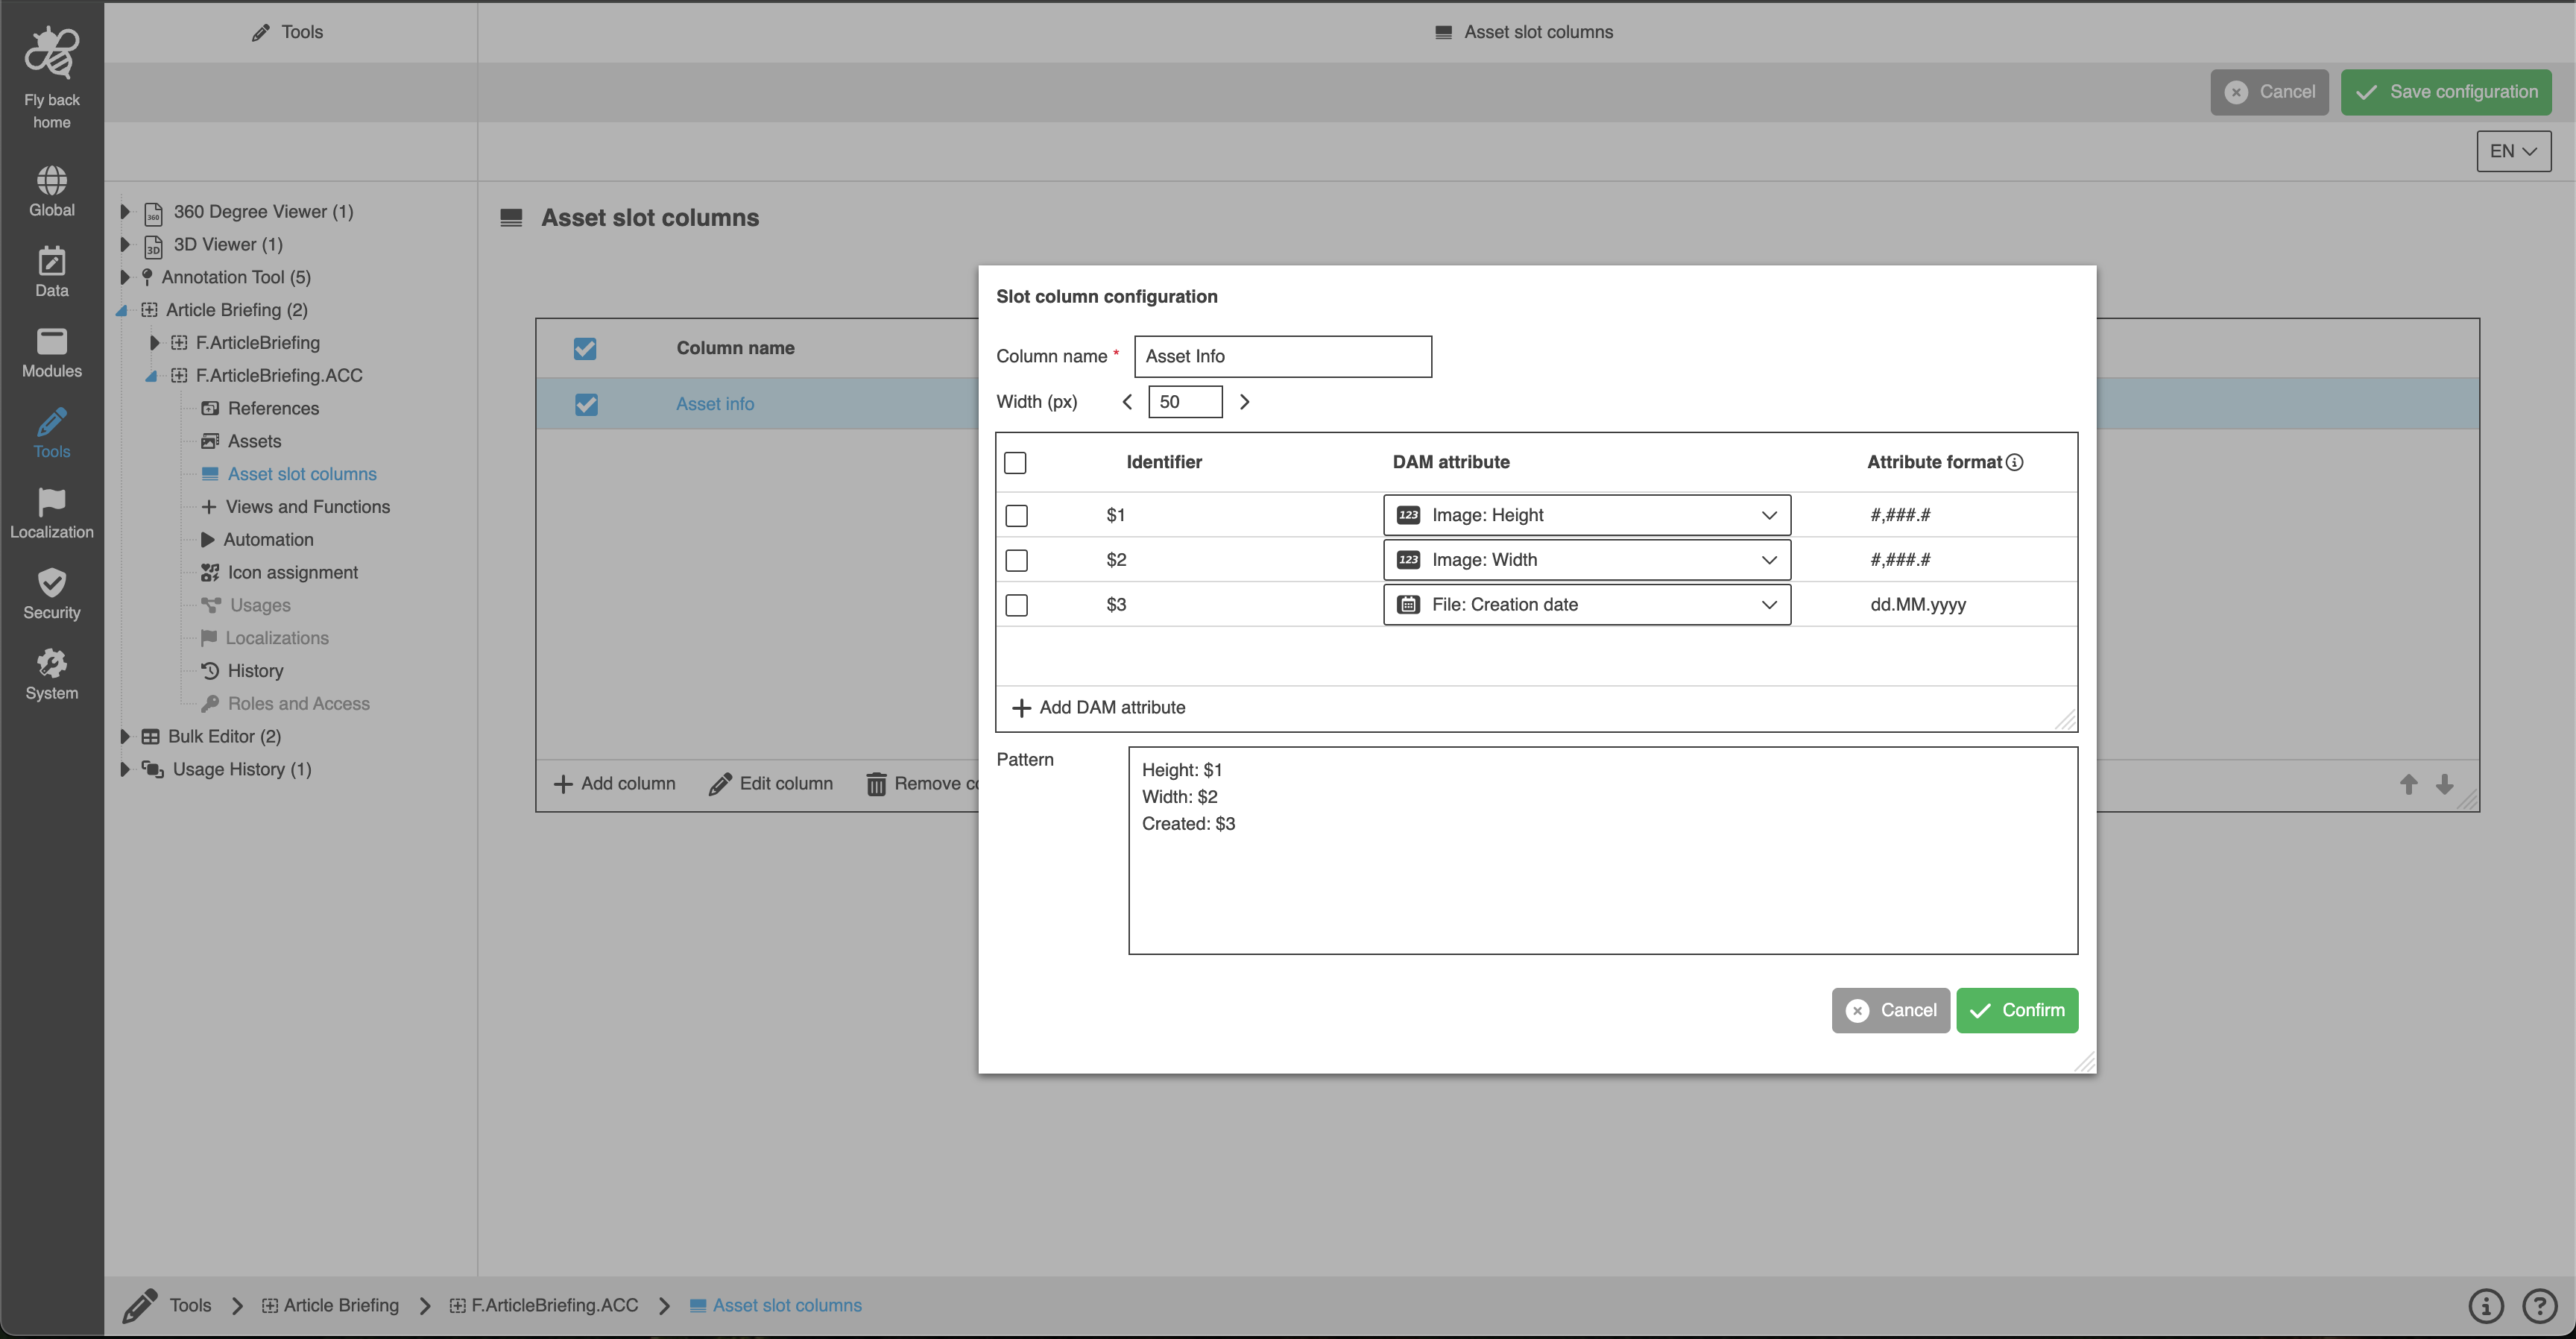
Add column
-
Execute the Add column function in the table widget
-
Change the available fields:
-
Column name
-
Width
-
Table widget to select DAM attributes
-
Pattern - text area, to enter the identifiers in a particular order
-
-
Click Confirm
| The function is always available in the table widget. |