Workflow attributes
The Workflow attributes are part of the 'Attributes' section. Attributes from the Workflow type should be configured to use in the context of the Workflow Configuration function plugin and workflow related Tables and Detail views.
The page contains:
-
the following functions:
Function name |
Description |
Note |
Create attribute |
Function creates a new attribute from Workflow type |
see 'Create attribute' |
Edit attribute |
Function edits created attribute from the Workflow type |
see 'Edit attribute' |
Delete attribute(s) |
Function deletes created attribute(s) from the Workflow type |
see 'Delete attribute(s)' |
-
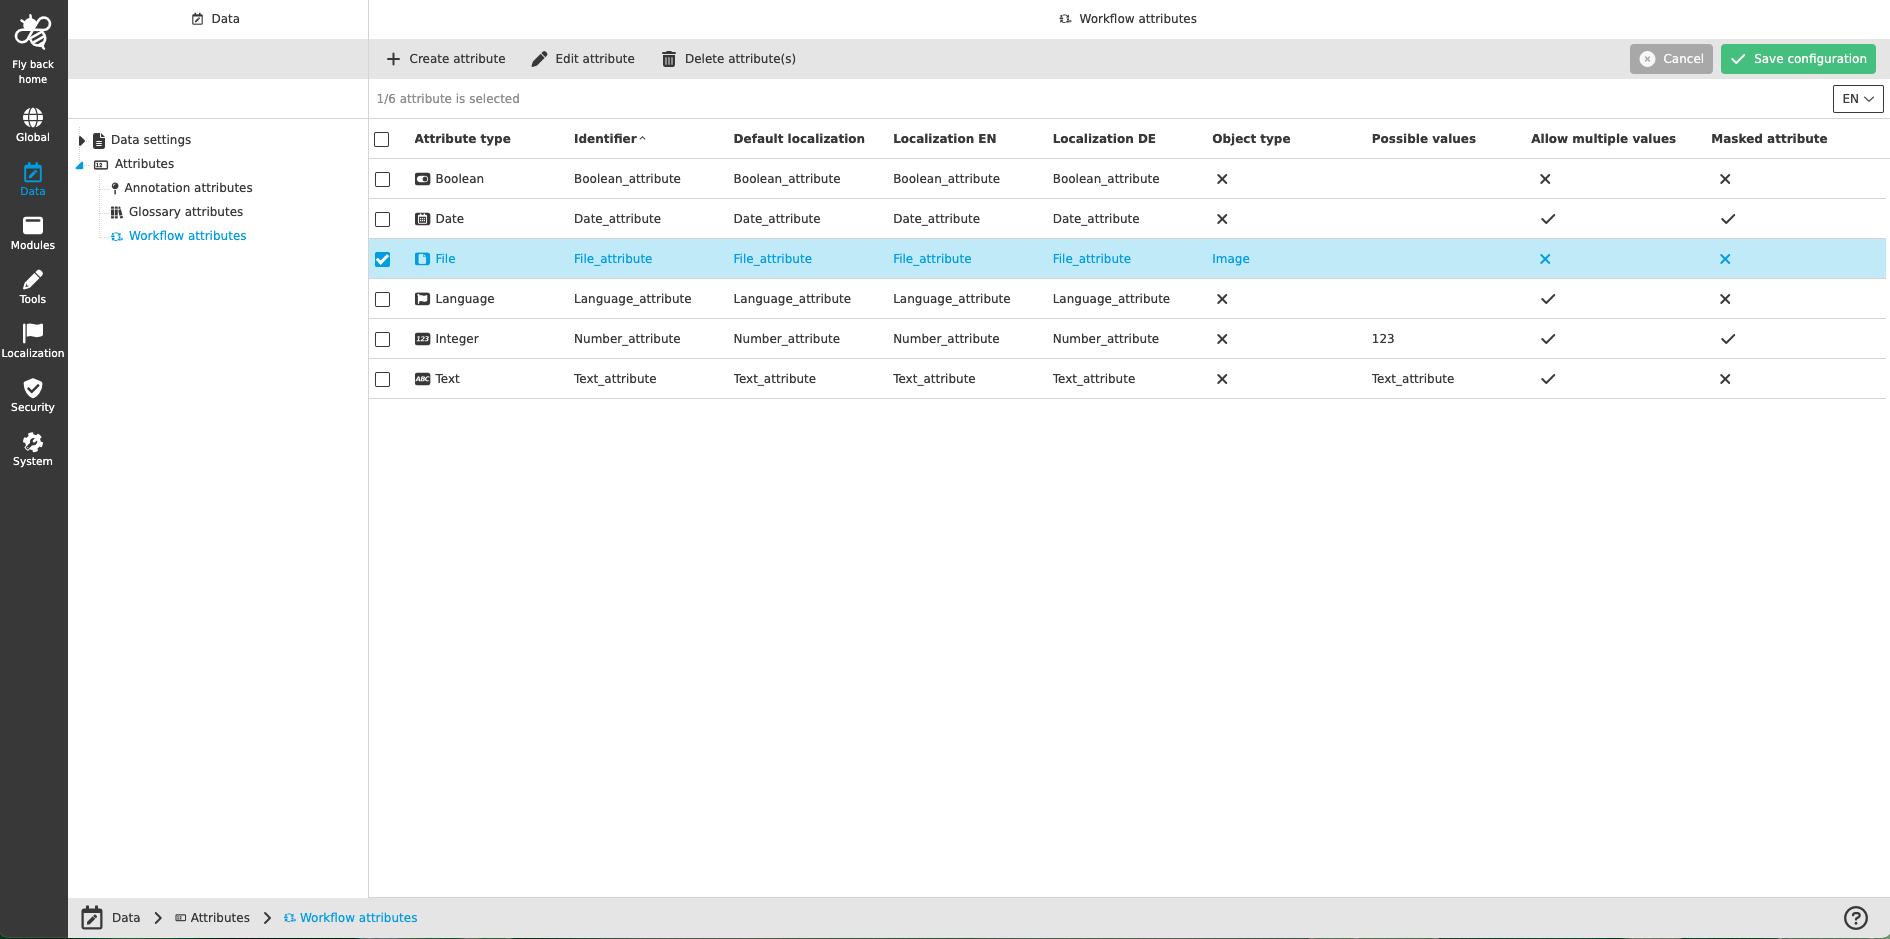
the table with the following columns with the information about created attributes:
Column name |
Description |
Note |
Attribute type |
Shows created attribute types by icon and name of type |
Available type of attributes:
|
Identifier |
Shows identifier (technical name) which is set during attribute creation |
|
Default localization |
Shows default localization which is set during attribute creation |
|
Localization columns |
Shows language localizations which are set during attribute creation |
All languages which are available as system languages on OMN system are shown in their own column. For example:
|
Object type |
Shows the set Object type for attributes from type file |
Object type is only relevant for attributes from type file and defines the concrete file type, which can be handled by a certain process. For more details see: 'workflow attributes type file' in Data types |
Possible values |
Shows the configured possible values in the set UI language |
The possible values are localizable in the attribute creation modal. |
Allow multiple values |
Shows info if an attribute can contain multiple values or not |
If the setting of multiple values in the attribute is allowed, multiple values can also be given to the default value by configuration. |
Masked attribute |
Shows info if an attribute is masked or not |
A masked attribute is an attribute which is only displayed with asterisks in the frontend for security reasons (could be sensitive data like passwords, keys,…). |
Usage |
Content is coming soon … |
Will be supported in the future version |
-
the following data types:
Data type |
Description |
Text |
To enter a text value(s) |
Boolean |
To enter one of 'true'/'false' |
Date |
To enter a date value |
Number |
To enter a numeric value(s) |
File |
To enter a file from specific object type |
Language |
To enter an available language |
|
The different data types are explained here: Data types |
Create attribute
-
Click 'Create attribute' function
-
Select Data type: Text, Boolean, Number, Date, File or Language
-
Turn on 'Leave modal open for further creation of attributes' toggle (if needed)
-
Function allows to stay the window open after clicking on the 'Create attribute' button to continue creating a new attribute.
-
-
Enter Identifier (technical name of the attribute)
-
Displayed as Identifier in the table
-
Name needs to be unique
-
Mandatory field
-
-
Enter Default for attribute as human-readable fallback option if the selected language is not available in the UI
-
Displayed as Default in the table
-
Name needs to be unique
-
Mandatory field
-
-
Enter localizations for each available language in the system (optional), so this localization will be shown in cas language is selected in the UI
-
Each language available on the system is listed
-
-
Click on the 'Create attribute' button
|
Further configuration of workflow attributes differs per type. |